Alaska

NOT A LAUGHING MATTER - PHOTOGRAPHING REMOTE LOCATIONS

If I was going to be stuck in a snowbank, it might as well have been with this view.

It was two pine trees that first caught my eye. Two trees out of thousands, with snow-capped mountains in the distance. This was going to be the first photograph I made after entering Denali National Park in Alaska. I didn't realize it would also be the last photograph of the trip.

I suppose before I go any further I should say that I wasn't seriously hurt when my leg broke through the snow and it dropped two and a half feet, although it was serious enough that I did visit urgent care the next day. I want to also say that at the time it was a laughing matter and I'm thankful that a co-worker who joined me during my scouting trip had the presence of mind to capture some photos on her cell phone.

However, that I had someone with me at all, was a rarity and why I've decided to write this post. I've written often about how when I get an opportunity to travel to a great location, I always try and build in extra days so that I can explore the area fully and make some personal photographs.

I was laughing at the absurdity of being stuck in a snow bank only three feet from the road and ten feet from my car.

That was the case on this assignment to photograph the Department of the Navy's Historically Black Colleges and Universities/Minority Institution program office's historic visit to the University of Alaska Fairbanks. When the assignment came in, I was determined that when it was over, I would visit Denali National Park, only 124 miles south. During a previous visit to Fairbanks* to photograph research on marginal ice zones over the Arctic Circle, my plans to visit Denali were changed when the C-130 aircraft I was in was diverted to Kodiak** on the last day. So this trip was finally going to give me that chance.

But this isn't a blog about making epic photographs, it's about how in almost all cases during these trips, I'm alone. Whether it is photographing the coastline in Oregon following an assignment in Portland, or climbing giant rocks in Joshua Tree National Park after several days filming at Camp Pendleton, I've never given much thought to the fact that I'm by myself in these remote locations. Often scrambling down steep embankments or climbing trails and crossing streams, in the dark, just to capture the sunrise.

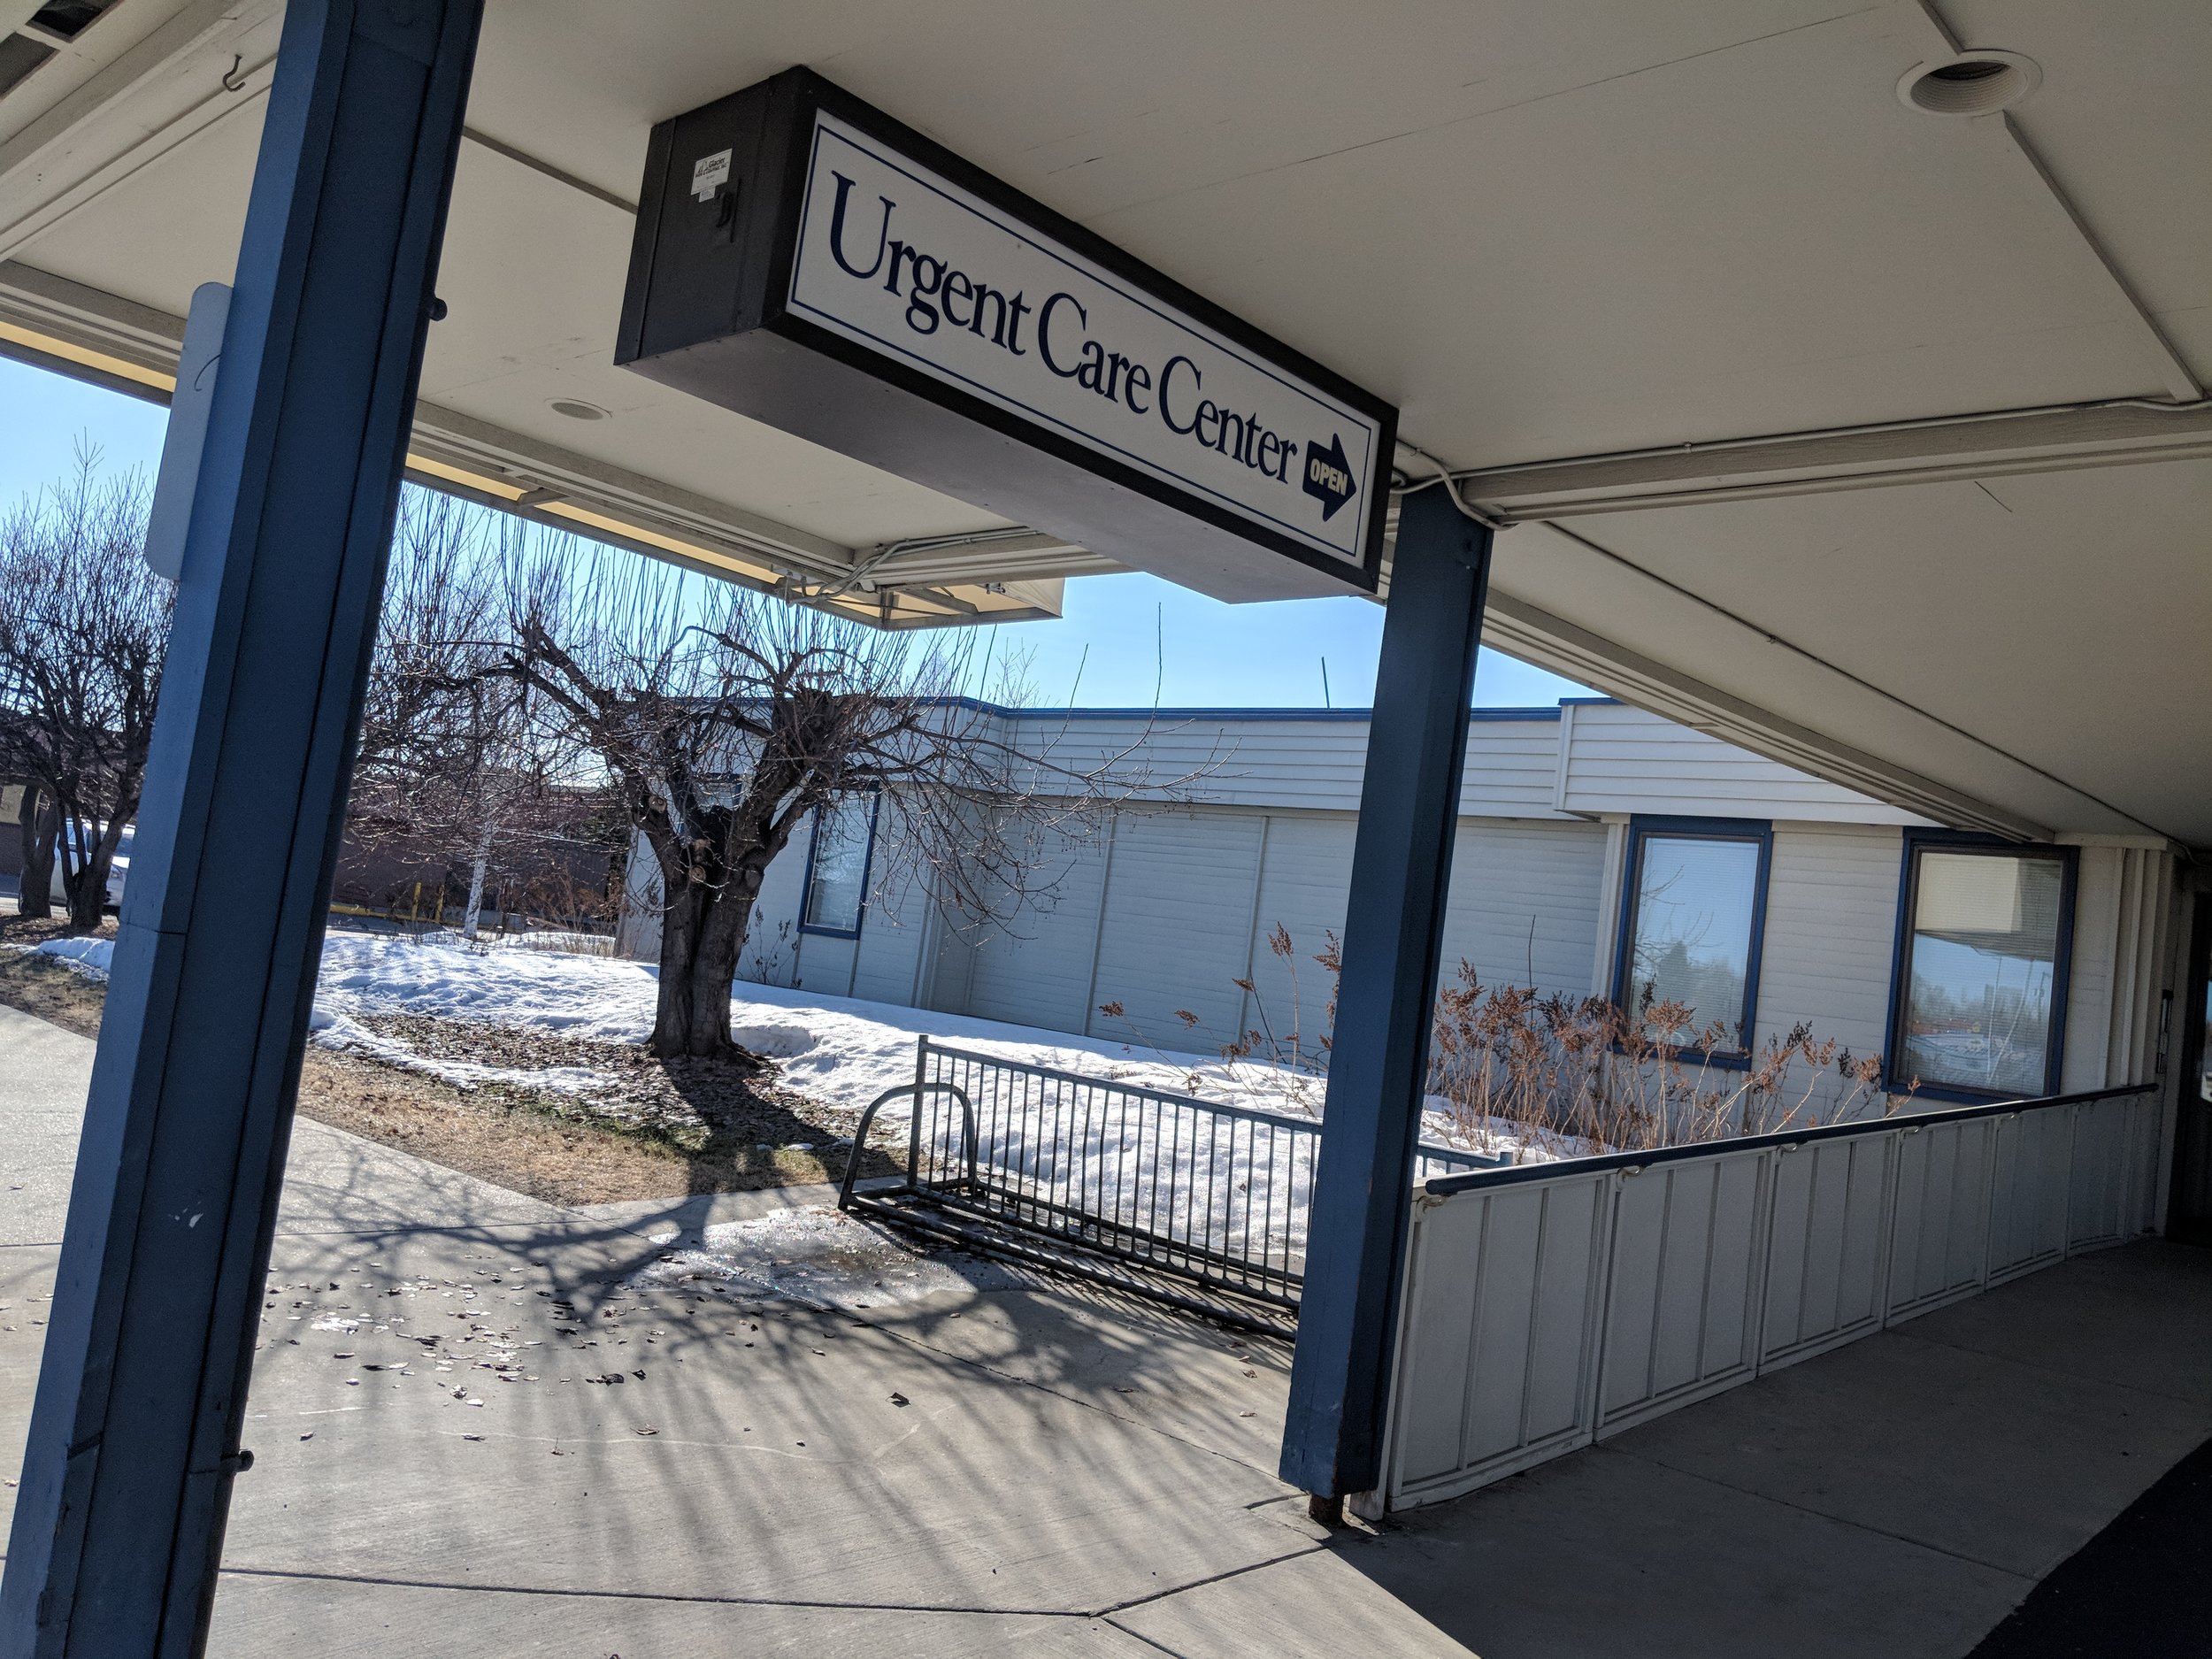
To be safe and satisfy friends and loved ones, I visited urgent care Saturday morning for an x-ray on my lower leg. Results showed no break.

Injuring my leg has me thinking differently about the risks I've taken in the past. My original plan for the weekend was to borrow some snowshoes at the visitors center and do a series of short hikes. This trip was a chance to become familiar with the park and plan out those weekend hikes.

Even though it was late April, the trails and much of the park was still covered in snow. I could see this, yet still, I was only one step off the road when I broke through the snow. It happened quick.

Getting to a place in order to make great landscape photographs often means visiting remote locations. Getting off the beaten path. And I know we don't live in bubbles that involve no risk, but that doesn't mean we shouldn't take precautions. Below are just a few I'm thinking about.

The only positive thing about not being able to return to Denali over the weekend was that it gave me more time to visit some of the outstanding breweries in Fairbanks, like HooDoo.

1. Always let someone know where you will be. Better yet, let multiple people know. The hotel desk clerk, the park ranger at the visitor center and even friends and family members back home. Set a time you will make contact so that if they don't hear from you, they can alert authorities. If available, sign in (and out) of the trail log.

2. Be aware of the risks involved and understand your limits. It should go without saying that no photograph is worth risking serious injury. The older I get, the less risk I take, but I also have to understand that I can't do everything I used to do.

I'm putting on a good face even though my leg was killing me. Thank you to Sophoria for both capturing the photos of me in the snow, but also for being another voice of reason, urging me to visit urgent care, and checking in on me before catching her flight home that night.

3. Don't be afraid to ask others to join you. It can be difficult for non-photographers and photographers to travel together, but having someone along to share the experience or offer a different perspective can enhance the experience. And if you are lucky, they will also understand why you need to stay in one location for an hour waiting for the light to change.

Luckily this story ended well even if I didn't get any photographs from Denali. I'll be back and next time, I'll be sure to play it safe.

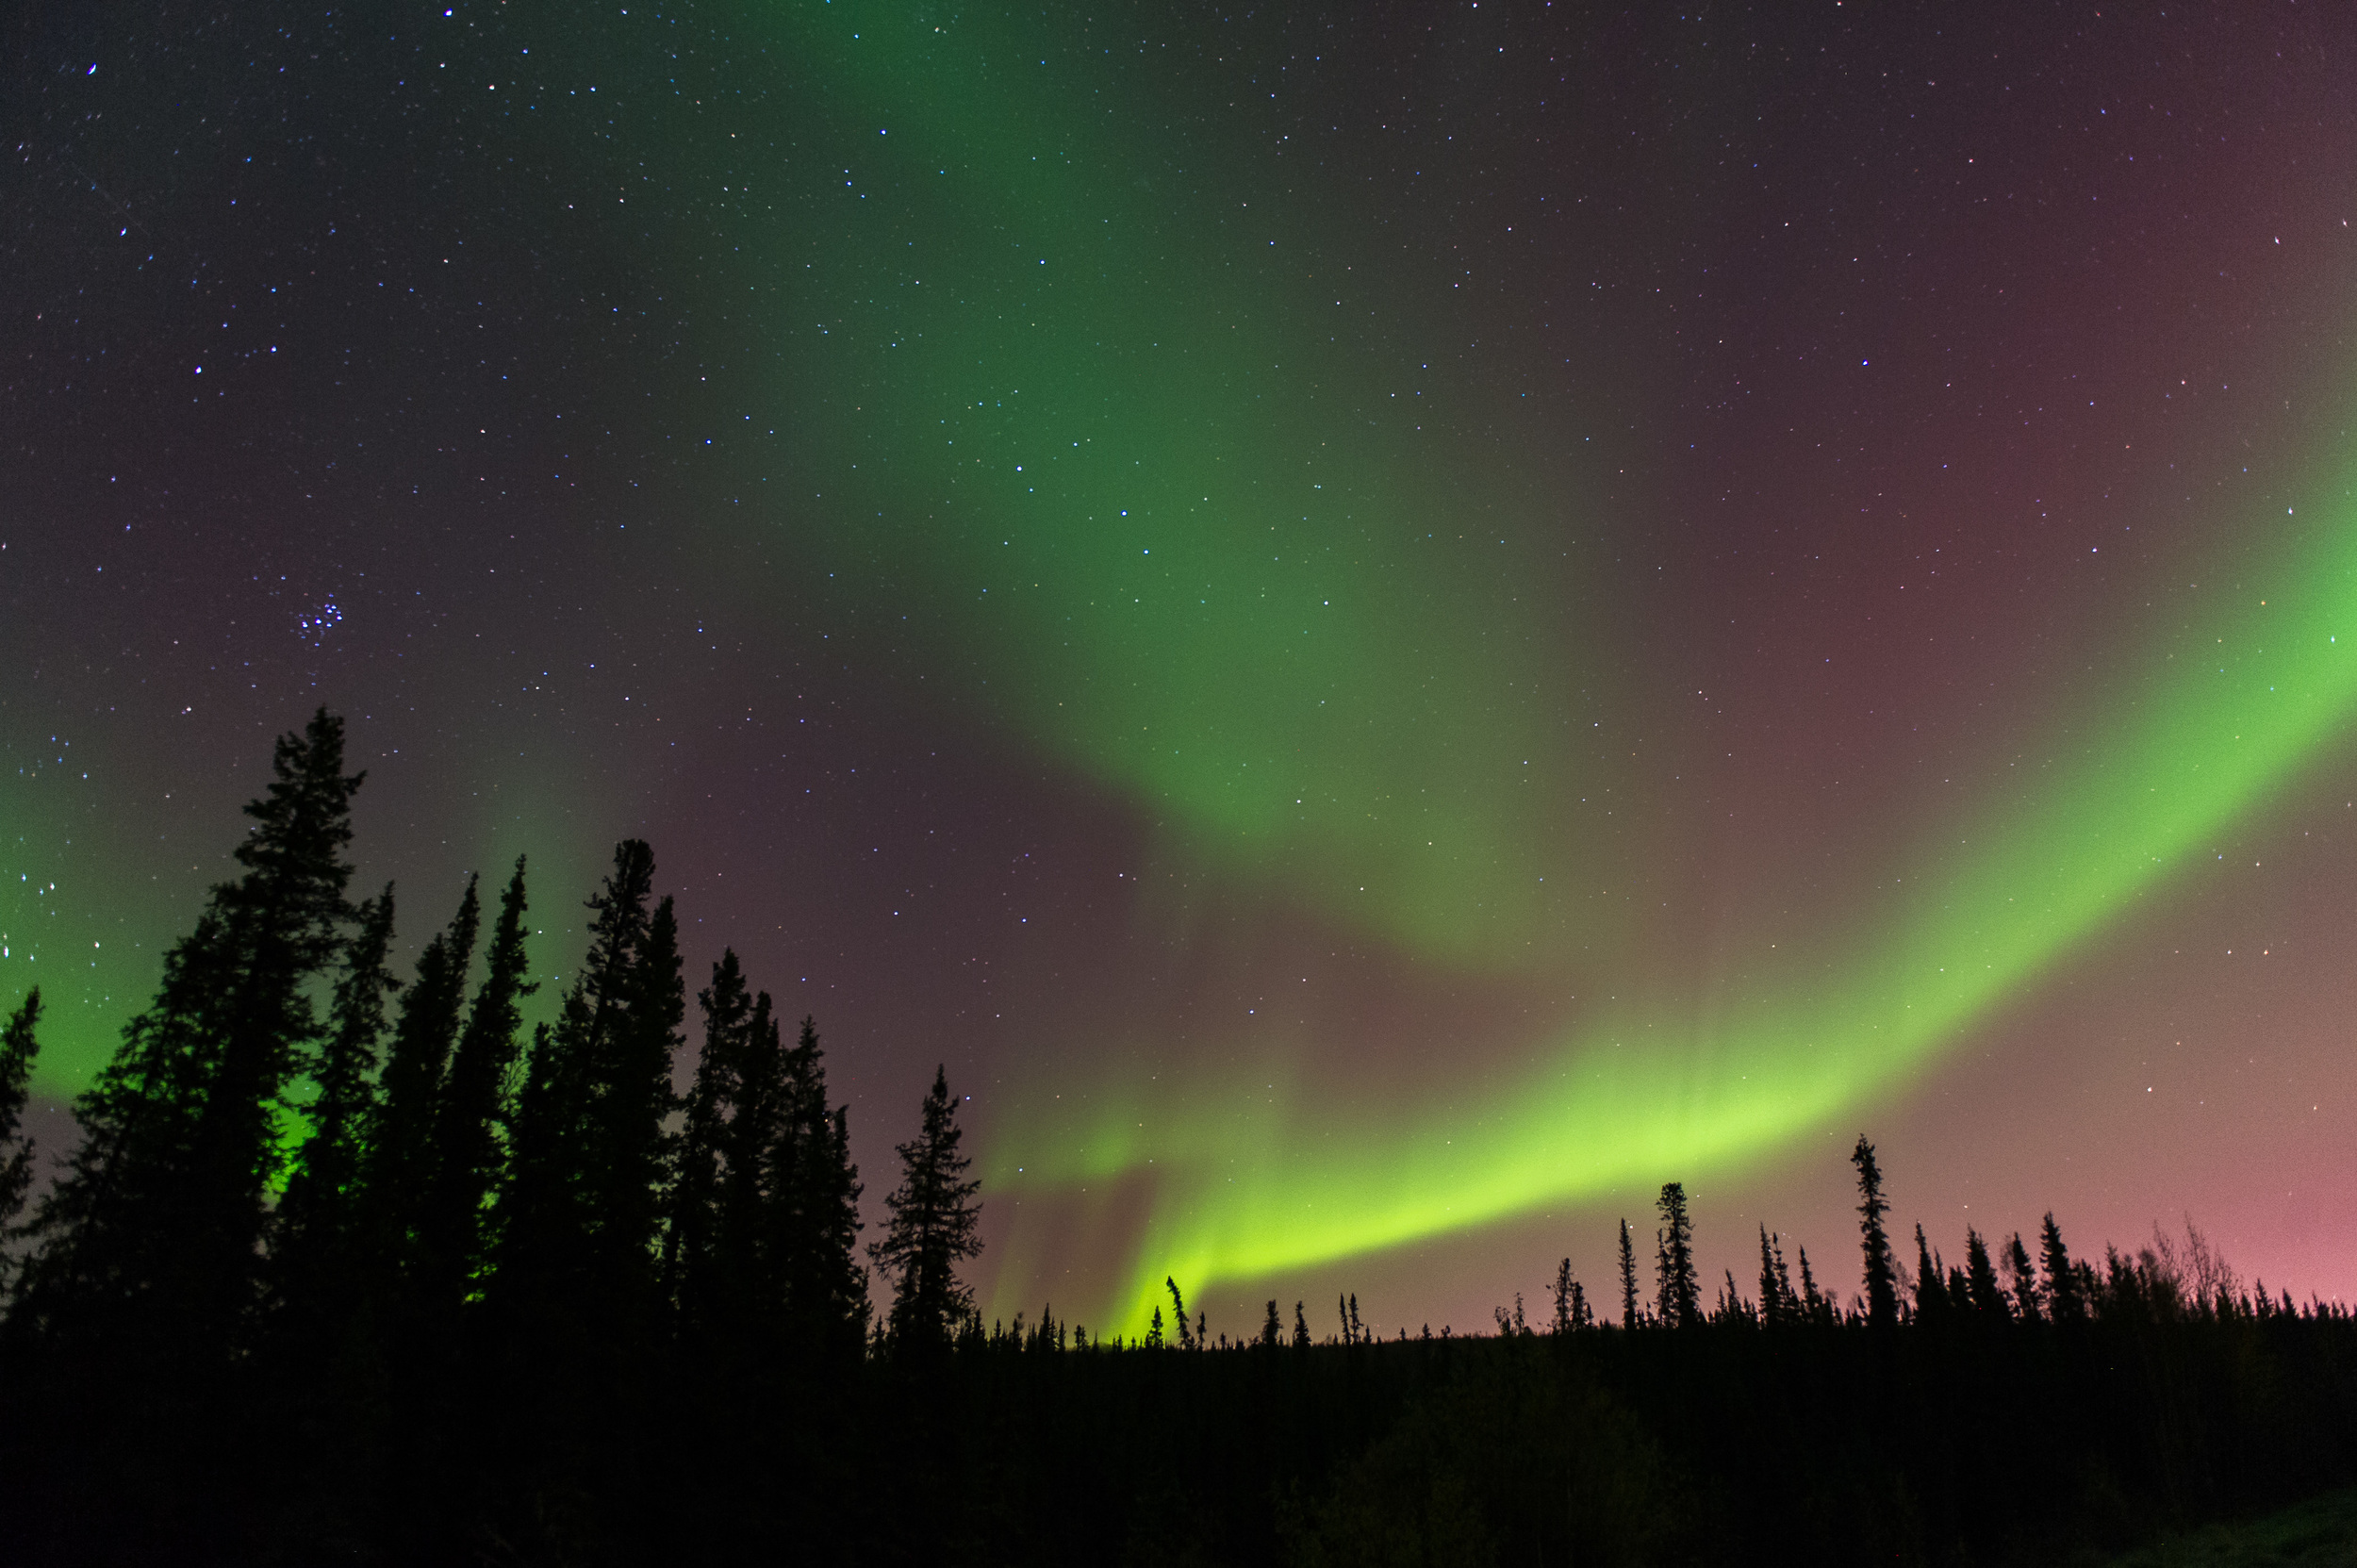
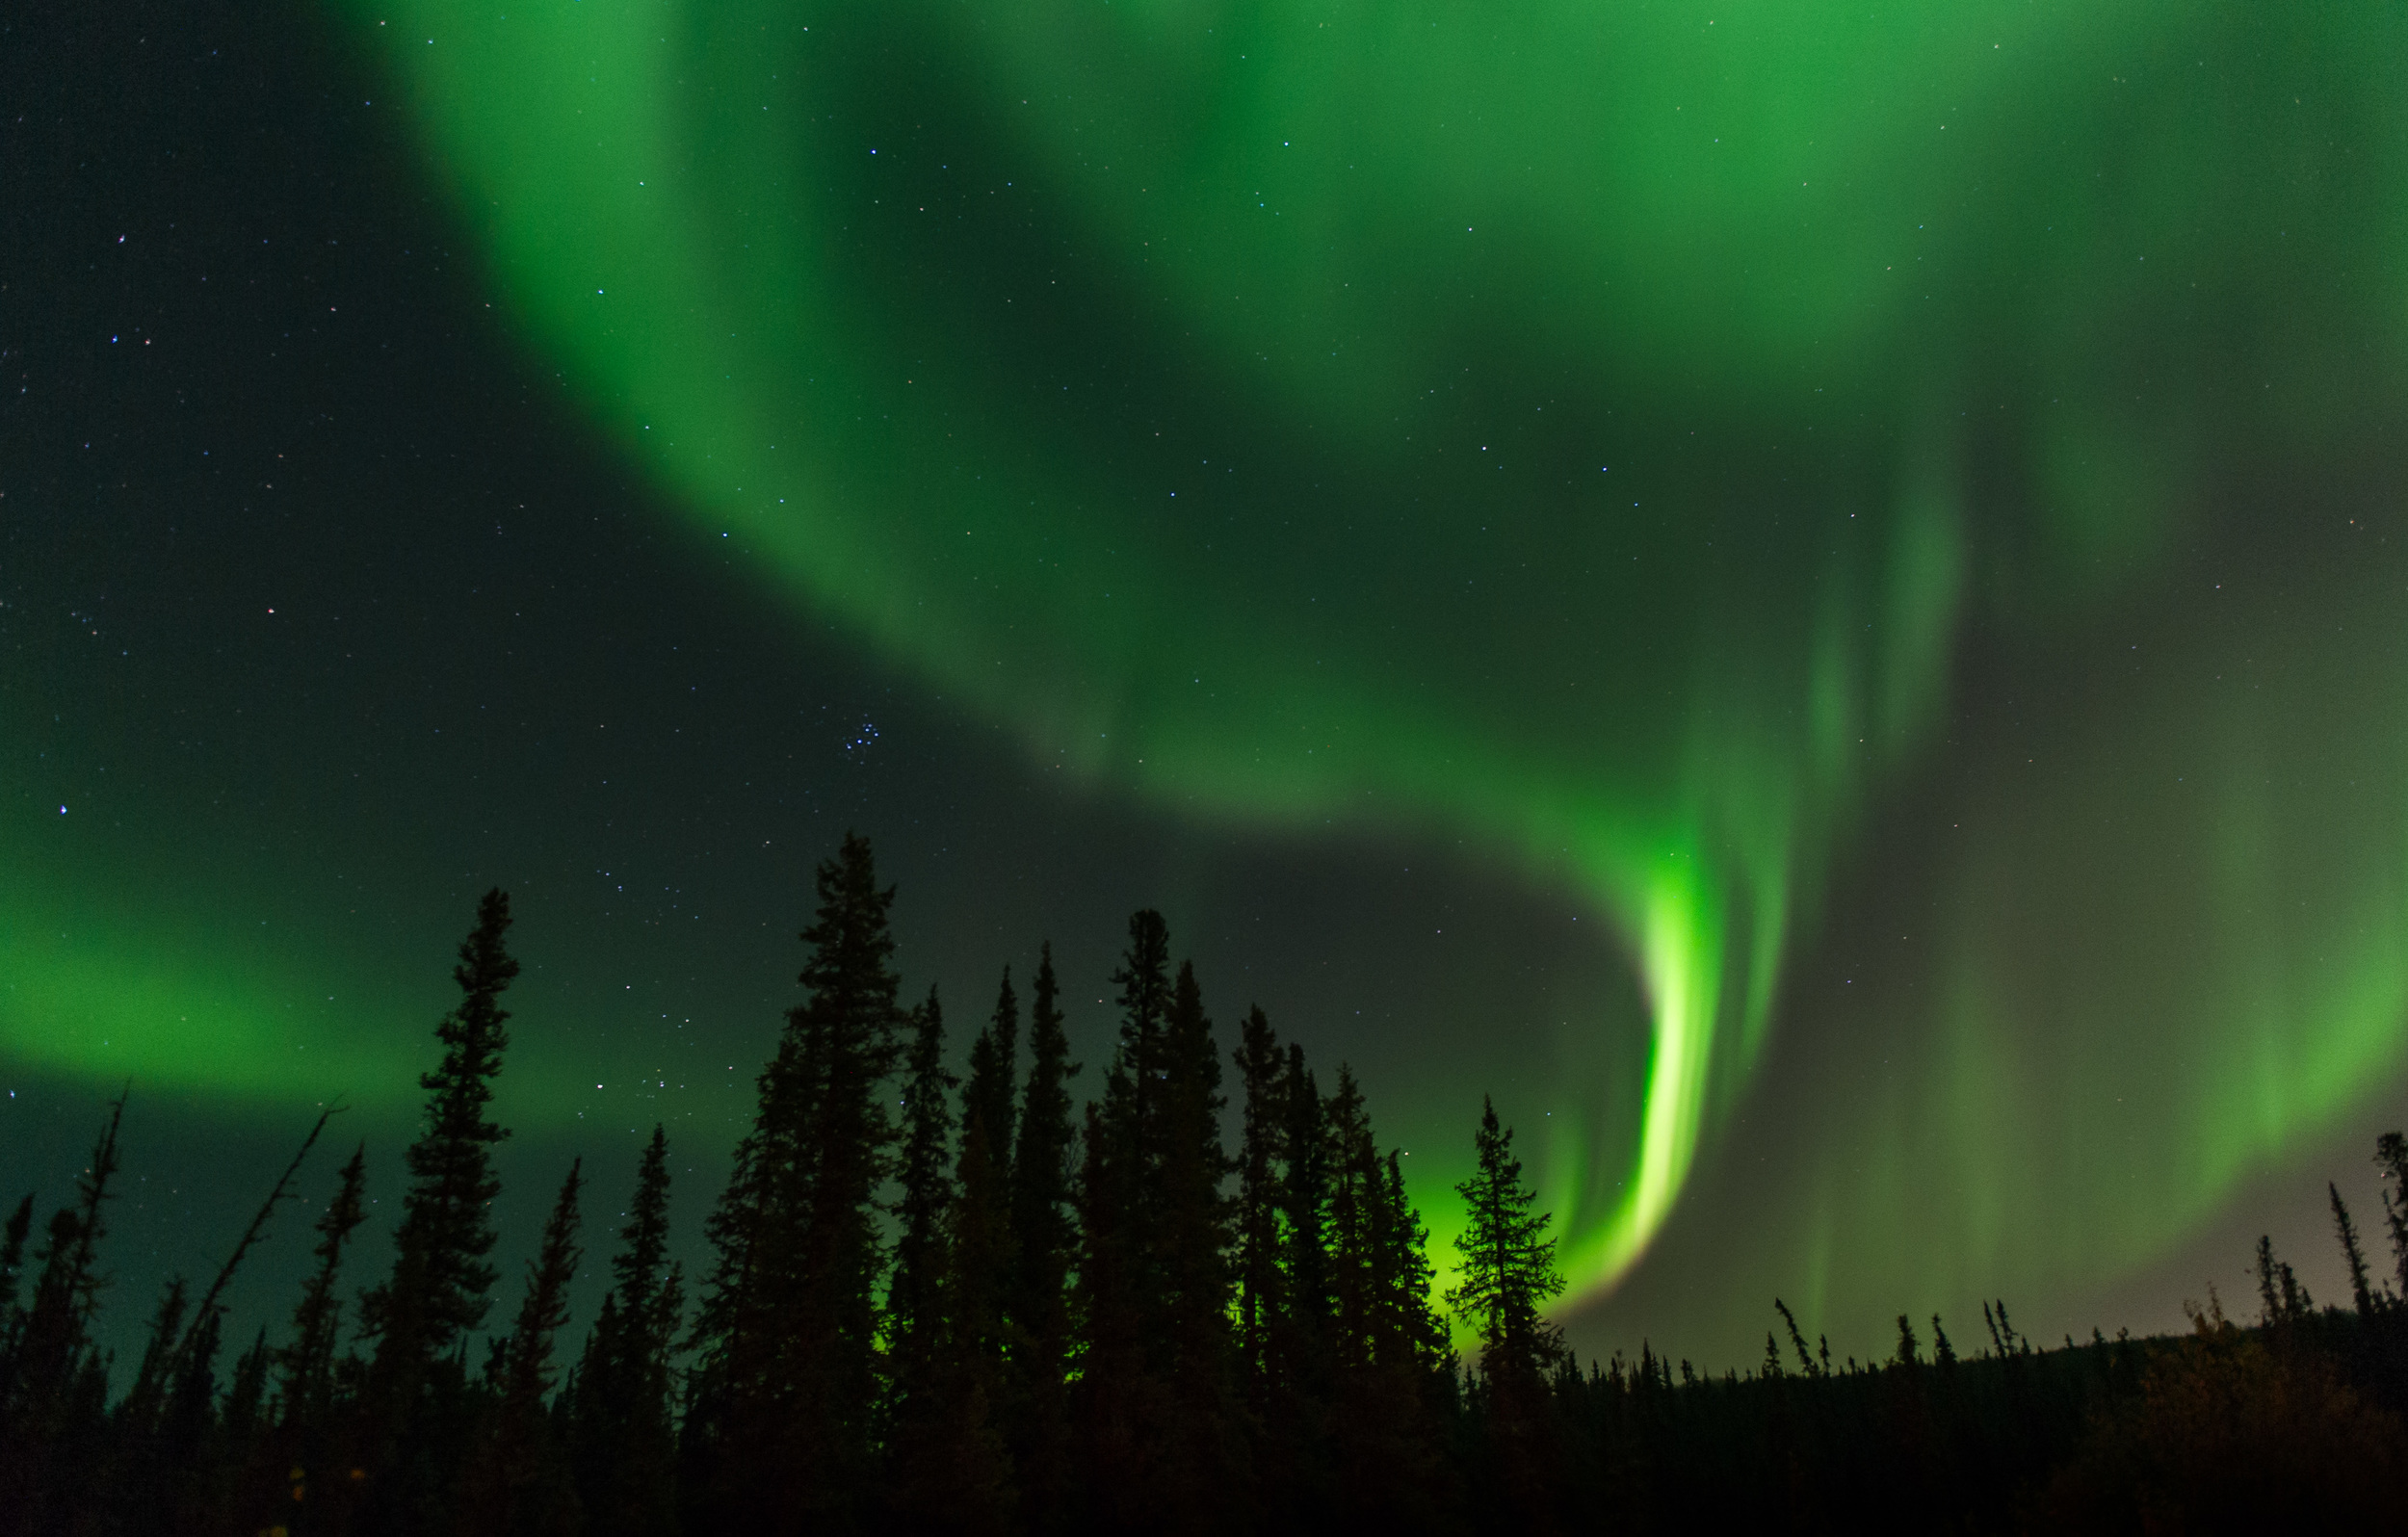
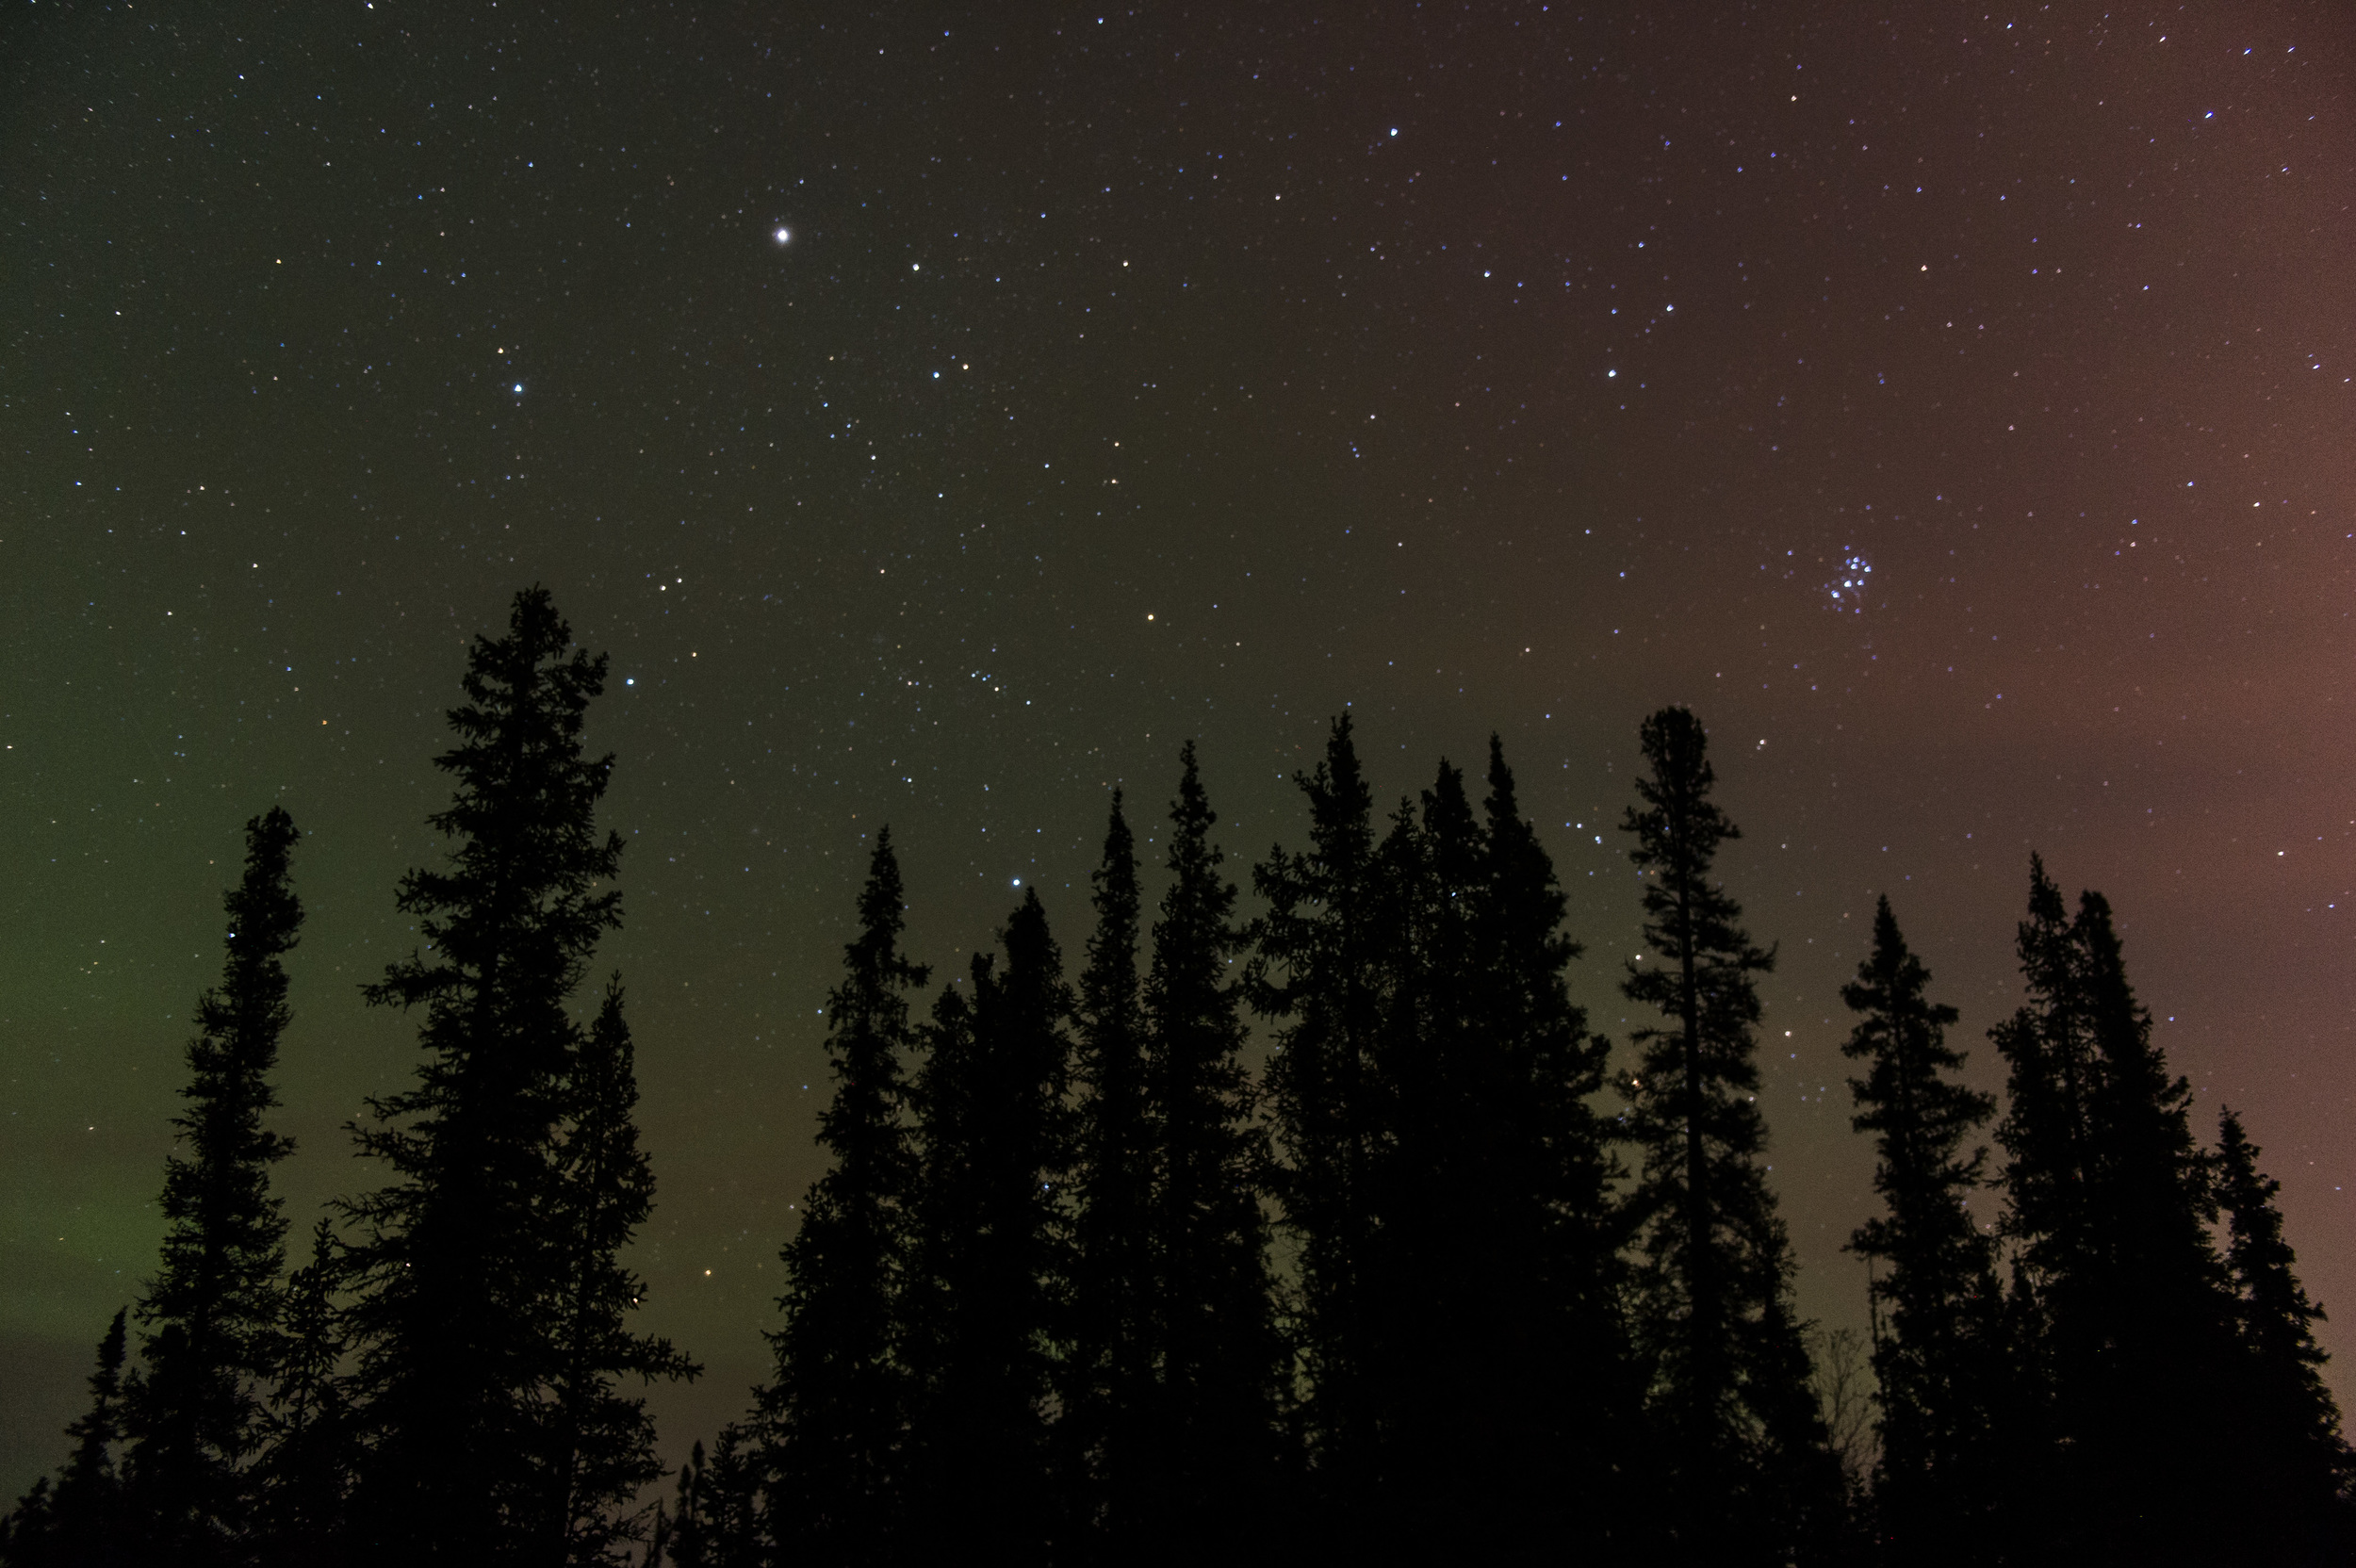
*On my last visit to Fairbanks I didn't make it to Denali, but I did capture the Northern Lights.

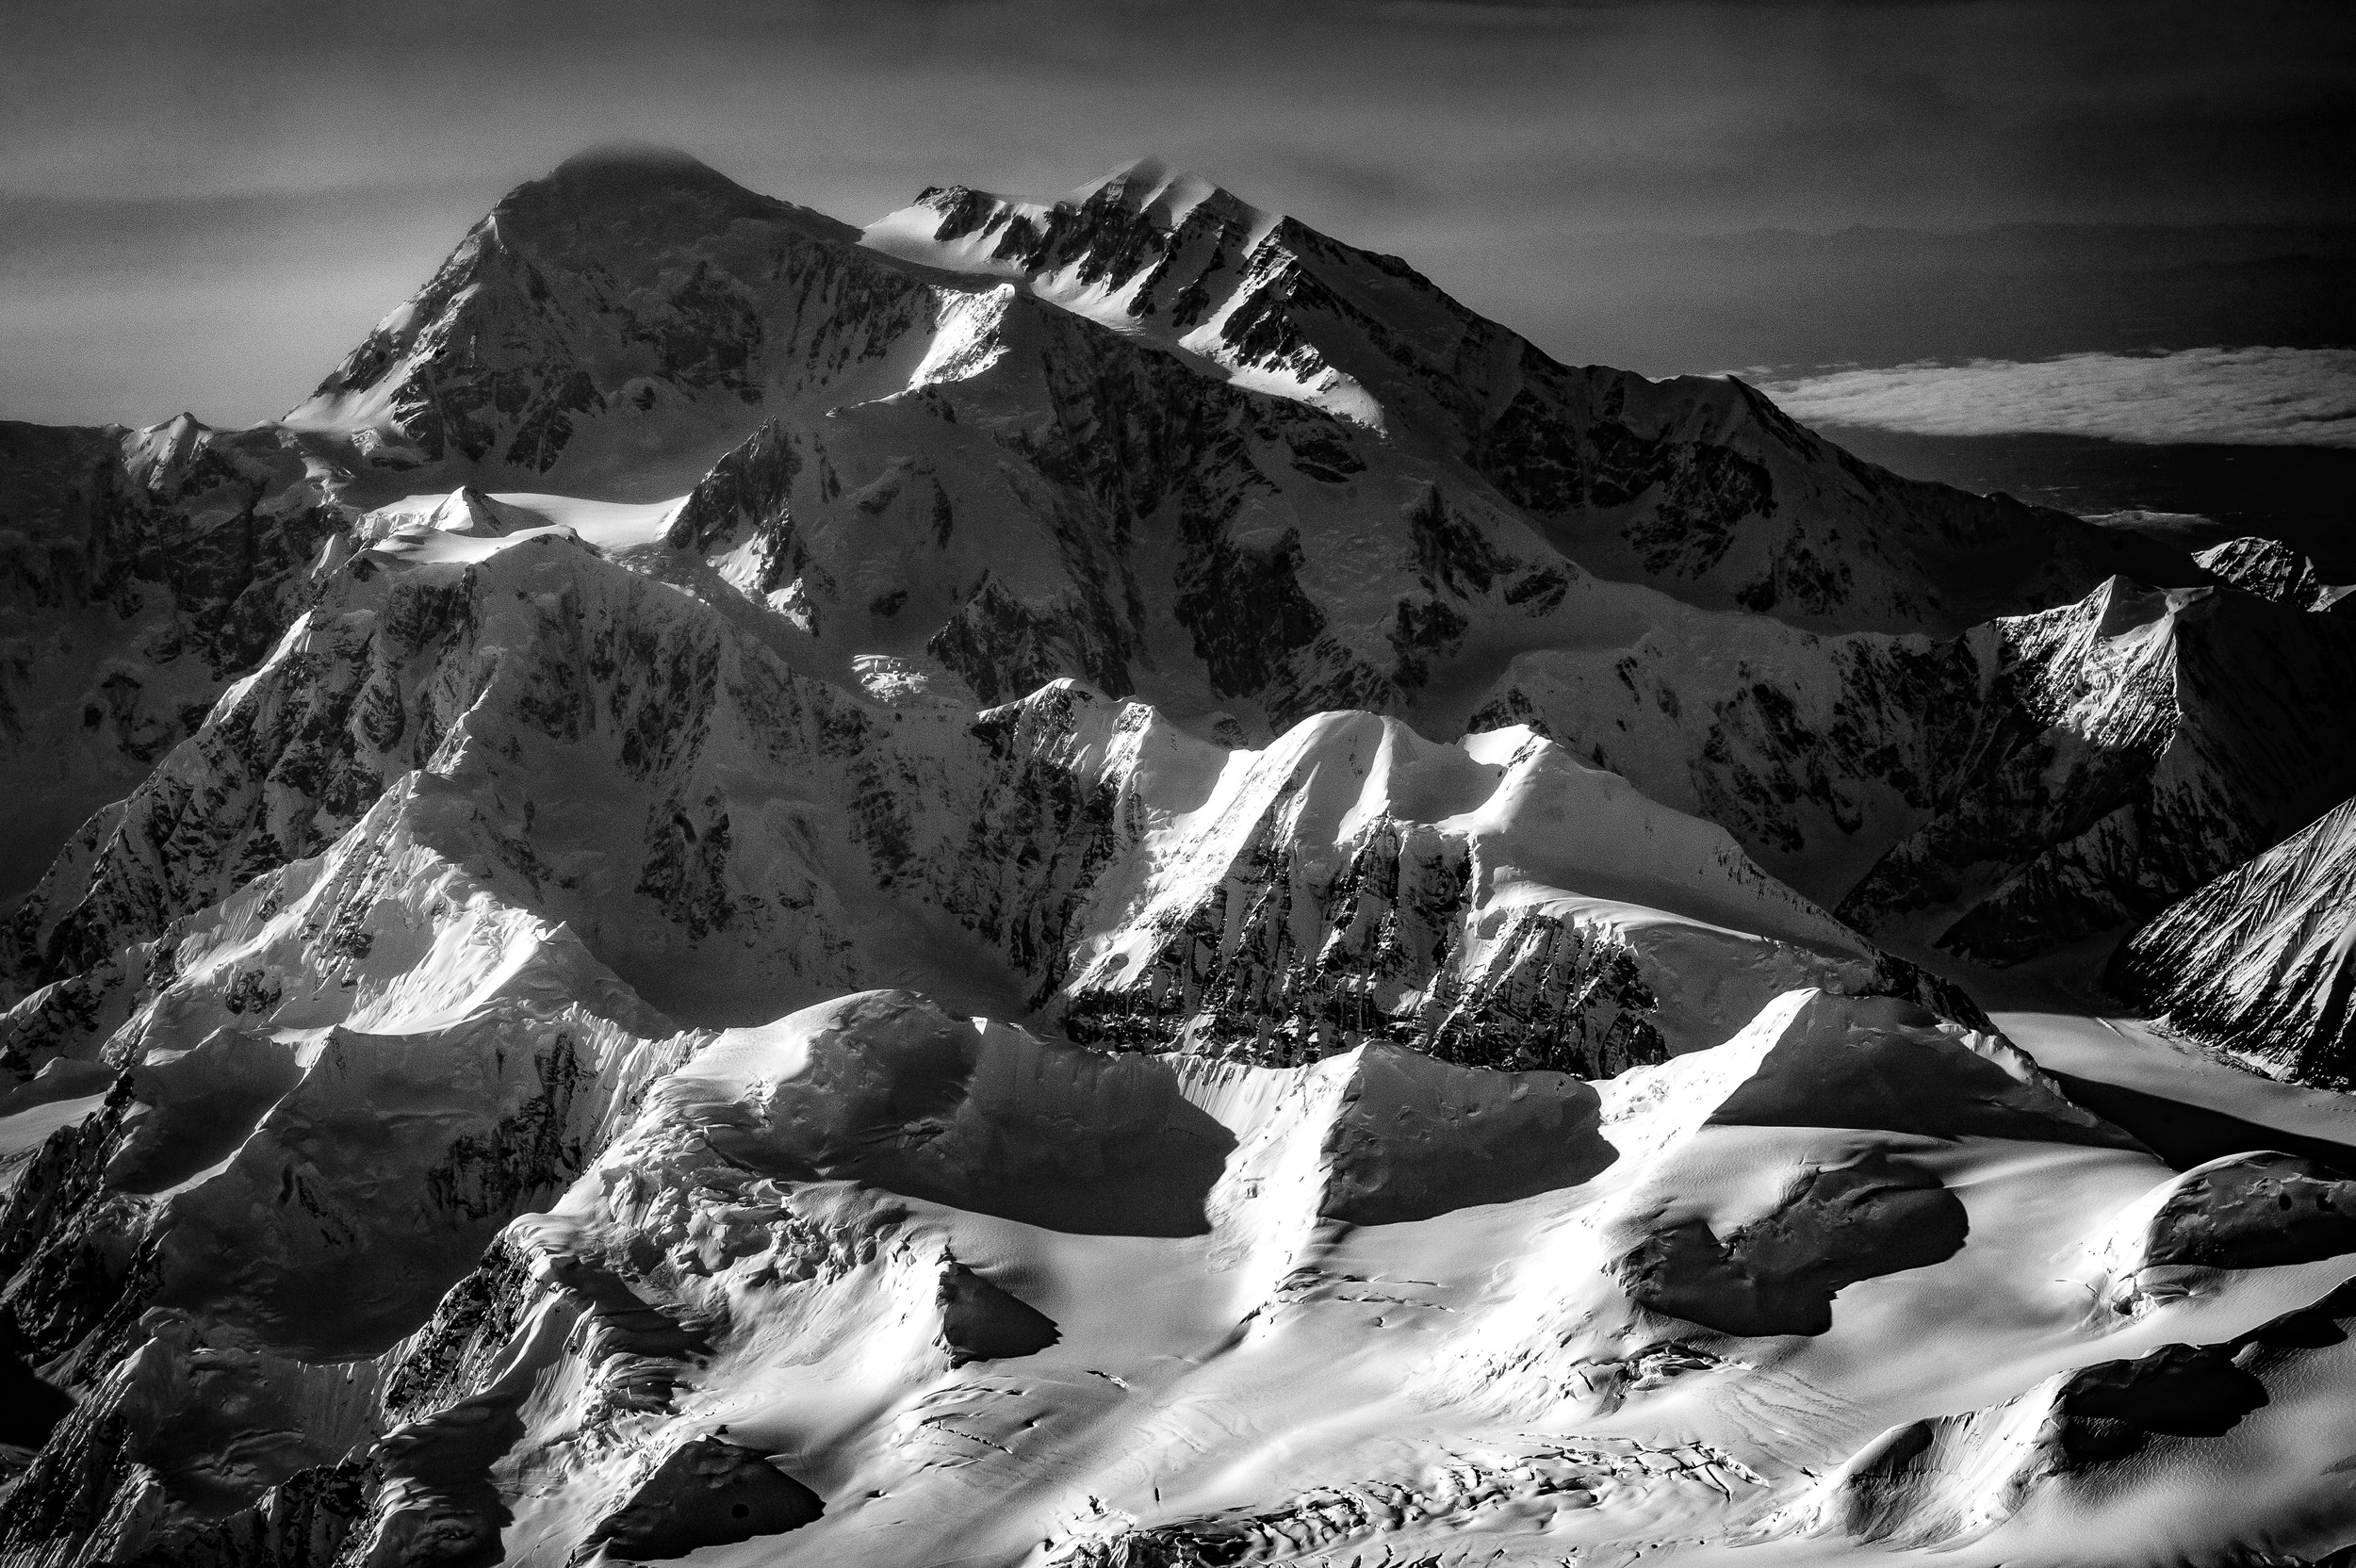
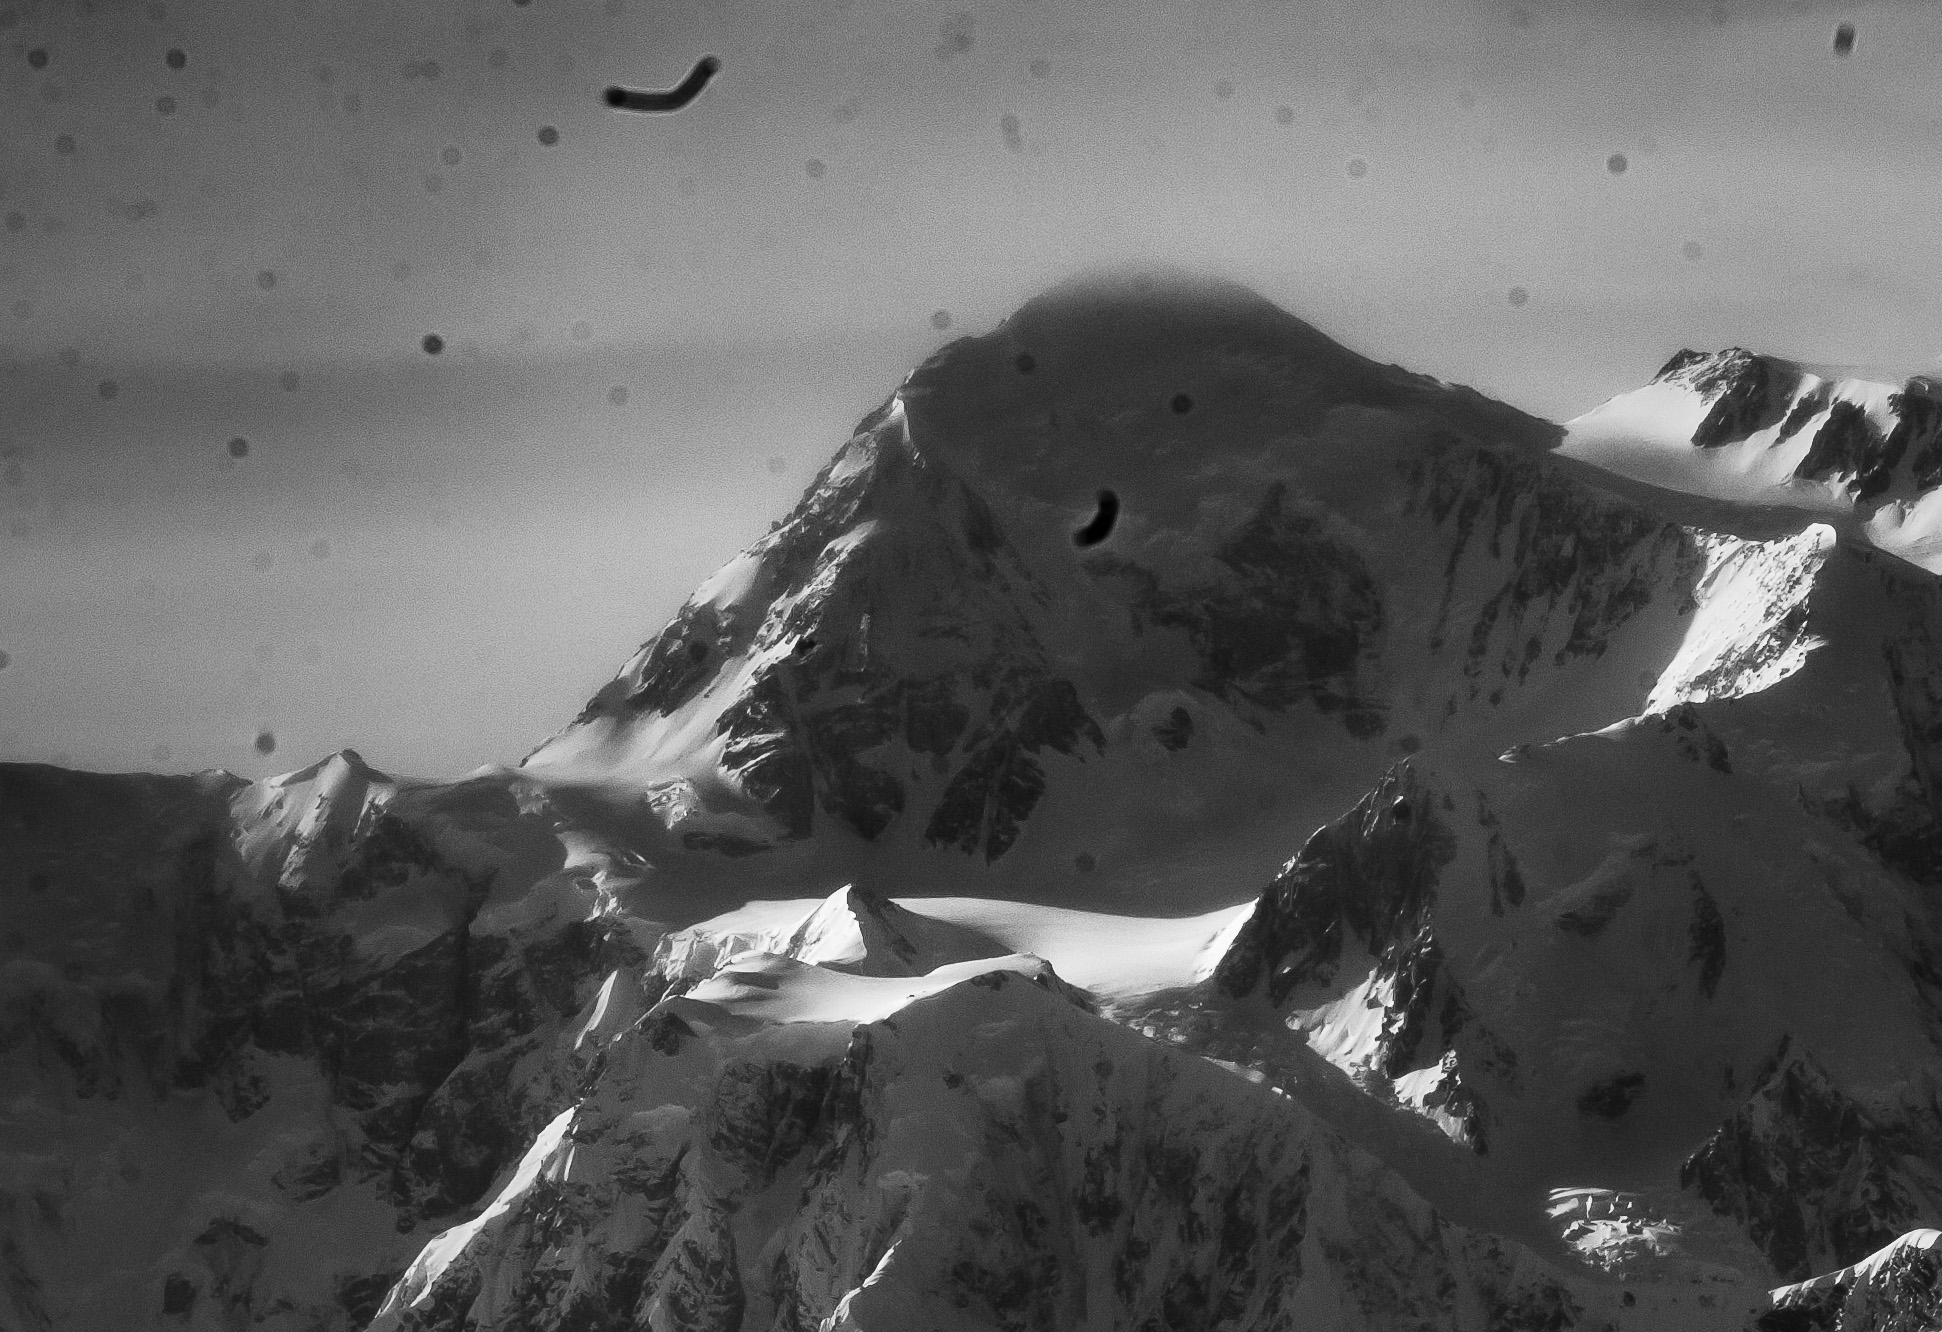
**And on that diverted flight to Kodiak, I was treated to an aerial view of what was then called Mt McKinley, now Mt. Denali.

TIME TO REVISIT OVERLOOKED PHOTOGRAPHS

The final image of Mt. Denali edited in Adobe Lightroom CC and converted to black and white.

The final image of Mt. Denali edited in Adobe Lightroom CC and converted to black and white.

When I read the recent news about the name change of Mt. McKinley in Alaska to Mt. Denali, I remembered taking a photo through the window of a U.S. Coast Guard P-3 Orion late last year following an assignment in the Arctic.

After locating the photos on my hard drive, I quickly realized why I never bothered to process them at the time. They were bad. There was little color, no contrast, and very flat light. That was before I even bothered to notice all the dust spots. Nothing to get excited about here, right?

The original raw image seen at left was shot with a Nikon D3S and 24-70mm f2.8 lens zoomed to 70mm, at 1/400, f13 with an of ISO 250. Final image is at right.

The original raw image seen at left was shot with a Nikon D3S and 24-70mm f2.8 lens zoomed to 70mm, at 1/400, f13 with an of ISO 250. Final image is at right.

Still, I did shoot in Raw, so I really had nothing to lose by bringing the photos into Adobe Lightroom CC and seeing if anything could be done to rescue them. After a few minutes of editing, something wonderful began to appear.

I am continuously amazed by the power of image editing software, especially Lightroom CC. Not only is it powerful software, but it is really easy to use and incredibly intuitive. While I use Adobe Photoshop CC as well, I find myself using Lightroom more and more as my primary image editing choice.

Lightroom has a very good spot removal tool, but because of the amount of clean up needed in this photo, I switched to Photoshop and used a combination of the spot healing and clone stamp tools.

Lightroom has a very good spot removal tool, but because of the amount of clean up needed in this photo, I switched to Photoshop and used a combination of the spot healing and clone stamp tools.

However, when you combine the two programs then you have the ability to do some amazing things. Adobe realized this and now offers a photography plan where you get both programs for $9.99 a month.

Getting it right, or at least closer than I did with this photo, in camera is still the best thing you can do. But it also doesn't hurt to go back and see if you can turn those overlooked photos into something wonderful.

Online resources:

Lightroom Killer Tips

Adobe Photoshop Lightroom tutorials from novice to expert

MAKING TIME TO PHOTOGRAPH THE NORTHERN LIGHTS

A slightly longer shutter speed allowed additional colors to appear. 1/8 @ f2.8, ISO 3200.

A slightly longer shutter speed allowed additional colors to appear. 1/8 @ f2.8, ISO 3200.

One benefit of traveling on assignment is that you often find yourself in places that you might not otherwise have had the opportunity to visit. And whenever I find myself in these locations, I make it a point to take full advantage of all the photographic opportunities available.

Just to be clear, the assignment that I'm getting paid for always comes first, which means that I really have to muster the energy to do personal work. This was certainly the case on a recent trip to Fairbanks, Alaska, to document Navy-sponsored Arctic research.

Prior to any trip, I will conduct a web search looking for things to do and see at that location. Imagine my surprise when I kept seeing photographs of the Aurora Borealis, or Northern Lights. Was it possible that I would get the chance to not only see this but photograph it? For some reason, I thought you had to be much farther north.

The intensity of light was constantly changing which meant I had to keep adjusting shutter speed. 1/2 @ f2.8, ISO 3200.

The intensity of light was constantly changing which meant I had to keep adjusting shutter speed. 1/2 @ f2.8, ISO 3200.

As you can see from the photographs accompanying this blog that I was treated to a spectacular sight. Some tips and a little more about what it took to take these photographs follows.

1. Getting the photograph means you might lose a little sleep. Rarely are the best outdoor or landscape photographs taken at mid-morning, just after a leisurely breakfast and before a long lunch. Most of the time getting the best photographs means setting up before the sun rises and staying out after it sets. Of course, there is still time for that leisurely lunch, and maybe a nap in the middle of the day, unless you are getting paid to be there, then you have to make the extra effort. So to photograph the Northern Lights I had to set my alarm for midnight, and not just one night, but for three nights in a row until I finally found success.

2. Shooting something for the first time means experimentation. I had never photographed the Northern Lights, but I have photographed stars, so I knew that I first needed a location away from the city lights, which in Fairbanks meant about a ten-minute drive. Ideally, you would scout these locations during the day, but remember since I was on an assignment, I had to locate a safe and awesome location in the dark, which I fortunately did. On the second night, it was clear and the sky was filled with stars, but I didn't see signs of the Aurora Borealis. However, just because I didn't see what I was looking for, didn't mean I wasn't going to still take pictures.

I did not realize that I had captured a faint glow of the Northern Lights on the second night until I downloaded and post processed my photos. 1/13 @f2.8, ISO 1600.

I did not realize that I had captured a faint glow of the Northern Lights on the second night until I downloaded and post processed my photos. 1/13 @f2.8, ISO 1600.

3. Sometimes luck, even beginners luck, is your friend. If you asked me when I returned to the hotel that second night if I had any success, I would have said no. So imagine my surprise when I imported the images into Lightroom 5 and saw the subtle green and yellow hue in the sky. After some post-processing, I liked the images enough to share but still felt I missed out since I didn't actually see anything with my own eyes. Don't give up just because you don't see anything with your naked eye.

4. Persistence pays off. On the third night I once again woke up at midnight and headed back to the same location as the previous night, only this time as soon as I stepped out of the car, even before my eyes adjusted to the darkness, I could see streaks of green in the sky. By the time I set up my tripod and camera, the lights were sweeping across the night sky. I started with the same camera settings as I had the previous night and could tell right away that I wasn't even close. Remember tip two, experiment and don't get flustered. This time instead of a standard night star setup of a 15-20-second exposure at ISO 3200, I was at a two to four-second exposure at ISO 1600. Any longer on the exposure time and the lights were really soft because they were moving and "dancing" so fast. Given more time, I probably would have experimented more with that longer exposure.

5. Look 360 degrees. At first, I was really focused in one direction which had a good foreground of pine trees. It wasn't until I relaxed a bit, turned and started looking around, that I realized there were photo opportunities everywhere, even straight up. I just kept shooting with the Nikon 24-70mm and even though I did bring the 70-200mm with me, for some reason I left the 14-24mm lens in the room. In total, I spent close to an hour taking pictures and if it wasn't for that pesky aforementioned assignment, I would have stayed all night.

Even shooting vertical at 24mm I was not able to capture everything I was seeing. 1/5 @ f 2.8, ISO 1600.

Even shooting vertical at 24mm I was not able to capture everything I was seeing. 1/5 @ f 2.8, ISO 1600.

After seeing the Northern Lights with my own eyes, I don't regret any sleep I missed and even as I sit here in the Anchorage airport on a five-hour layover and yet another 16 hours before I'm back in Virginia, the lights are still burning bright in my eyes.

Bonus tip:

Many of the hotels in Fairbanks maintain a wake-up list if you wish to be notified whether the Aurora Borealis is active on a particular night. My advice, just head outside and shoot; you may discover more in your photograph than you expected.