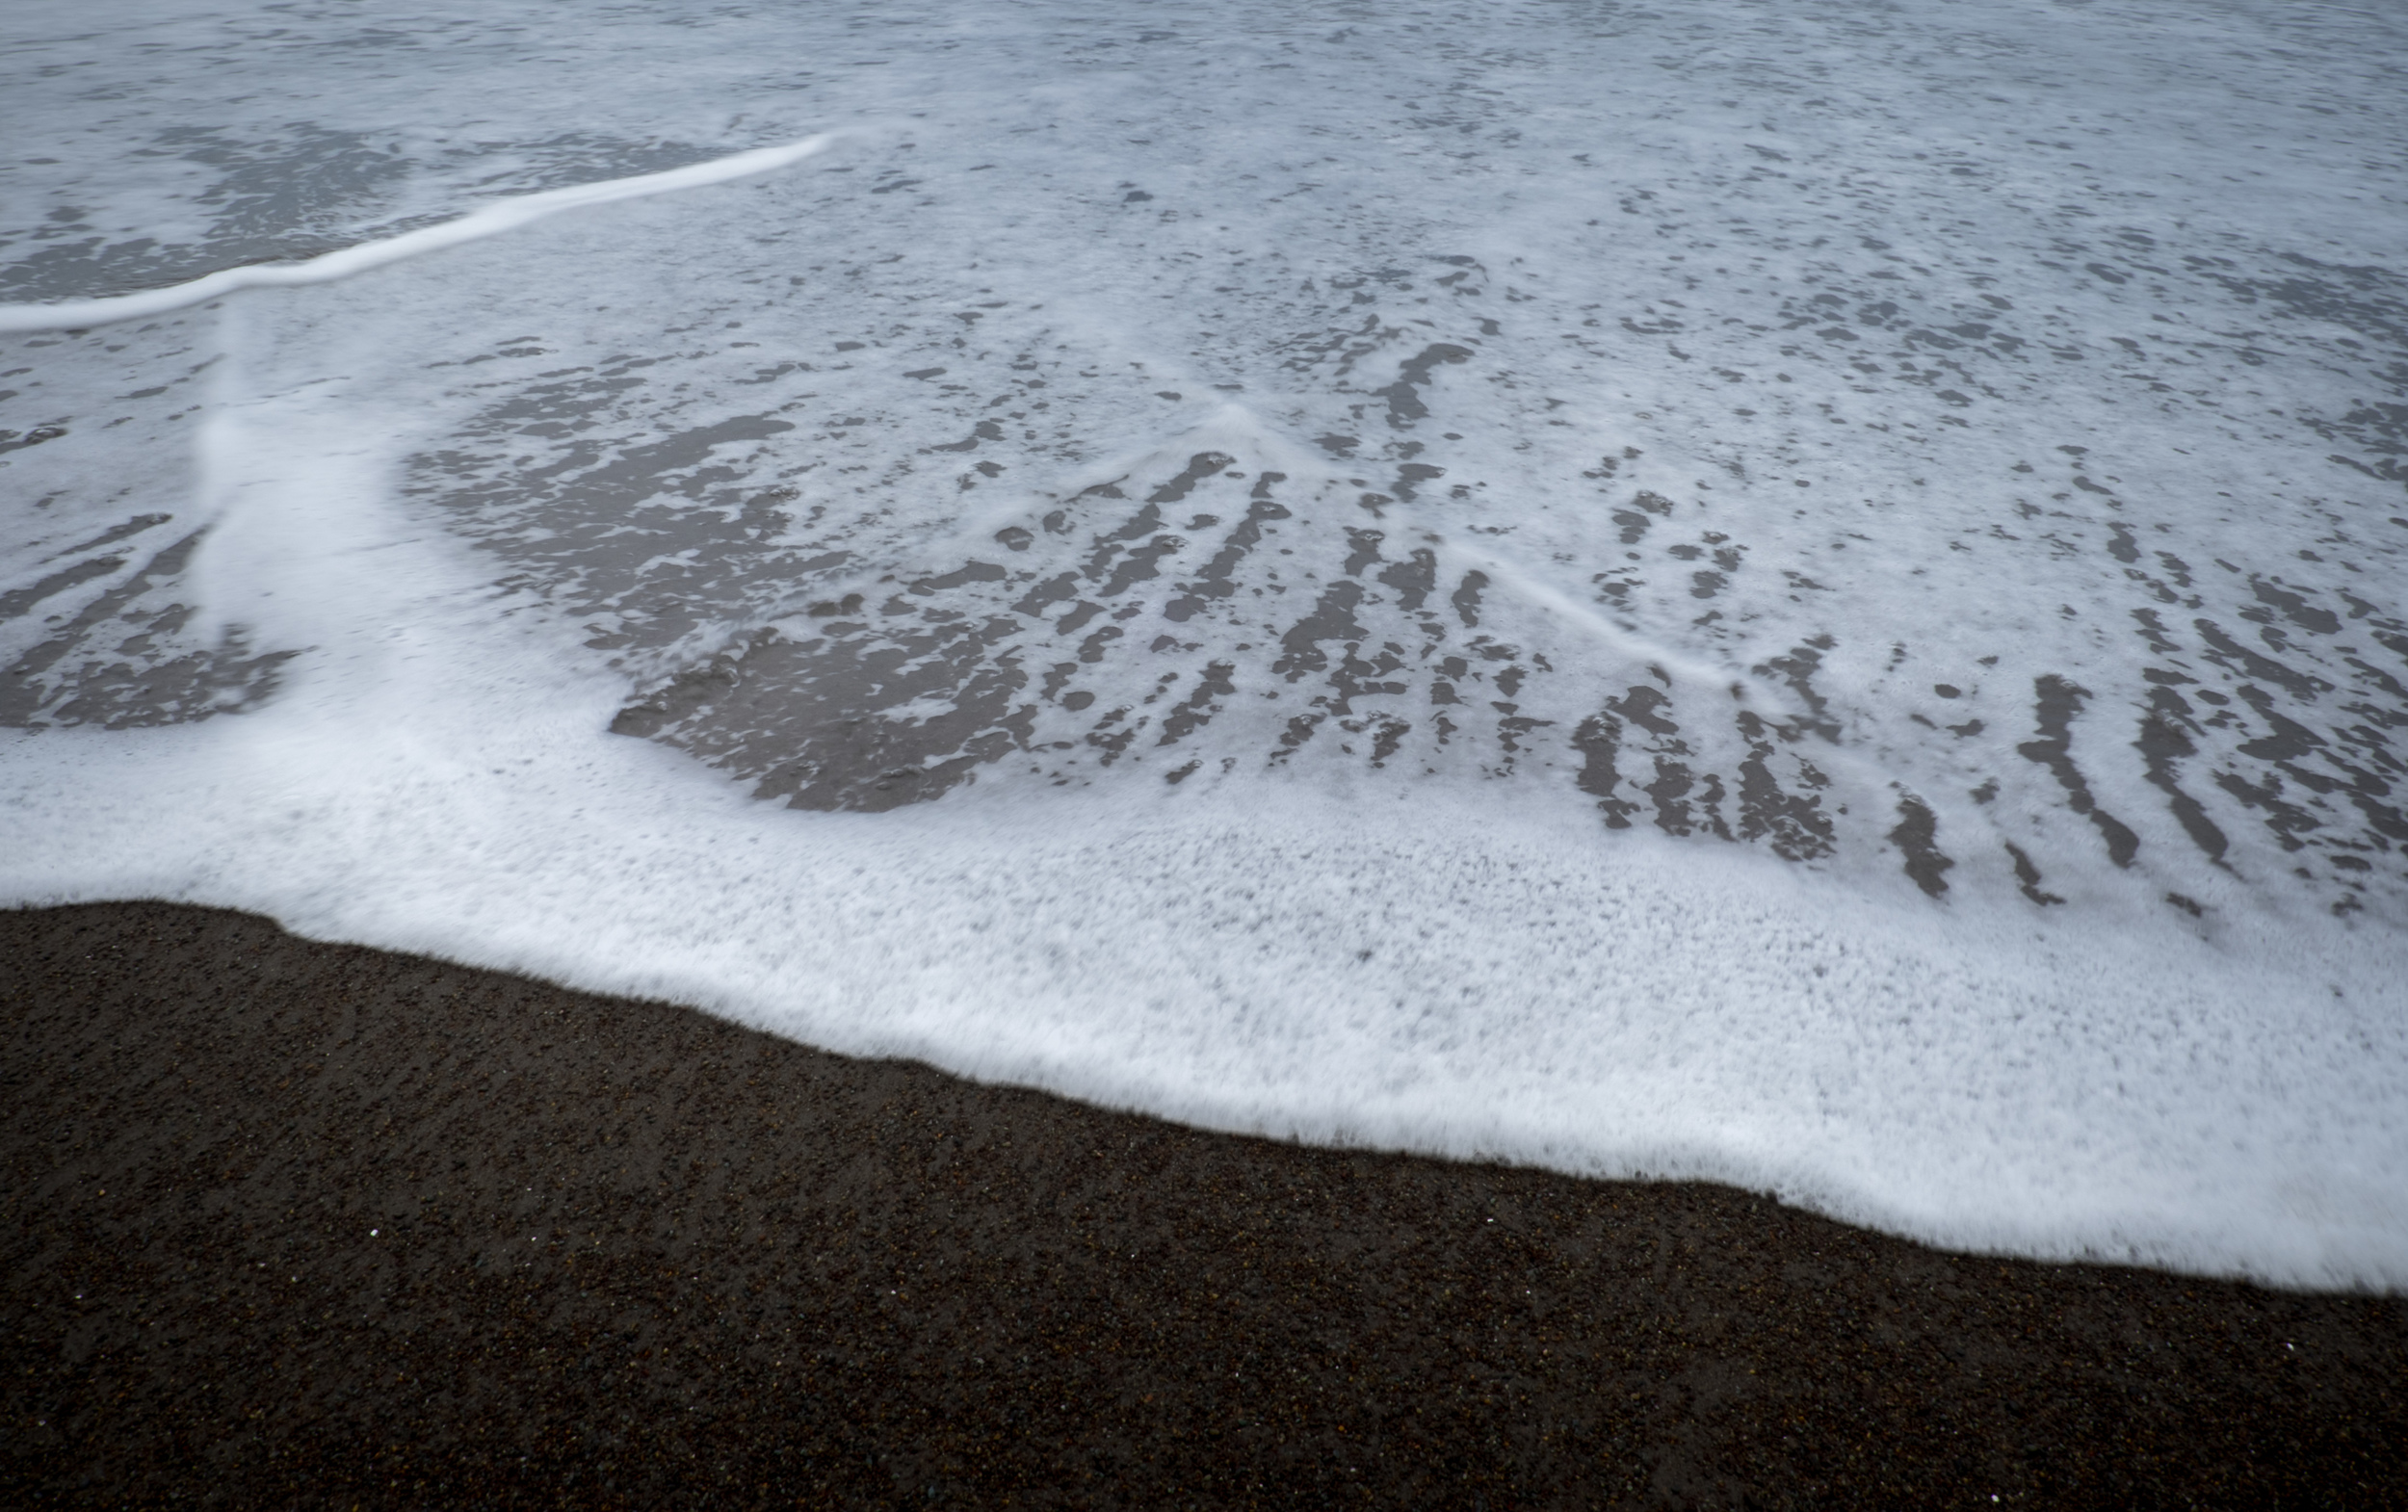
Occasionally, some light makes its way to the forest floor which adds some nice contrast. Fujifilm XT1, 0.5 sec @ f11, ISO 200.
If you are visiting the San Francisco Bay area, I urge you to take some time and visit Muir Woods National Monument. Located just 12 miles north of the city in Marin County, California, and part of the Golden Gate National Recreational Area, Muir Woods features 240 acres of old-growth Coastal Redwoods and plenty of photographic opportunities.
I recently spent five hours exploring the park and hope that you will benefit from the five photographic tips below.
1. Lens selection. I would probably leave the telephoto behind, but that doesn't mean you need to bring only super wide-angle lenses. The Coastal Redwoods are big and everywhere, so you will not need a telephoto to see them, but adding something in the 70-120mm range would allow you to compress a scene or reach some trees that may be a little further off the path. A longer lens could also come in handy if you want to aim up into the canopy.

As someone who does not shoot a lot of verticals, this location was the exception. Fujifilm XT1,1/2.3 @ f18, ISO 200.
2. Don't forget the tripod. You will be doing a lot of walking during your visit and you might be tempted to leave the tripod behind. Don't. Even during a bright sunny day, not much light filters down to the forest floor, forcing you to shoot at very slow shutter speeds even if you have fast lenses. And even though tripods are allowed in the park and the paths are fairly wide, remember to be courteous to other visitors, especially during busy times.
"This is the best tree-lovers monument that could possibly be found in all the forests of the world". - John Muir
3. Stay on track. Photography is allowed throughout the park, but you must remain on the paths and boardwalks. There is an easy loop path with an occasional trail that branches off. It took me about four hours to make the loop, but you could certainly do it in less. My recommendation would be to spend the whole day and plan on making several trips around the loop or take advantage of a ranger-led program.
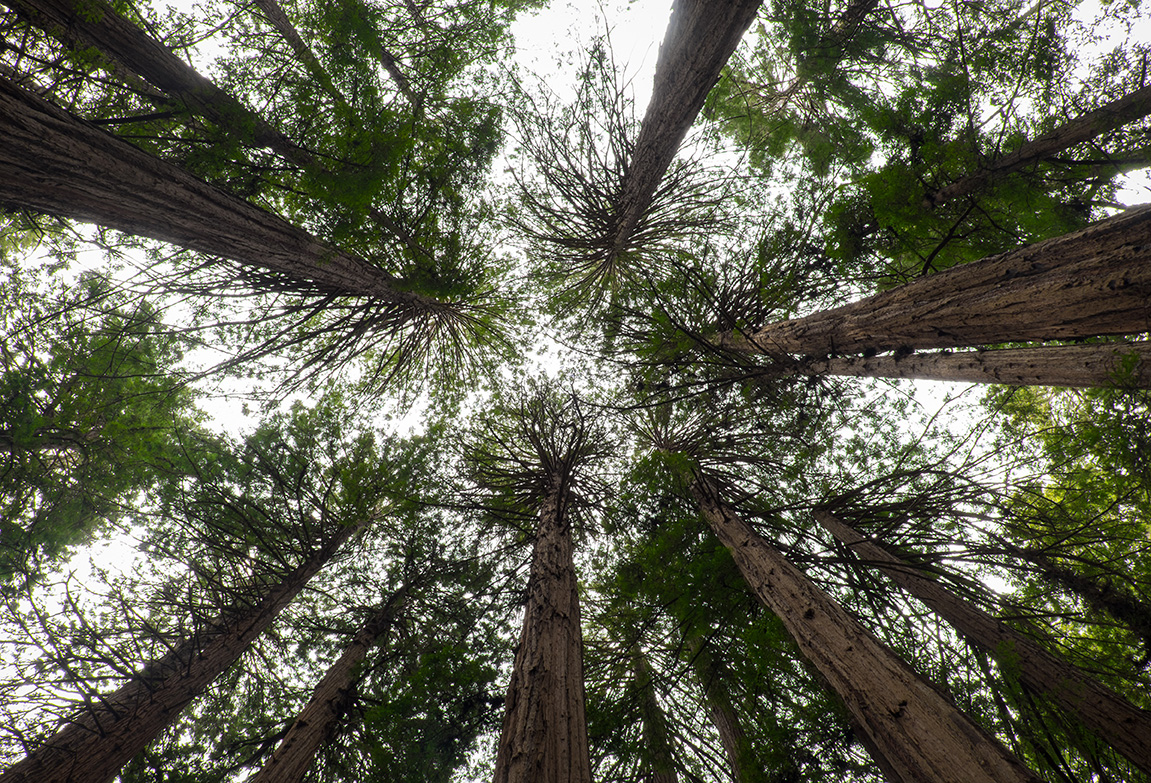
There are a few places along the trail such as Cathedral Grove where you are able to get nice canopy shots from the trail. Fujifilm XT1, 0.3 sec @ f14, ISO 200
4. Get there early or late. Normally this tip would refer to taking advantage of the best light, but in this case, it is more about the parking and avoiding the crowds. Parking is very limited, especially on weekends, but even during my weekday visit, I noticed parking was gone, even a mile down the road when I left the park around 2 p.m. Another option would be to take the Muir Woods shuttle which runs weekends from April 4th through October 25th. The park is open from 8 a.m. to sunset.
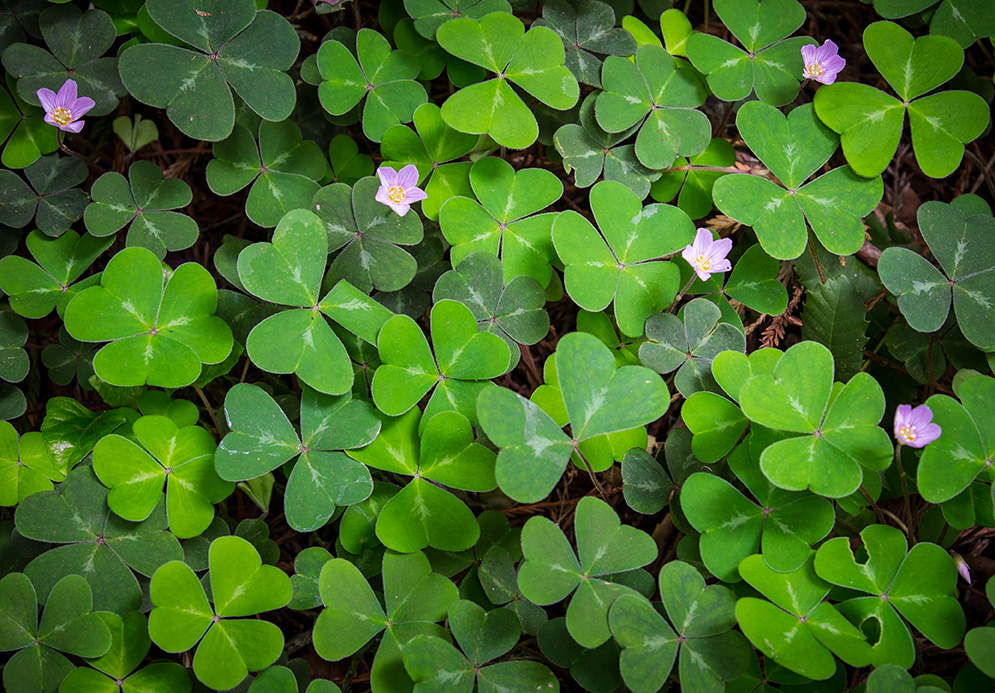
Don’t lose sight of the forest for the trees, or in this case, take the time and look for details among the trees. Fujifilm XT1, 1/13 sec @ f4.5, ISO 200
5. Big picture - small picture. I was amazed by how much these Coastal Redwoods would impact me. Their size and beauty had me yearning to just shoot wide, take it all in with every frame. But that didn't always convey the true size of these magnificent trees as I reviewed the pictures. Force yourself, as I did, to try other focal lengths in order to achieve a different look. And if you have a macro lens, be sure to bring that too. There are incredible textures everywhere and plenty of interesting subjects on the ground if you can manage to look down.

Shooting from a low angle with a wide-angle lens enhances the grandeur. Fujifilm XT1, 1/8 @ f8, ISO 400.
Finally, be sure to take some time and relax during your visit. Since the lighting is fairly constant, there really is no need to rush, or limit your visit to the "best time" of the day for shooting. Find a bench, take a seat, and just enjoy this beautiful redwood forest that William and Elizabeth Kent donated to the federal government in 1908.
Download a PDF to learn more about the history of the park and the California Redwoods.