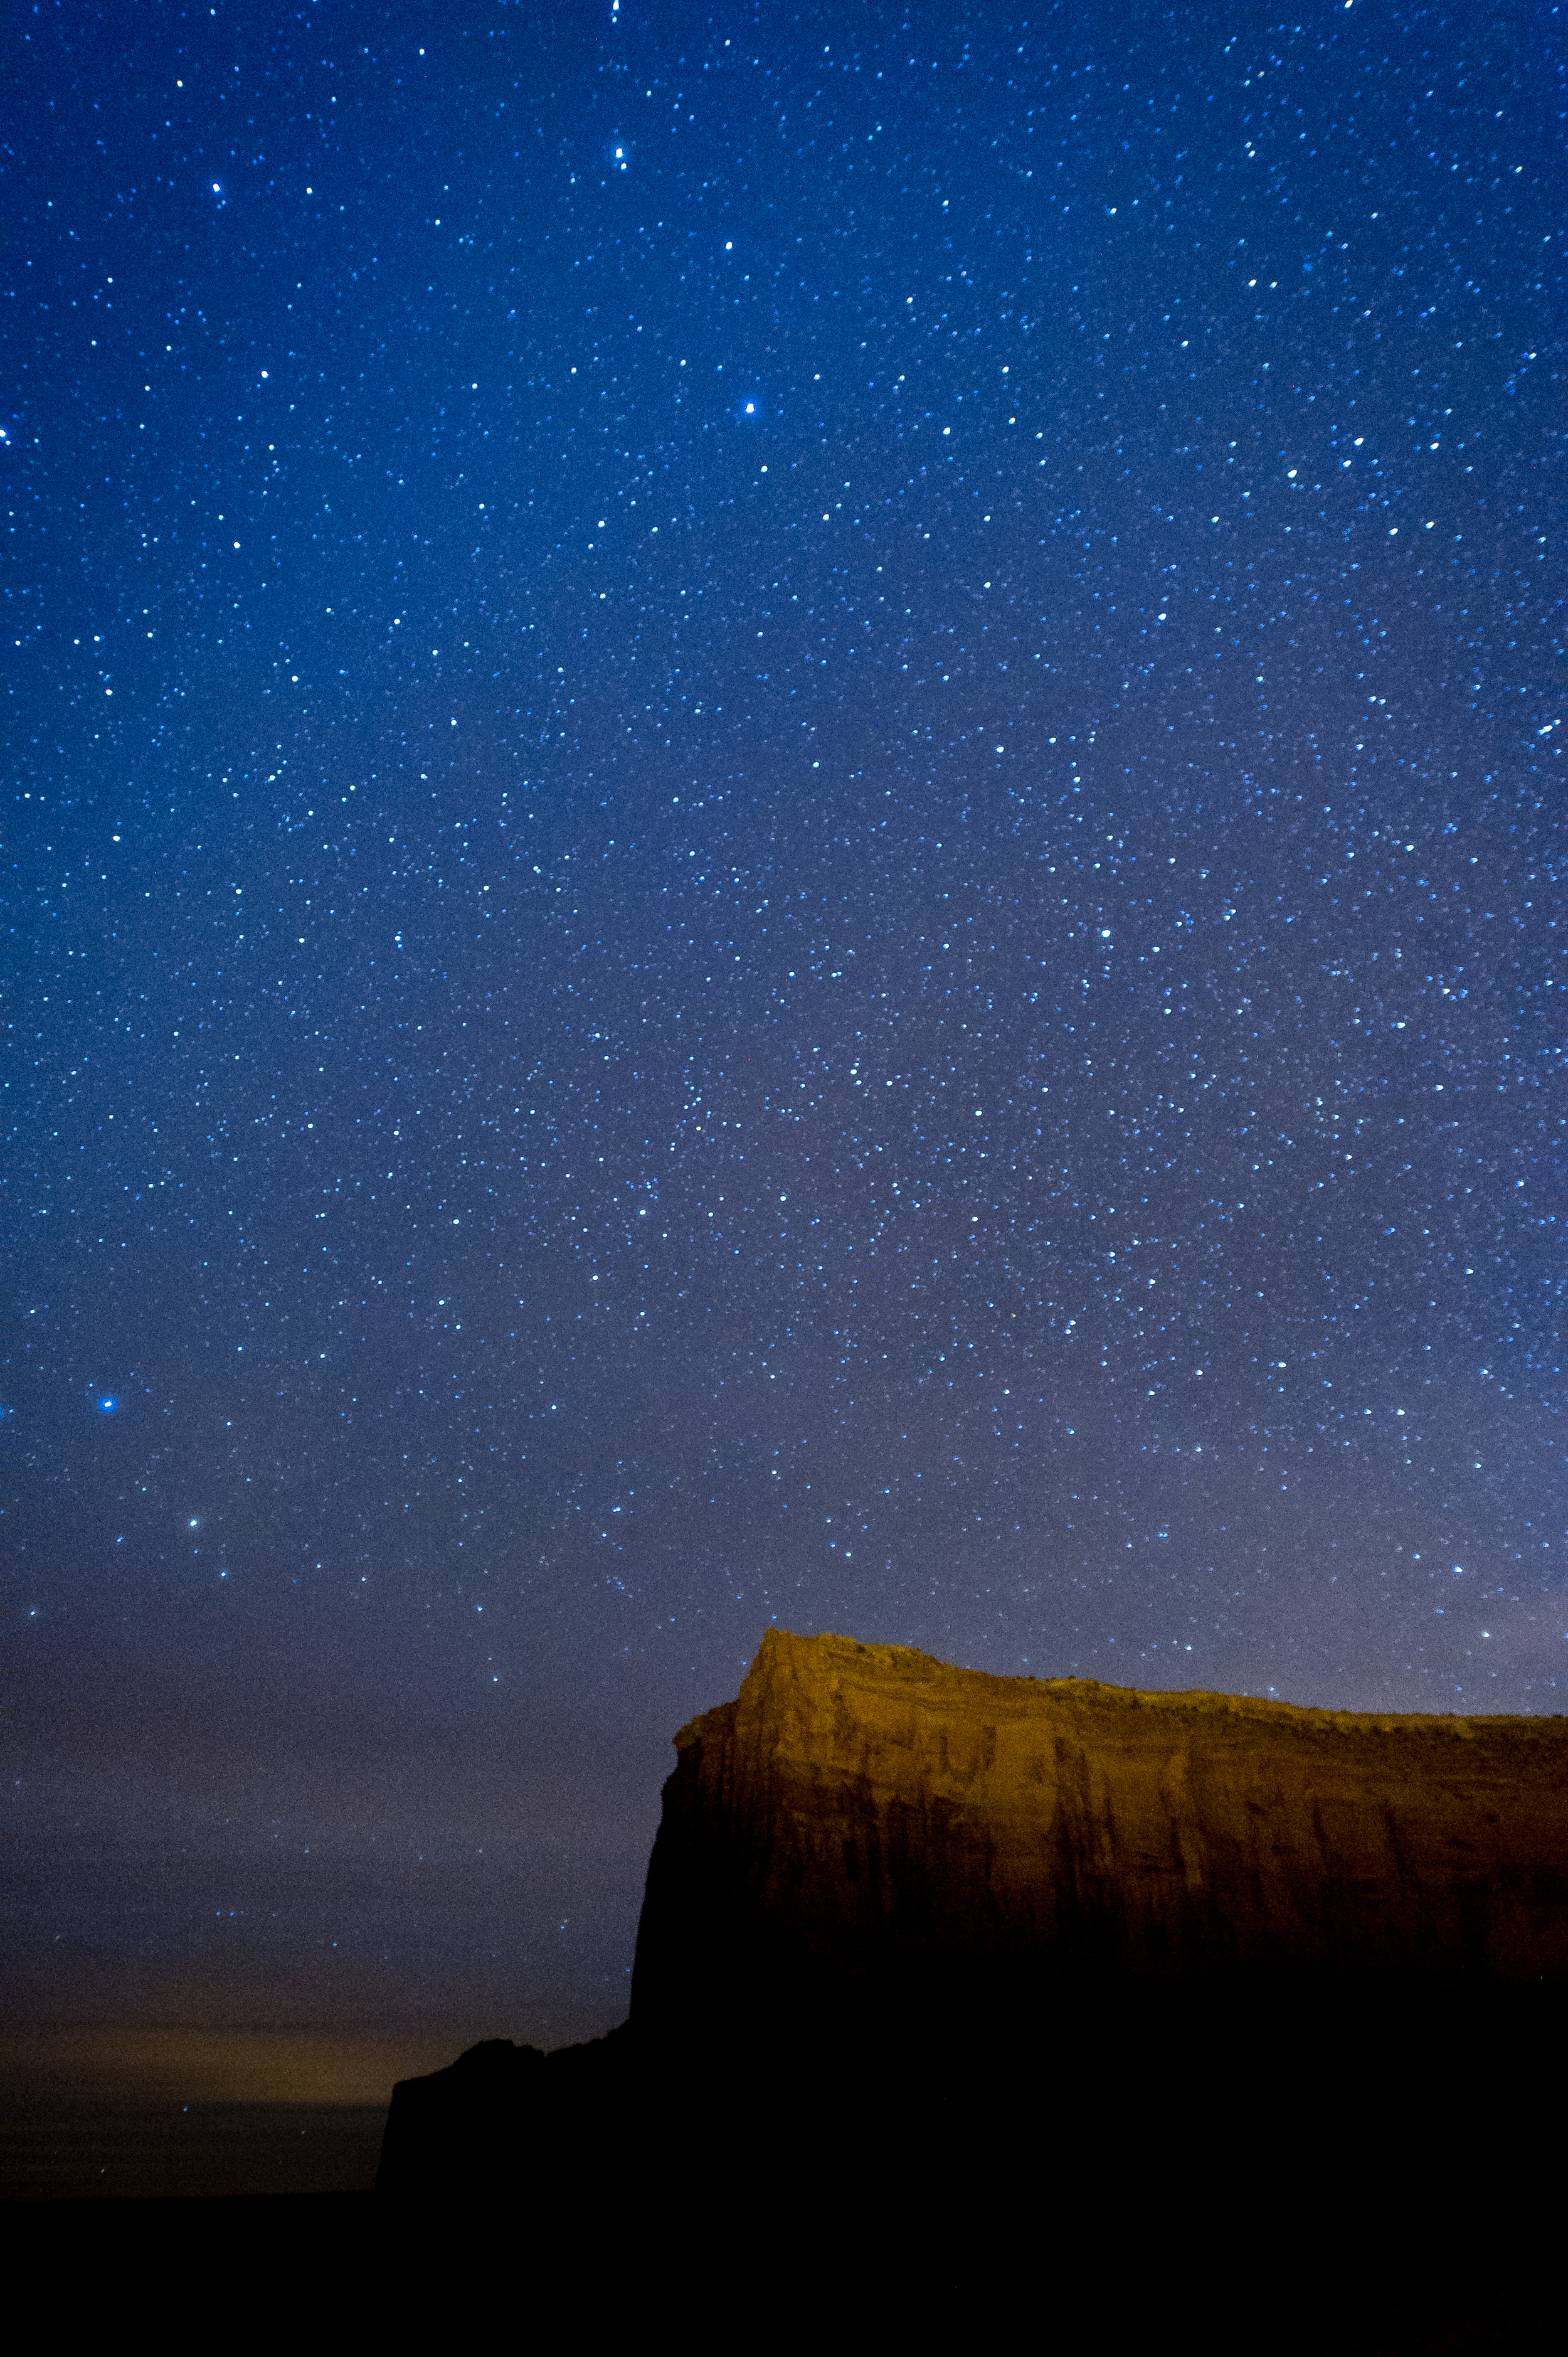
This sun flare photo was featured on Flickr's blog as part of a Flickr Friday project and now is one of my most popular photographs on the service with over 2,000 views and favorited 47 times.
Do you find yourself with a desire to head out shooting but are really stuck for inspiration? Maybe you have a new camera or lens and want to put them through the paces and make wonderful photographs but can't think of anything compelling to shoot. Or worse, maybe you have a mental block and just can't visualize yourself taking photos.
First, let's understand that this happens to everyone, professionals, amateurs and all levels in between. There are some days you just aren't feeling it. And it's easy to think just pick up the camera, get out there and shoot, but that really isn't an answer or you would not have to read any further.
Professional photographers can normally push through those thoughts and so can you with these helpful tips to get your creative photographic juices flowing.
1. The reason professional photographers push through those thoughts is because the fear of returning from an assignment without a usable image forces them to. So why not start by simply giving yourself an assignment. It can be anything from pretending you are a National Geographic photographer sent to document a location or making a commitment to show others your results. How would a Geographic photographer approach a subject? And nothing motivates a professional more than having to show images to their editor following an assignment so think who could play the role of editor in your life.

I was looking for a reason to get out of the house, so I headed to Glen Echo Park in Maryland, a location I've been wanting to photograph for some time. Once there I decided my theme would be the Victorian architecture and while I don't think I captured any particularly compelling images, I know it is a location I will return to again.
2. Pick a theme. It could be anything from shadows, color, texture or something broader like weather, love, aging. This theme allows you to begin really observing the environment around you. And maybe while searching for photographs to fit that theme, you begin to see something else that catches your eye. Keep an open mind, but if you can stick to your original theme it really forces you to "see."
3. Participate in an online photo community and look for assignments there such as Flickr Friday or Instagram's Weekend Hashtag Project. In this case you don't even have to pick a theme yourself. For instance, every Friday Instagram's community team picks a theme and provides a hashtag so you just shoot and post the photos. Find out if there is a Google Plus Drink & Click photo walk in your area or any photo walk for that matter. Or just find a friend who also is looking for a reason to get out and shoot and get together.

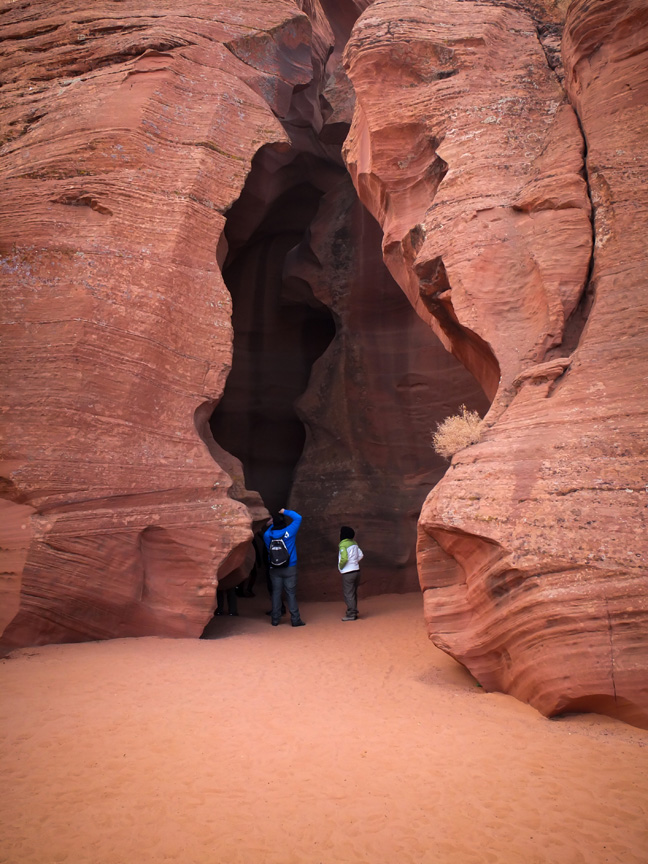
Photograph taken with my cell phone at the U.S. Postal Museum in Washington, D.C. as part of an Instagram Hashtag Project. #WHPsentbymail. I don't have a big presence on Instagram, but this photo drew eight likes and I picked up followers.
4. Think beyond that one day with your camera and look for longer term projects. Is there something in the news that sparks your interest or are you a member of a group or club that is looking for someone to document their activities. These projects keep you thinking long term and will have you looking forward to shooting every chance you get. It is still helpful to set goals along the way and sharing your work will help you refine the project.
5. Think about a technique you want to get better at and develop a photo shoot around that. You can watch tutorials on the web all day long, but if you never attempt to try them, then nothing is gained. Say you just watched a video on shooting portraits with off camera flash, then grab a friend and get out there and try it. Both Adorama and B & H have YouTube channels that offer great tips for photographers at all levels. Additionally, websites such as Creative Live, Kelbyone and a whole host of other free and paid sites are available to find both instruction and inspiration.

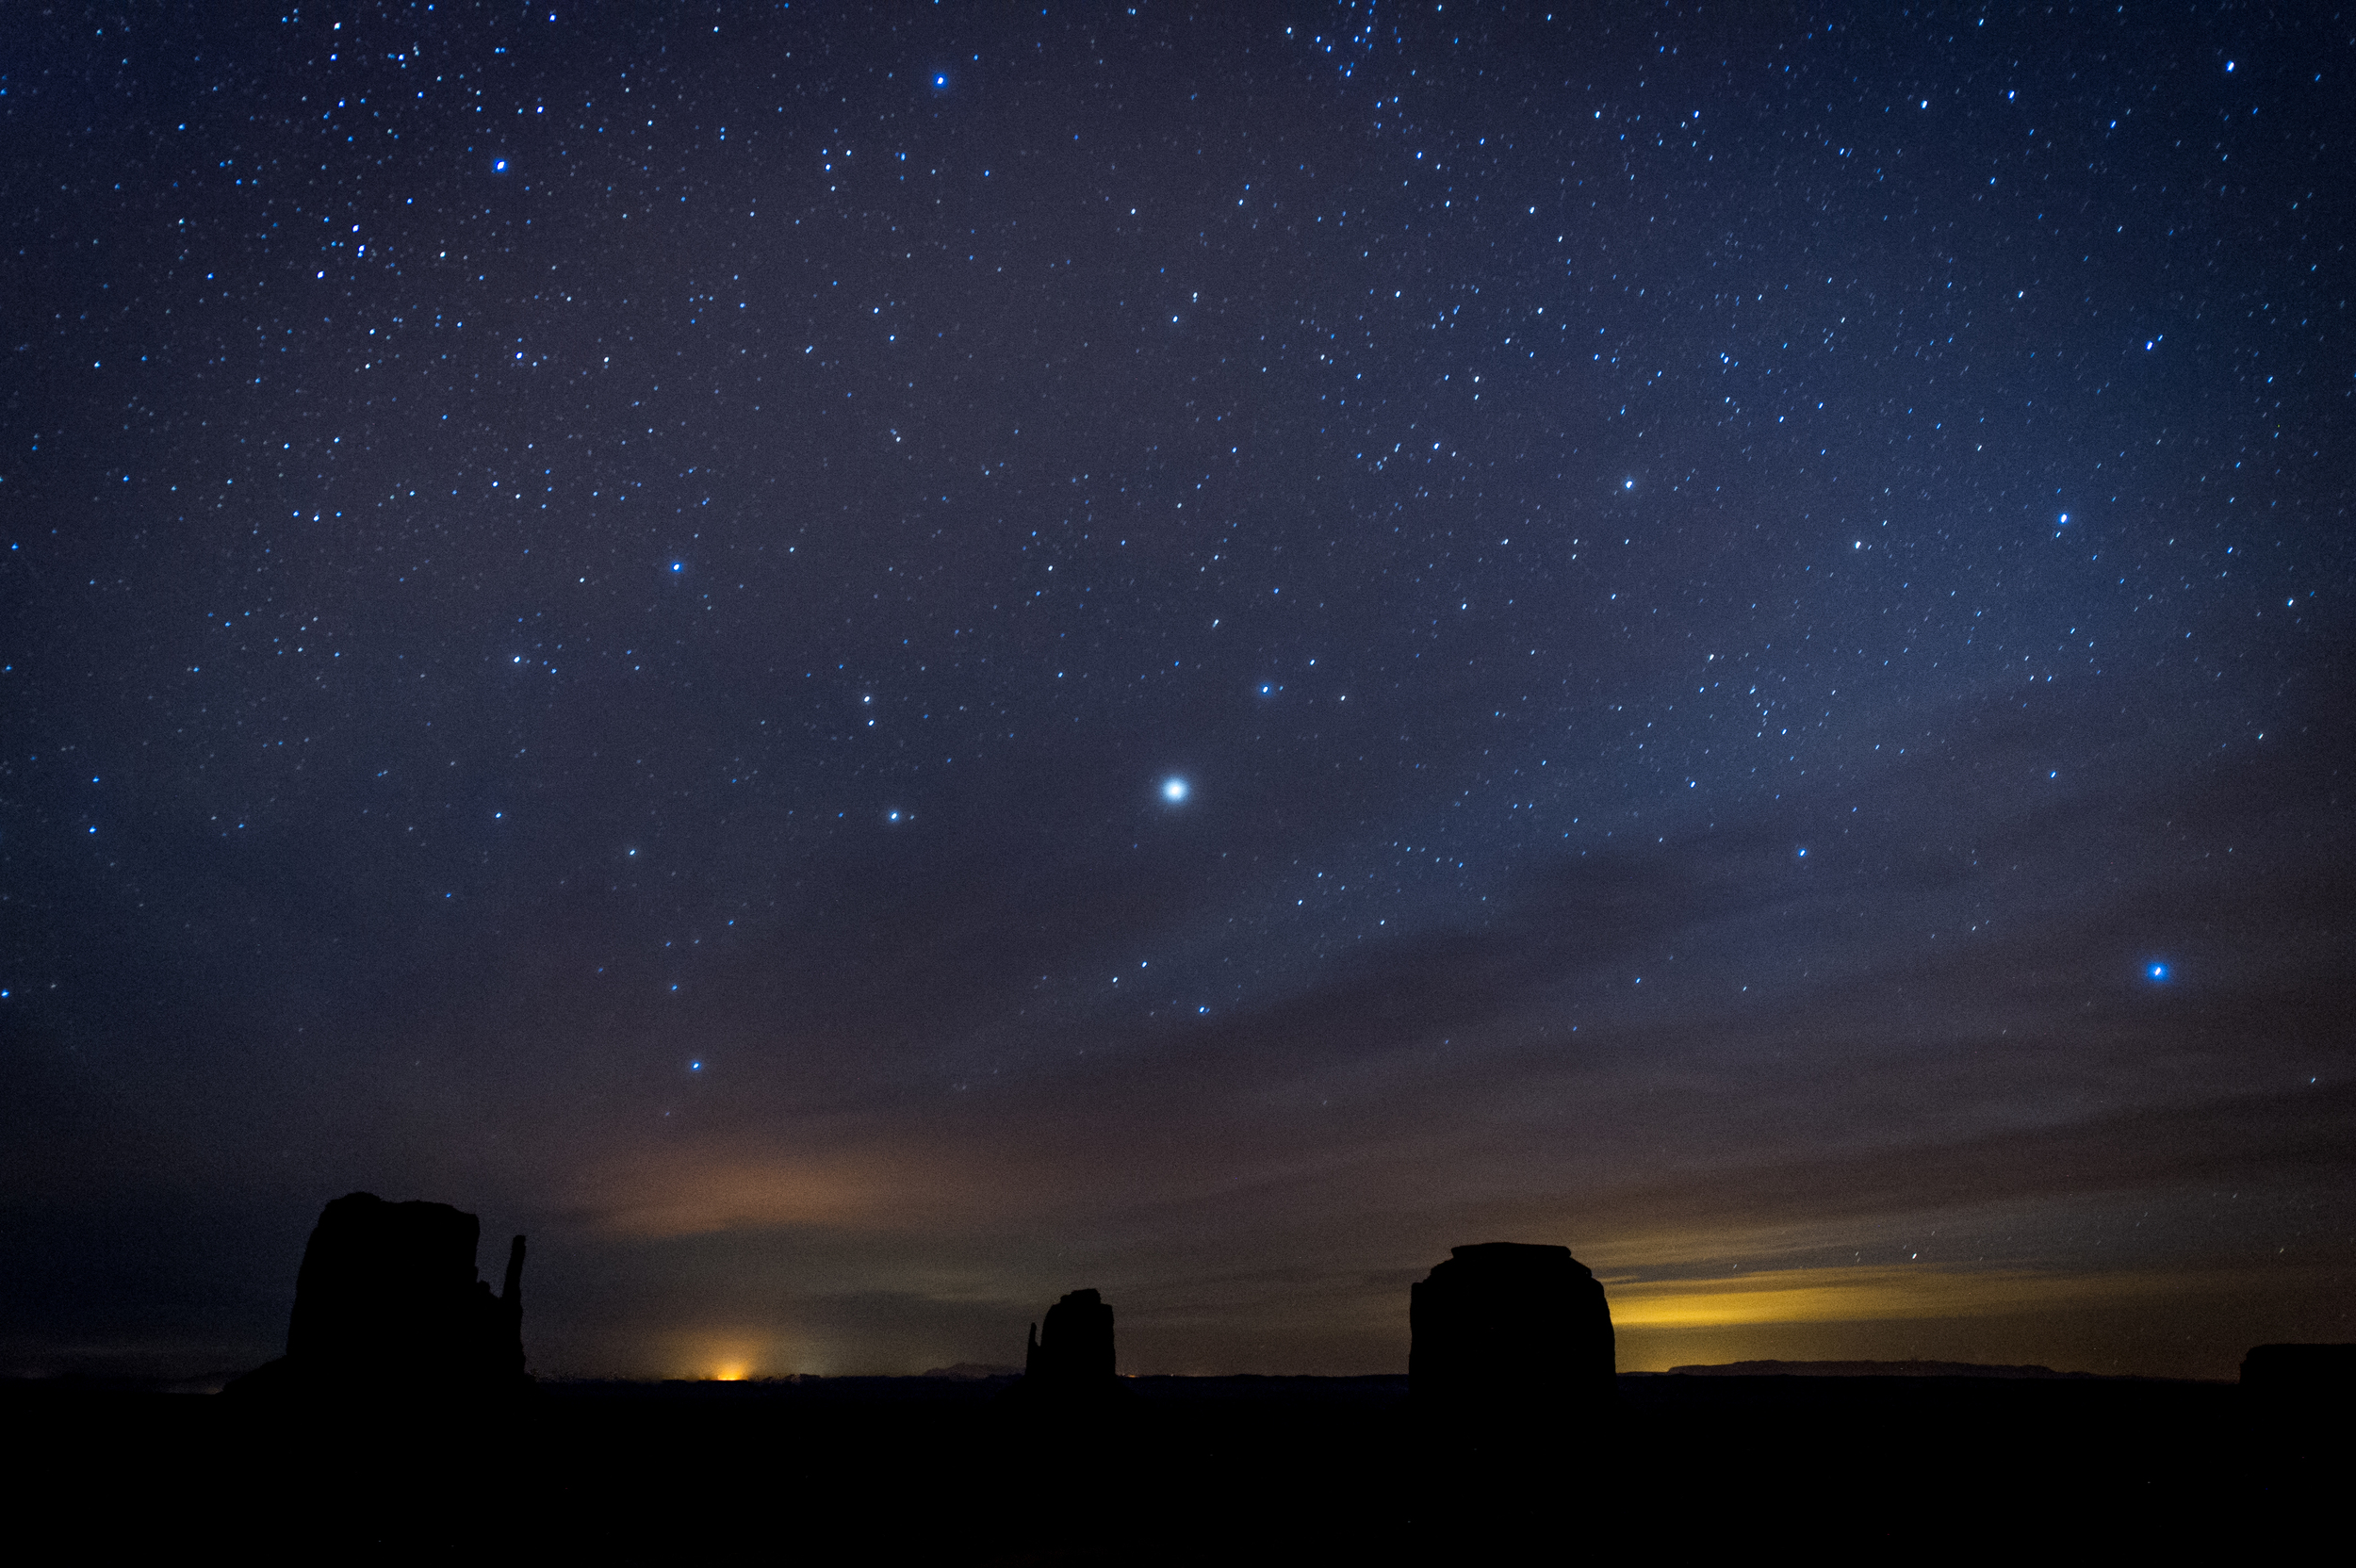
I find myself returning often to Rosslyn in Arlington, Va., where i'm drawn by the shadows, shapes and architecture. This photo was taken during the 2013 Scott Kelby Worldwide Photo Walk I led and subsequently was featured on Ibaroinex Perello's YouTube channel on finding the extraordinary in the ordinary .
So even if you find yourself going to the same location over and over again, I hope that following some of the tips I've offered will force you to get out and shoot, force you to dust off that camera and most importantly force you see differently.
Anything that gets you out of the house with a camera in hand means that there is a potential for wonderful photographs and the potential for you to improve.
Remember that even if you don't take any photographs that thrill you each time you are out shooting, you've lost nothing, except the guilt of not trying.