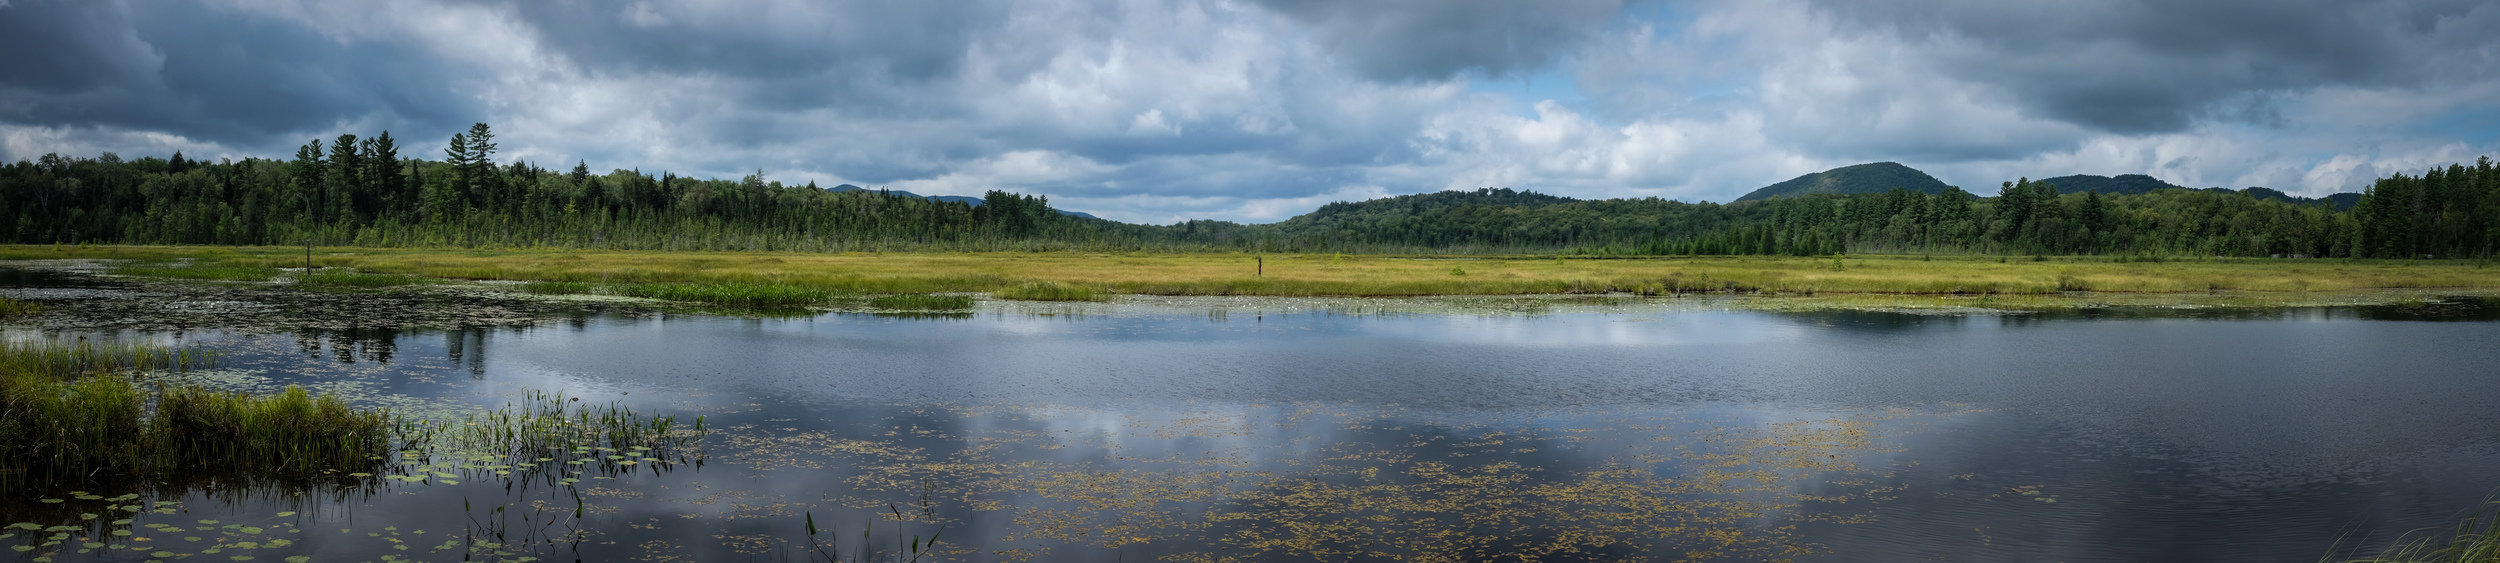
Photographing an urban scene like this one as the train left Central Station in Montreal offers a different viewpoint of the city. Fujifilm X100S, 1/200 @ f5.6, ISO 200.
Traveling by train can be a wonderful experience, sitting comfortably and watching as the world passes by just outside your window. I suppose if you commute daily by train you might not see it as some wonderful experience, however, whether the train you are on is traveling through a beautiful countryside or the forgotten parts of a city, there is no reason why you shouldn't be able to take out your camera and make some amazing photographs.
We have all seen photographs out of airplane windows. Instagram anyone? Perhaps they are a bit cliche, although I actually don't mind them. Less often though do you see photos taken from a train and that's a shame. Maybe it is because more people fly, I don't know, but the opportunities to capture unique views from a train are endless. And many times it is not even possible to tell from the photograph that it was taken through a window while traveling upwards of 60 miles per hour.

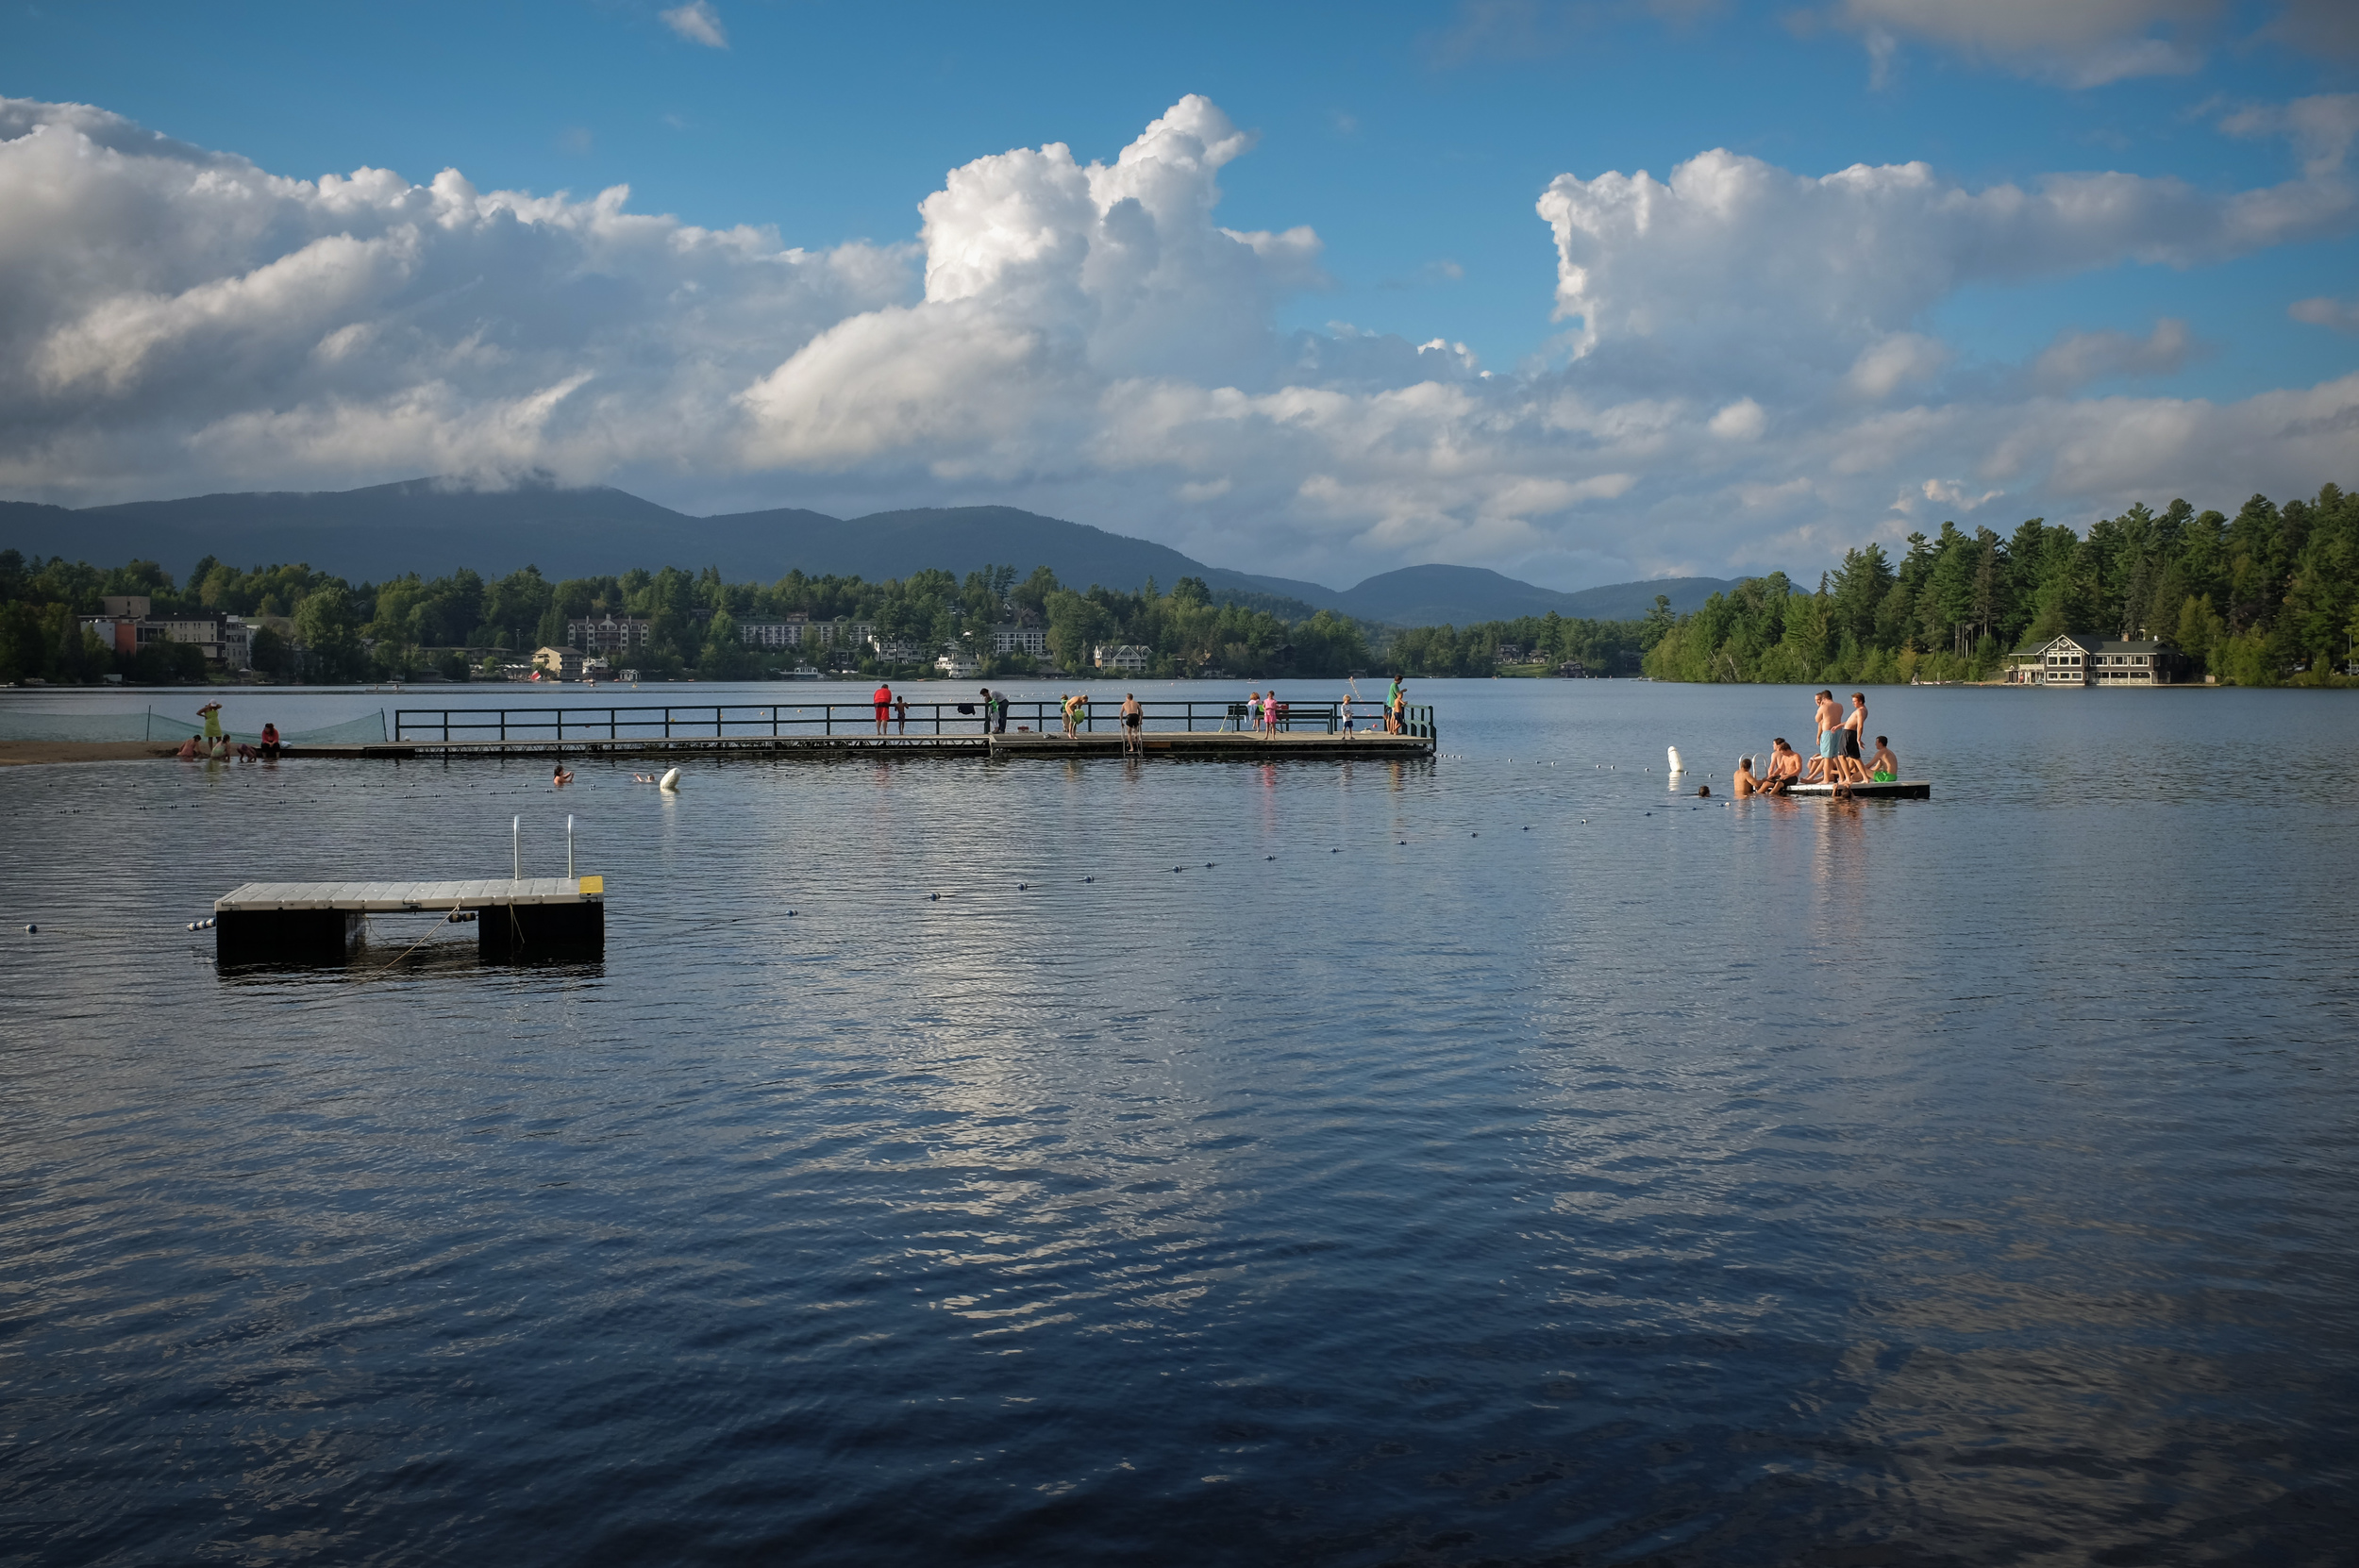
Taking advantage of the stopped train while waiting to cross the border from Canada into the United States allowed me some extra time to compose this shot which would have been difficult with the train moving due to the strong back light. Fujifilm X100S, 1/950 @ f5.6, ISO 400.
So what do you photograph? Think about the difference between trains and cars, besides the fact that trains are on rails and cars are on the road, but what does that offer you visually. If you think about it, roads generally pass by the front of buildings and houses, whereas trains travel behind, which makes it possible to capture a unique perspective. If you are out west or up north, it can be about beautiful landscapes, but most trains travel through urban and industrial areas as well so you see the back side of the city or urban landscape. Take advantage of both and you will be surprised at what you capture.

Notice how the foreground is a blurred. I still think it adds some interest. Fujifilm X100S, 1/500 @ f5.6, ISO 200.
Before you break out your camera on the next trip from Washington, D.C., to Philadelphia or beyond, let me offer some tips to help you start making beautiful images from the comfort of you train seat. And you barely have to put down your drink to do it.
Five Tips to make better photographs during your next train journey:
1. Pick a good seat. It might seem obvious, but you really should choose a window seat, otherwise, you better get to know the person you are sitting with very well. Somewhat joking, but there a few ways to ensure you will get a window seat and a good one at that. Use the red cap or a similar service even when you don't need assistance with your luggage because they will get you on the train before everyone else and that is well worth a few dollars. Boarding early also gives you the option to pick a seat with the cleanest, least scratched window. Finally, not all window seats are created equal, so make sure you get one that is more or less centered on a window.

I selected the left side of the Amtrak Adirondack train from New York to Montreal because I knew the Hudson River would be out my window during most of the trip. The ice was a bonus. Fujifilm X100S, 1/1250 @ f2.8, ISO 400.
2.Select the side of the train that will afford you the best views. If it is not a route you are familiar with, then a little research will go a long way. Google maps do show train tracks. Another consideration when selecting which side to sit will be the direction of light. Shooting into the sun can create some interesting photos, but remember that you are shooting through a window so the sun glare and reflection may not allow for photographs. Compare it to sun glare on a dirty windshield, it is the same thing.

Downtown Albany, New York, as the sun goes down. I like the empty parking lot and elevated shooting position. A view that would be difficult if not for riding on the train. Fujifilm X100S, 1/1250 @ f2.8, ISO 400.
3. Pay attention to your aperture. Selecting a wide aperture, f 2.0 - f 5.6, will limit the effects of shooting through the window, similar to shooting through a fence. If you have the time and can do it safely, clean the window from the outside prior to boarding. Of course, you should check with train personnel before you do this just to be on the safe side. But at a minimum, wipe the inside of the window. You don't have to shoot wide open though because you do want some depth of field, but too much and you will be spending a lot of time cloning out spots caused by dirt on the window.
4. Shutter speed matters. Objects close to the train will blur even at relatively fast shutter speeds. If you are shooting objects in the distance without a foreground then you can get away with a slower shutter speed even on a fast-moving train. If a fast shutter speed is not possible or you are just looking to get more creative, then slow the shutter speed way down and blur the scene as you pass by. Instead of you panning with the camera, let the train do it for you. Think about this technique to photograph trees during the Fall.

Photographing the backside of the city. The slightly burred train structure at the right adds just enough context to let the viewer know that this photo is taken from a train. I like the industrial look and hints of color in this image. It can be hard to frame a shot while the train is traveling at 60 m.p.h. so take plenty of shots. Fujifilm X100S, 1/160 @ f5.6, ISO 200.
5. Always be prepared to shoot and when possible try to anticipate what's coming up. Even when you are very familiar with the route, the view outside will pass by quickly so you need to keep your camera ready and as close to the window, without touching it, as possible. This might be a good time to mention that a wide angle lens works best, especially in a changing landscape. Fast moving trains make framing and shooting with long glass difficult. If the train is moving slowly or you are traveling the great plains, then this may not be a problem.
Take the time to shoot lots of pictures on your next rail journey and let the results surprise you and your friends. Besides, there is much more to see from a train window than from a plane window.
Check out Amtrak train routes and start planning your adventure today.