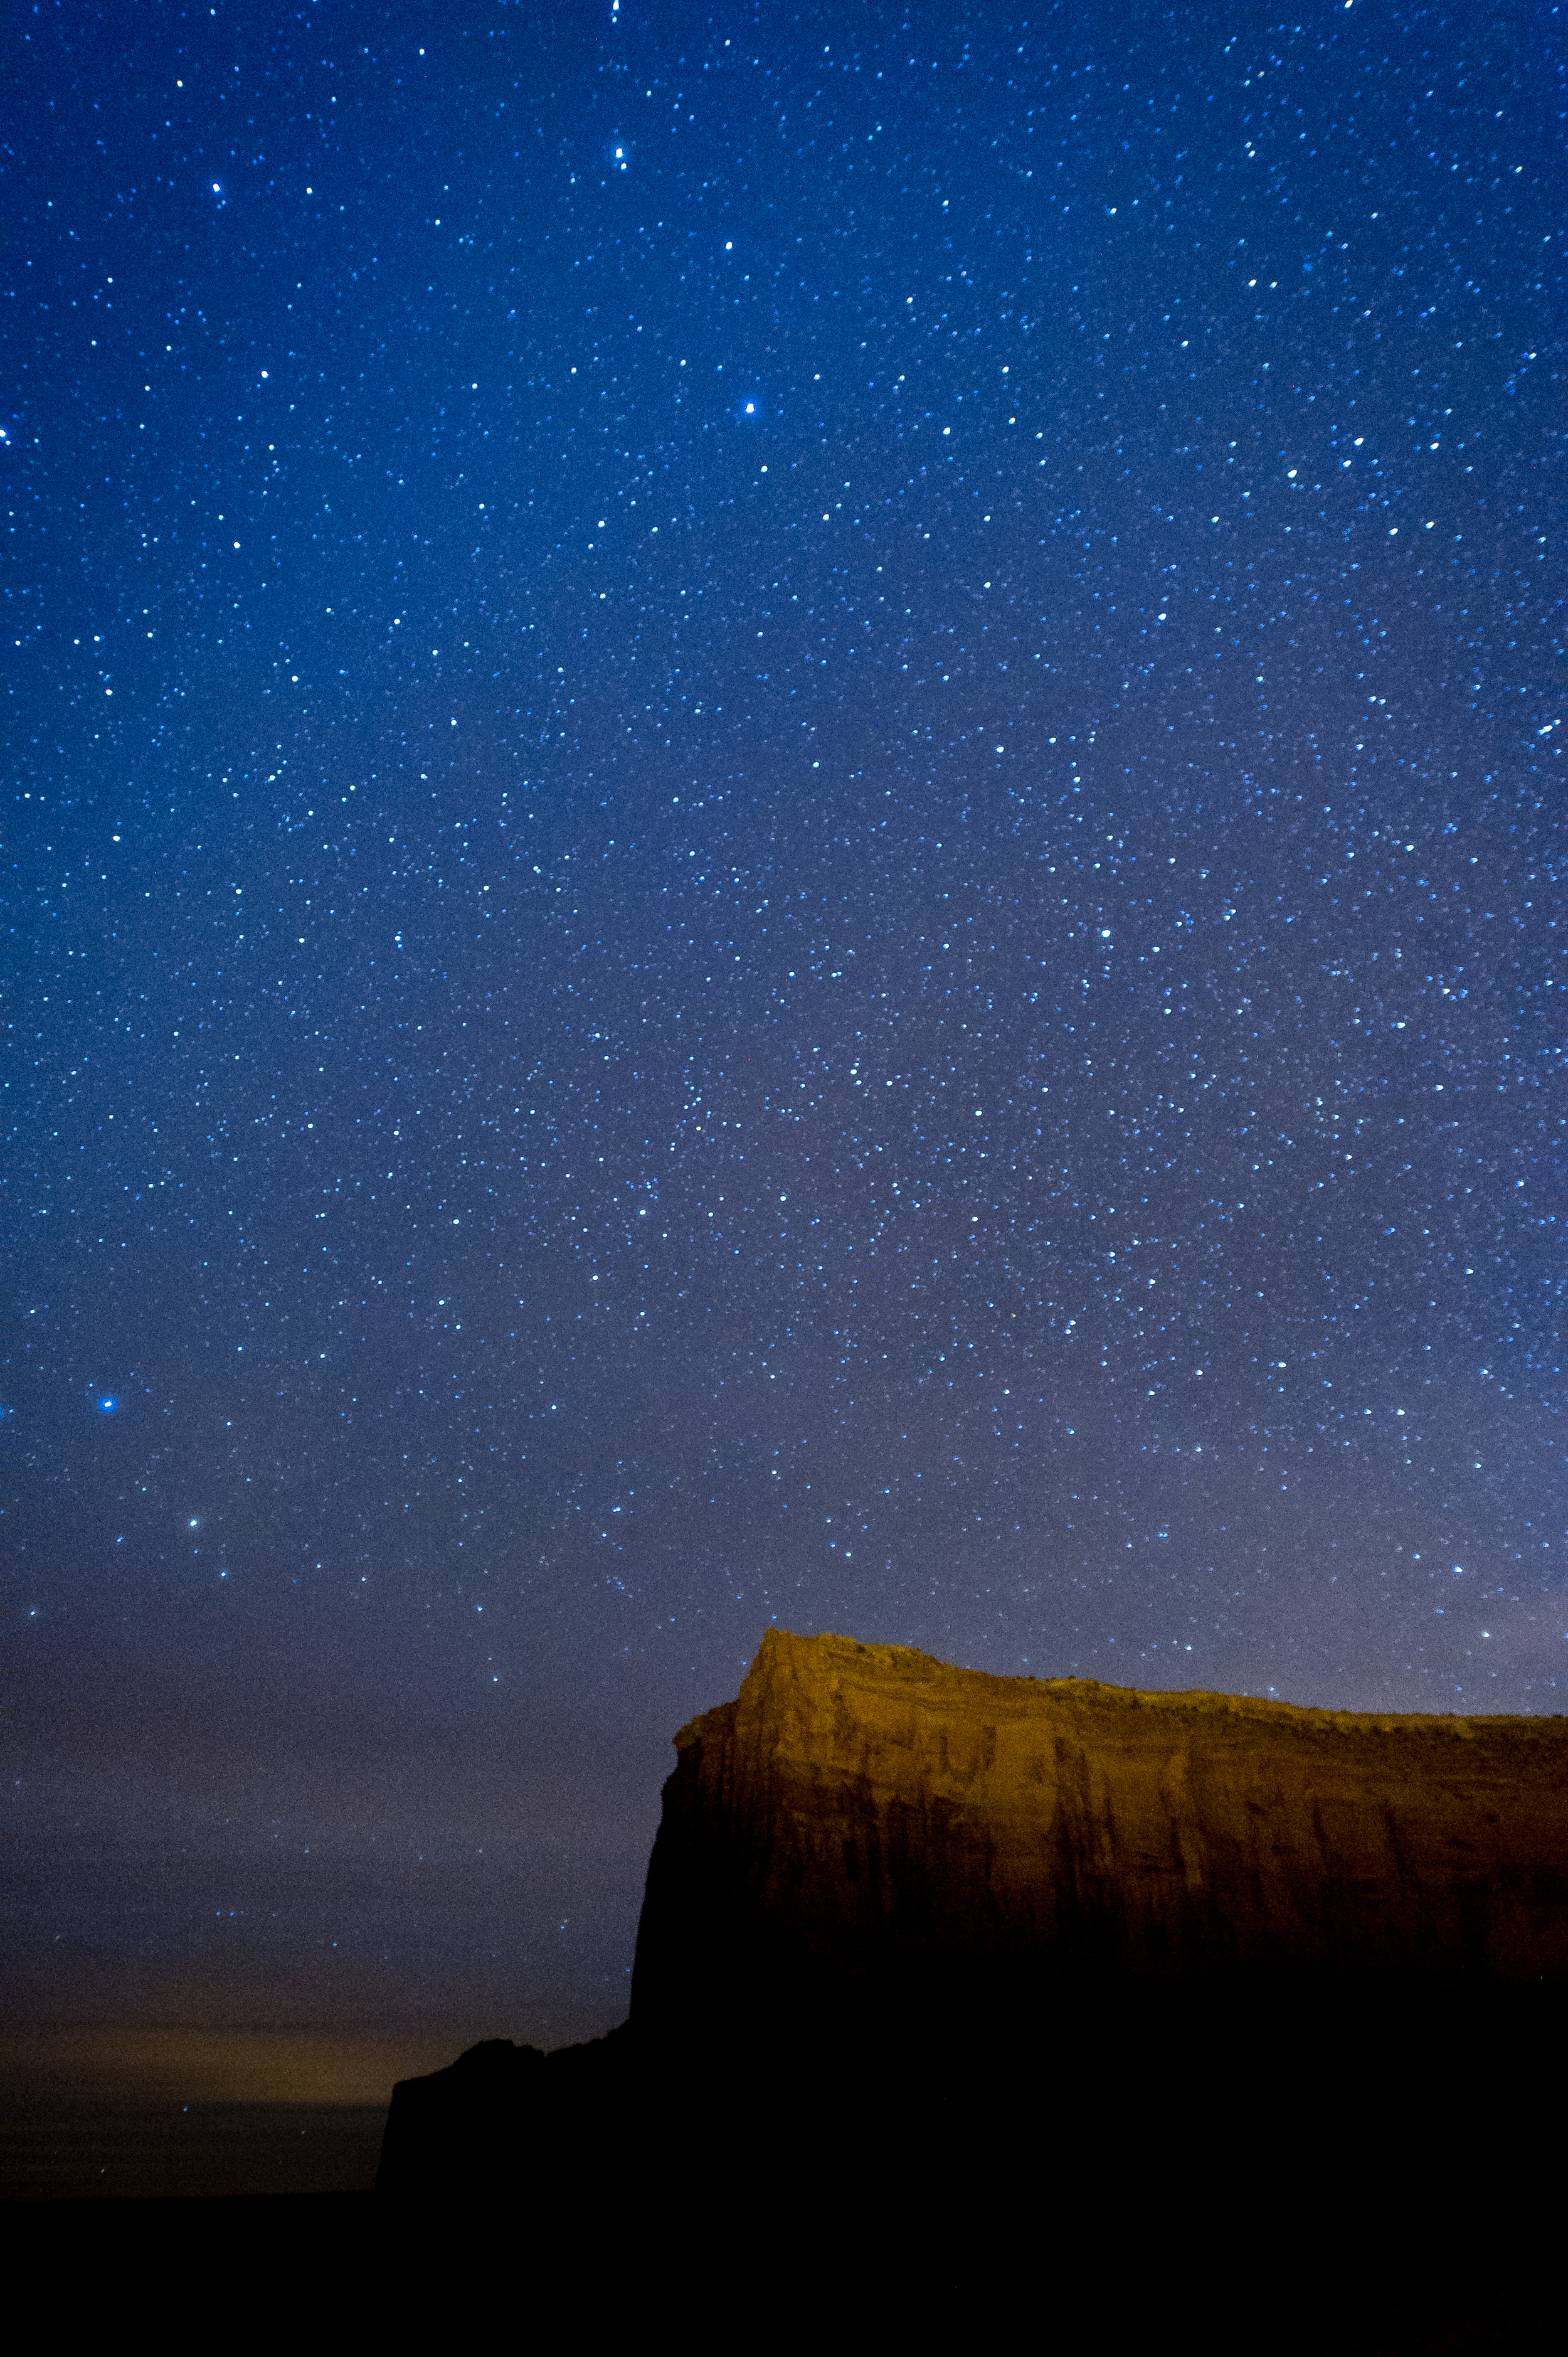
Monument Valley at 3 am. Camera settings: ISO 2000, 20 sec., f 2.8.
Much like my recent post offering five tips on photographing in Upper Antelope Canyon, I admit that this post offering my thoughts on photographing stars doesn't come from years of experience. In fact, this was my first real attempt.
So why should you continue reading?
Because with any photographic technique there will always be a first time. And because I come to these new situations with years of photographic experience behind me, I think my approach and the lessons learned can help you as you expand your photographic horizons and explore new areas or genres of photography.
I mentioned briefly in my post about planning for my Arizona trip that one of the things I wanted to do was try shooting at night. Coincidentally, I also realized that I was going to be in Monument Valley during a large meteor shower, so my expectations were high.
What did I learn?
Star photography is much more that putting you camera on a tripod, setting a long exposure and sitting back while the magic happens.
And of course, you already know that you'll need a sturdy tripod, cable release and a flashlight (headlamp works best), right?

Horseshoe Bend at 5 am. Camera settings: ISO 1600, 20 sec., f 3.5.
Probably the first thing I learned was to crank up the ISO. I went as high as 3200 but found that 1600 worked best. Normally when using a tripod, your first thought is to use the lowest ISO available since the possibility of camera shake caused by a lower shutter speed is minimized. But when you consider that the planet your tripod sits on is moving, a slow shutter speed causes the stars to blur, thus making everything seem out of focus.
Speaking of focus, the second thing I learned is that obtaining sharp focus at night is really difficult. While you think you might be able to set your lens to infinity and all will be good, you'd be wrong. If there is something in the foreground such as a tree or barn that you can shine a light on to set focus then you are fine. Absent that, I would set my focus to infinity, then back off just a bit, take a series of photos, go to the laptop and check focus. I was never able to determine true focus using the back of the camera, even when using a Zacuto Z-Finder Pro.
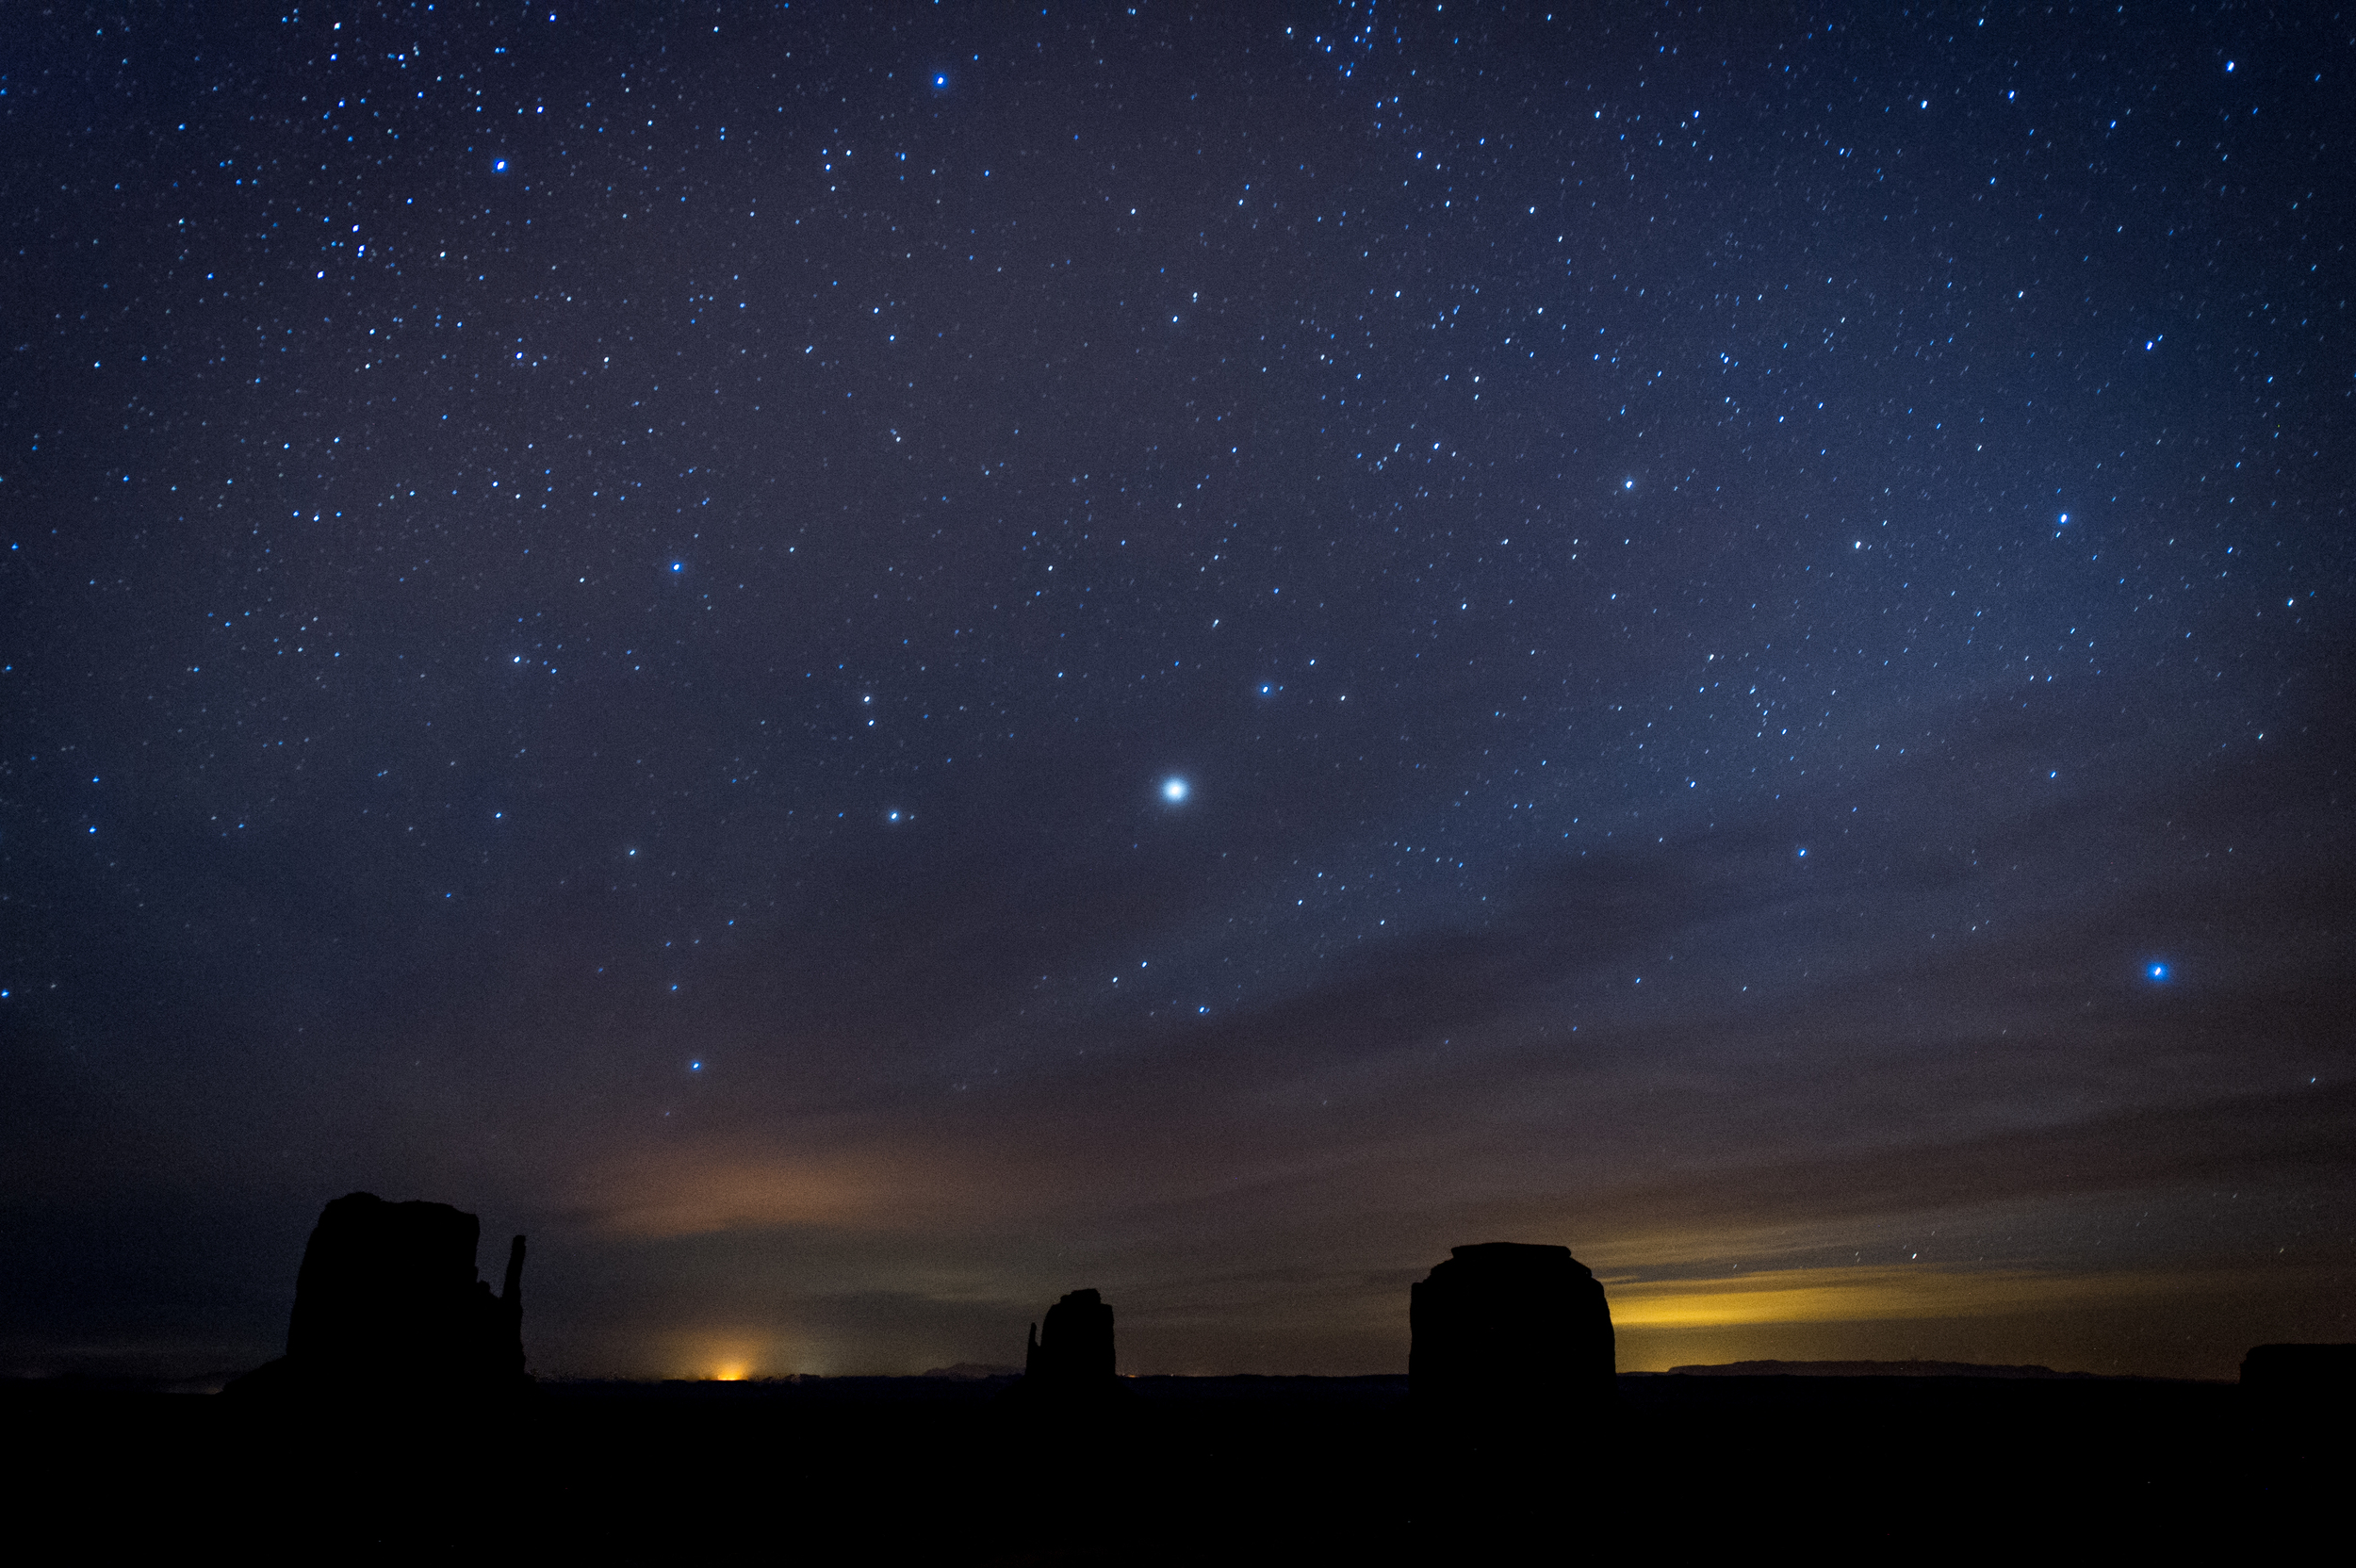
Even though it appeared very dark, lights from a far-off town became visible on the horizon during the long exposure. Camera Settings: ISO 3200, 30 sec., f 2.8.
Monument Valley was dark, really dark, and remember that darkness is your friend when shooting the night sky, despite the focus issues previously mentioned. Light pollution is all around us, so the farther from civilization you can get, the better. Even as dark as it was in the Arizona desert, I noticed bright spots on the horizon from far off towns would appear after long exposures.
I found a shutter speed between 20 and 35 seconds worked best. Anything longer and you will definitely have soft stars. I set the f-stop somewhere between 2.8 or 3.2, which again seems to go against conventional thinking when using a tripod and trying to achieve a deep depth of field with everything in focus from near to far.
However, if you think about it, you need to strike a balance between getting the most light into the camera without too long of a shutter speed, which is why you crank up the ISO. Luckily today's cameras can handle the higher ISOs.
Remember, even if the temperature is warm during the day, it can get really cold at night, so dress warmly, bring extra layers and maybe a thermos of hot chocolate or coffee. You want to be comfortable when you settle in for a long night of shooting the stars.