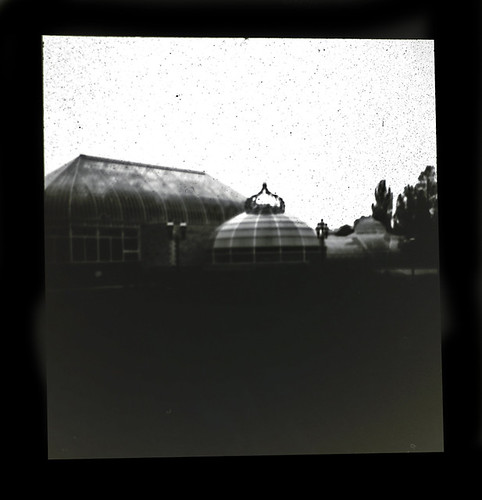
"Pinhole" photograph of Dogfish Head Brewery.
Every good news story or photo caption needs a when, who, where, what and why, and after reading this headline, I have no doubt you are probably seeking answers to those very questions.
The when. Each year, normally around the third week in April, Worldwide Pinhole Photography Day is celebrated around the planet. In 2013 and 2014, I participated using what would be considered a more traditional pinhole camera, but last year due to planned travel, I had to get a little more creative which you can read about in Making the Best of Worldwide Pinhole Photography Day.
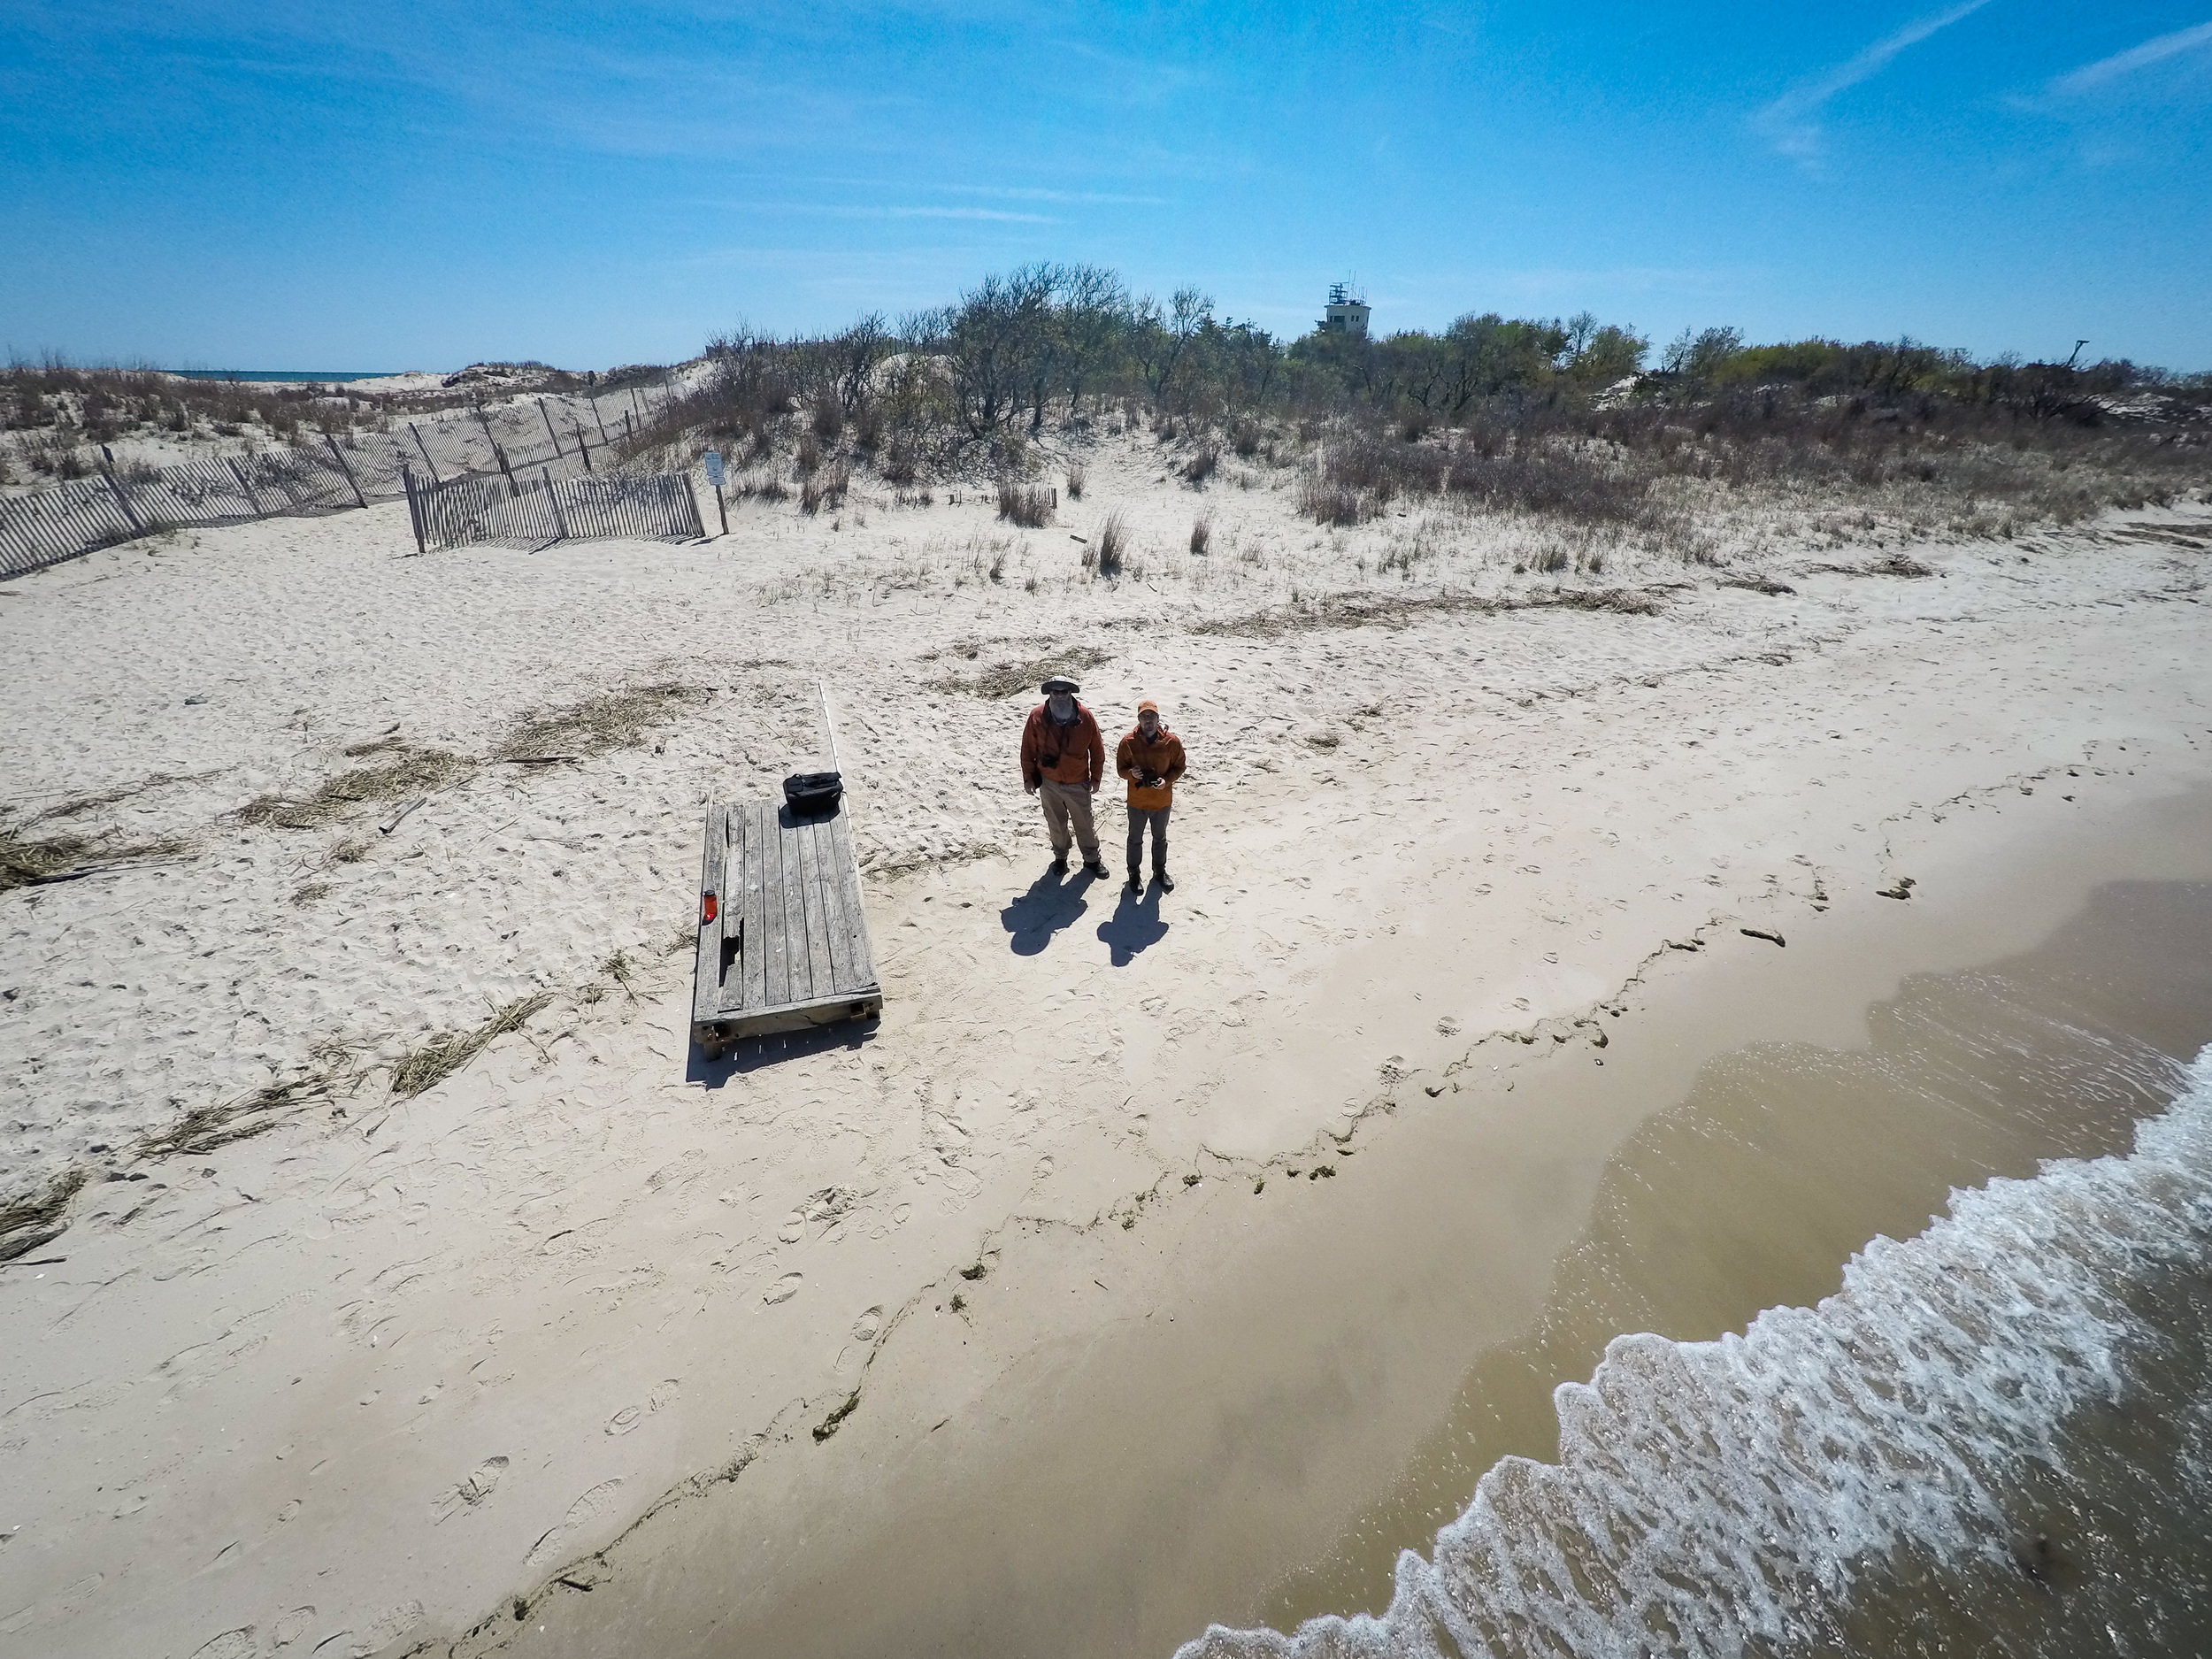
The who. Me and my son. He is the one flying the Solo 3DR.
The where. I can explain this in two ways. There was the original location of Cape Henlopen State Park in Delaware and the final location which came to me while enjoying a few beers after getting kicked out of Cape Henlopen State Park for flying a drone. I suppose I should have seen that coming, but like many initial plans that don't work out, I think the final outcome yielded much better results than the original concept would have.

Something to consider when taking a pinhole photograph from a drone is that you will be looking through a pinhole when flying the drone. So keeping the drone in sight and close is very important.
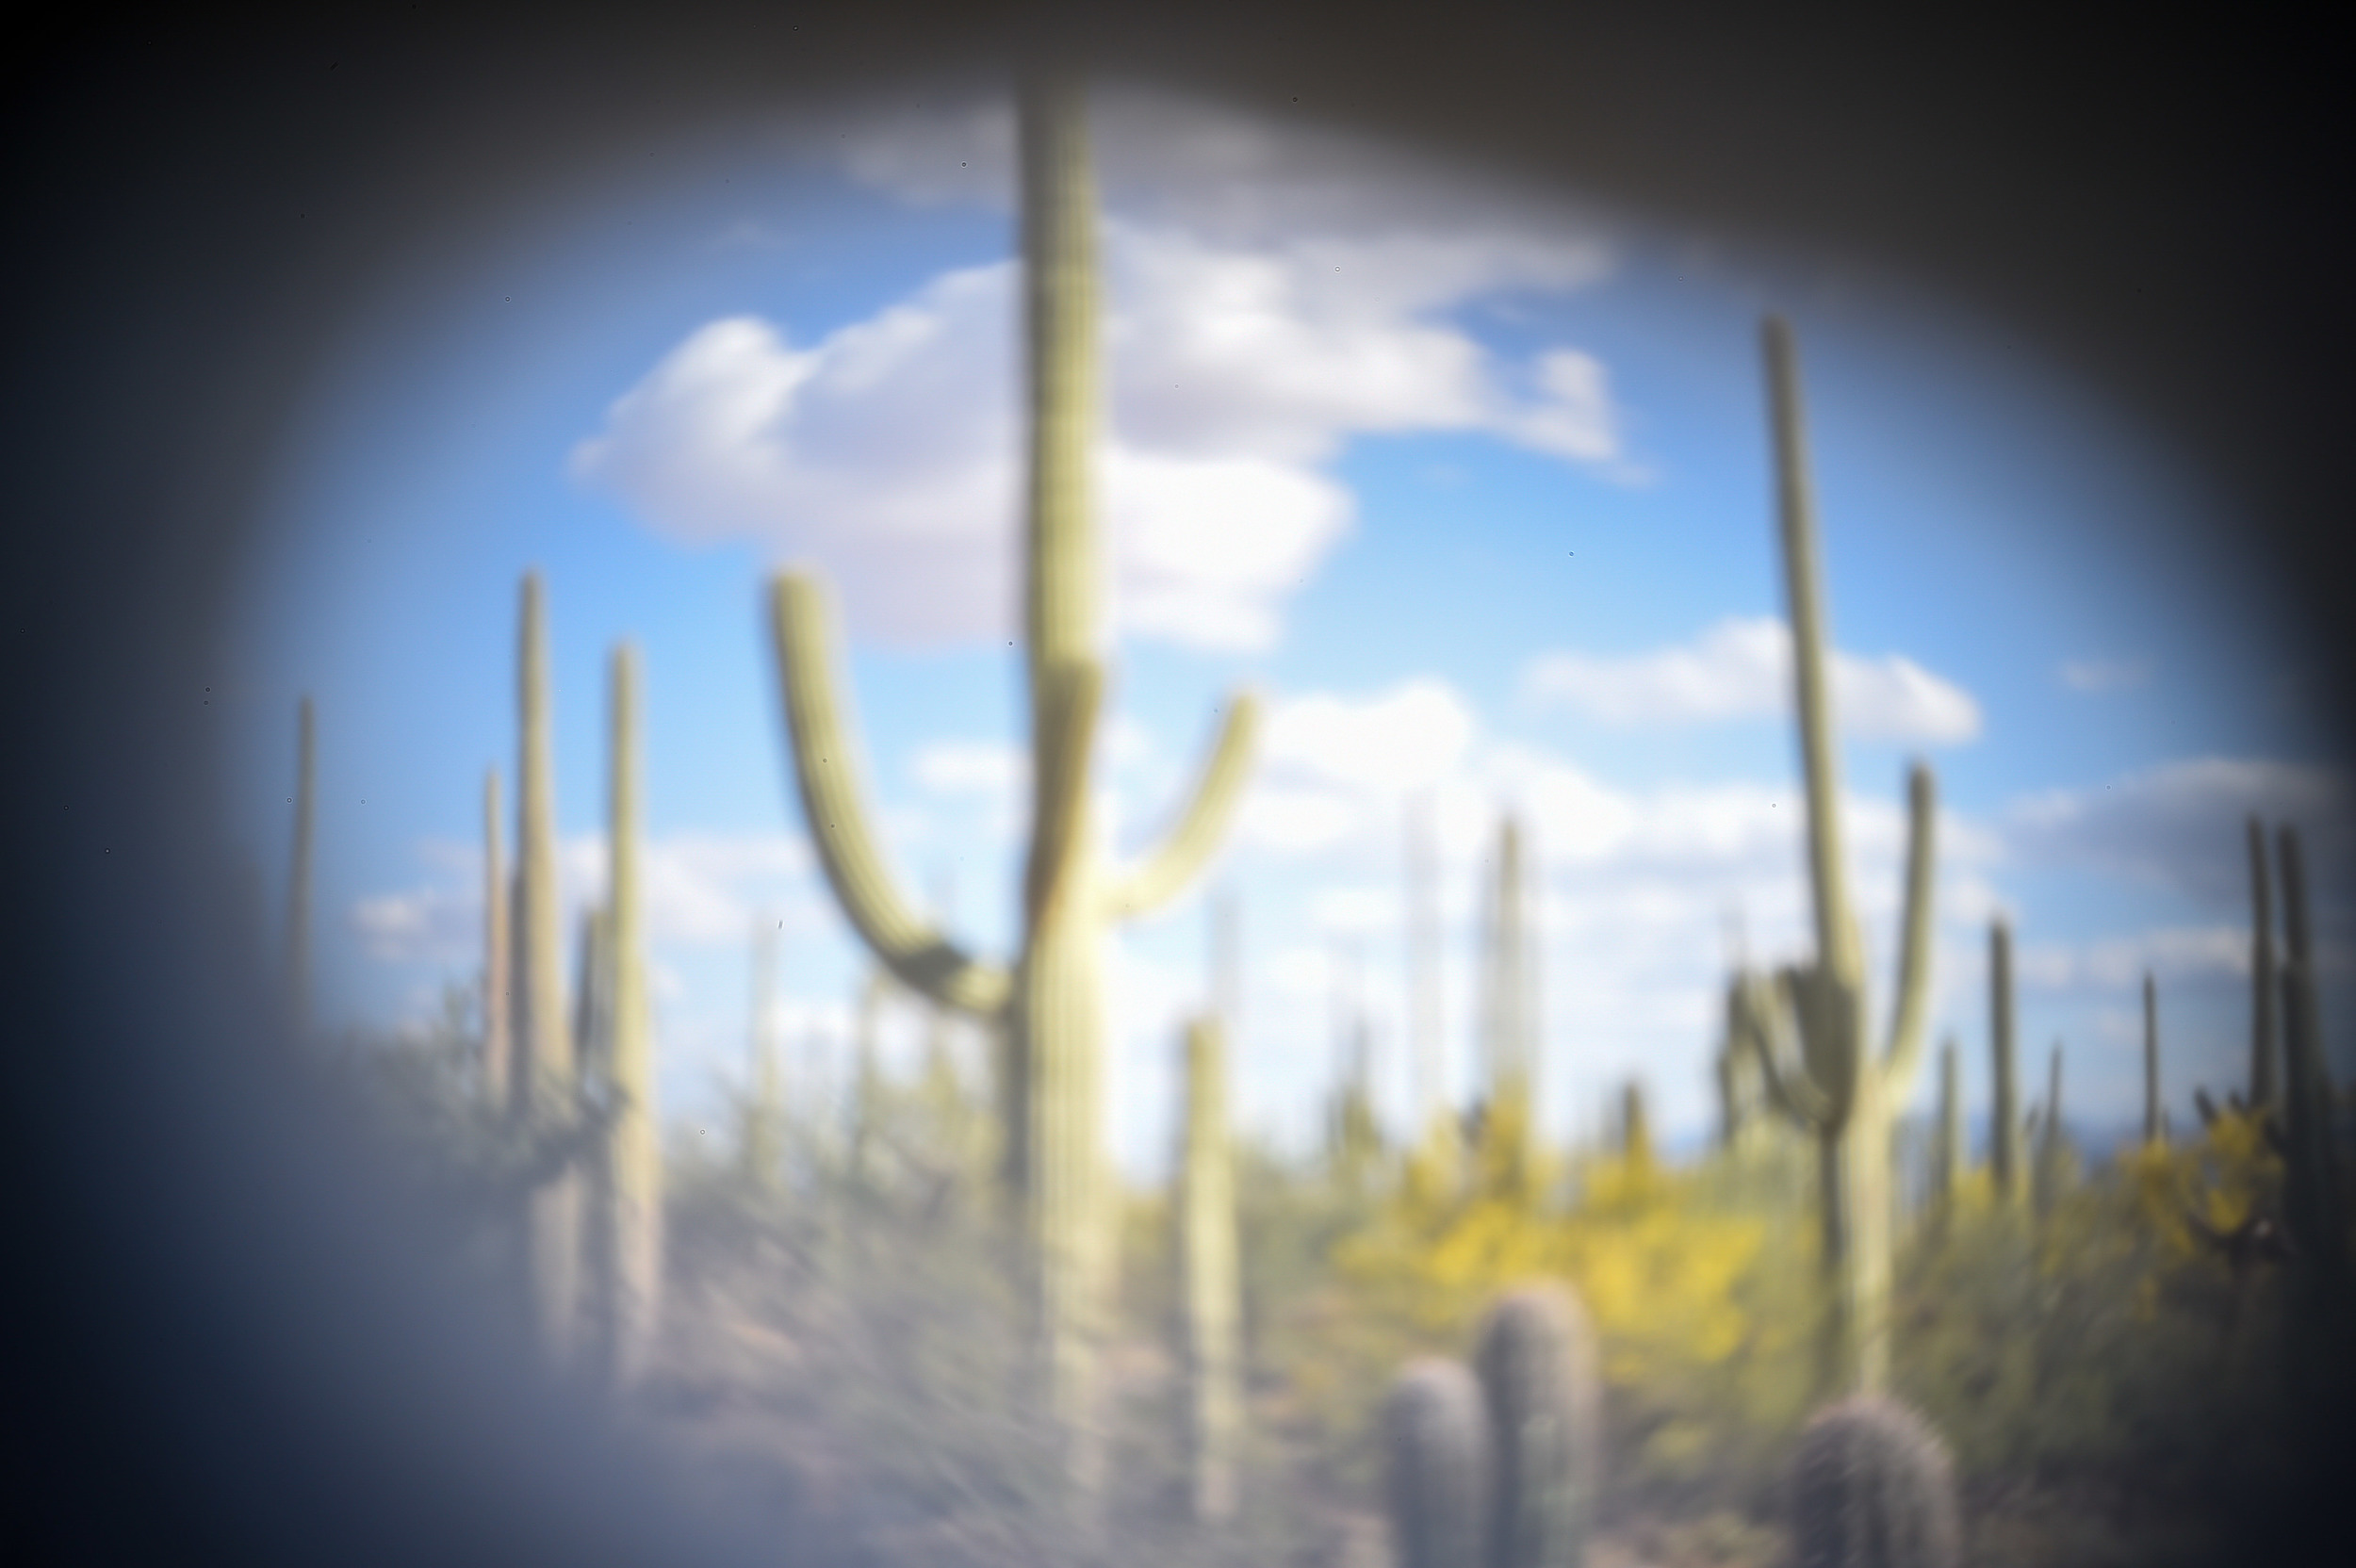
The what. This gets complicated and depends largely on your interpretation of what is a pinhole photograph. I'm always looking to try something new and was thinking of ideas on how to build off of last year's photograph when it hit me that I could use a GoPro. And if I was going to use a GoPro, it wasn't a great leap to consider using a drone.
A few problems that I didn't consider. The GoPro has a fixed lens and even though I thought I was smart and ordered a lens cap, which I planned to drill a hole in, I didn't consider that there was still going to be a lens. Traditionally pinhole cameras don't have a lens. And then the surprise when I placed the cap, now with a small hole in it, over the lens and saw that instead of a wonderful slightly out of focus pinhole image, I was seeing a small dot made by placing a lens cap with a hole in it over the lens. So much for that. Experimenting with the size of the hole and adjustment of the lens cap I finally achieved the results you see in the top photograph, what I'm calling a pinhole photograph.
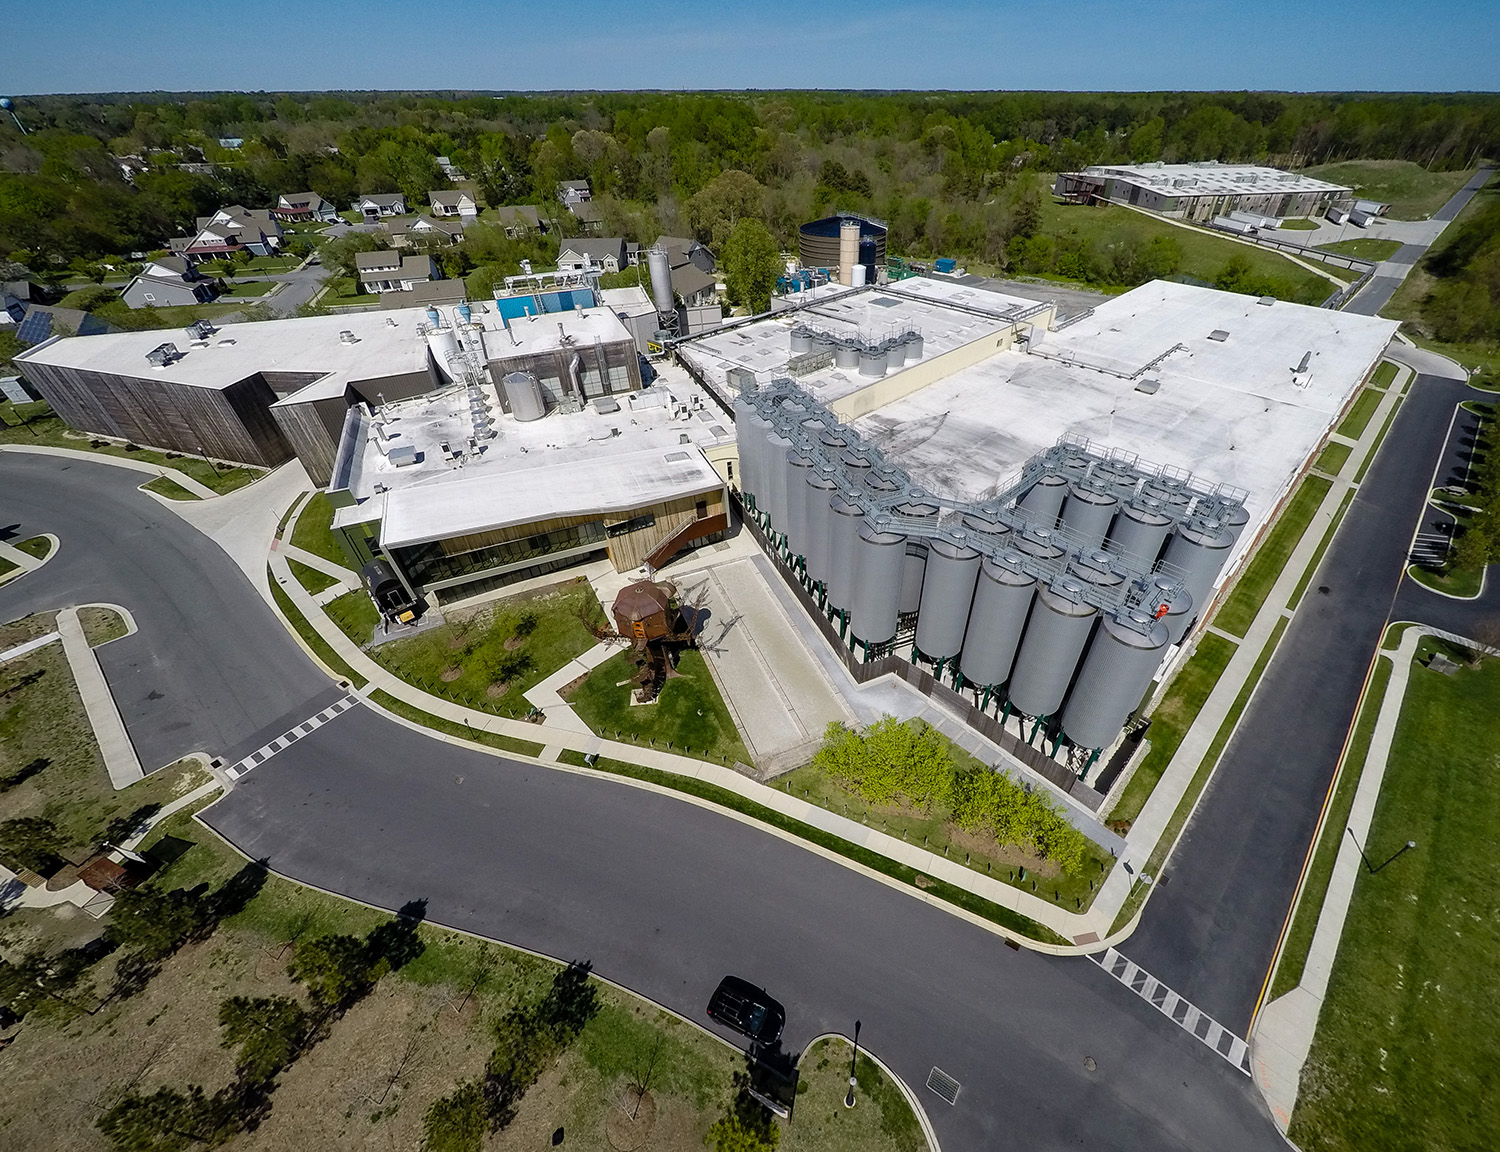
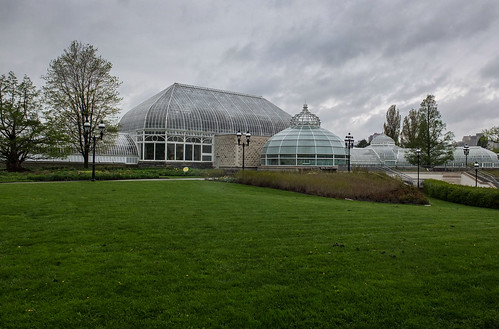
Non-pinhole photograph of Dogfish Head Brewery in Milton, Delaware, taken by Patrick Williams.
The why. I'll avoid the very snarky response of why not. But really, why not. When I rediscovered pinhole photography it was about trying something different, exploring new ideas, getting out of my comfort zone. It was never about making a perfect image or adding income to my bottom line. So why a drone? It was something I hadn't seen done before, seemed a little crazy, and I had nothing to lose.
Of course, you still might be asking a simple question. Is this really a pinhole photograph? The short answer is no, of course not. But if you read this far and some crazy ideas are making their way into your head, then I suspect you really don't care whether it's a true pinhole photo or not. I know I don't.