|
| Cades Cove in the Great Smoky Mountains National Park just after first light. 1/250 @ f10, ISO 400. |
Day one began at the entrance to the 11-mile one-way Cades Cove loop road along with a half dozen other cars waiting for the park ranger to open the gate. The plan was to photograph the sunrise, however, the ranger didn't open the road until roughly 7:20, so the sun was already over the horizon. The first day of any assignment, whether a paid job - or like this, a self-assignment - brings with it some anxiety and anticipation. I've never been able to shake that, but, of course, the only thing to do is just start shooting. Anything will do, the point is to just start shooting.
 |
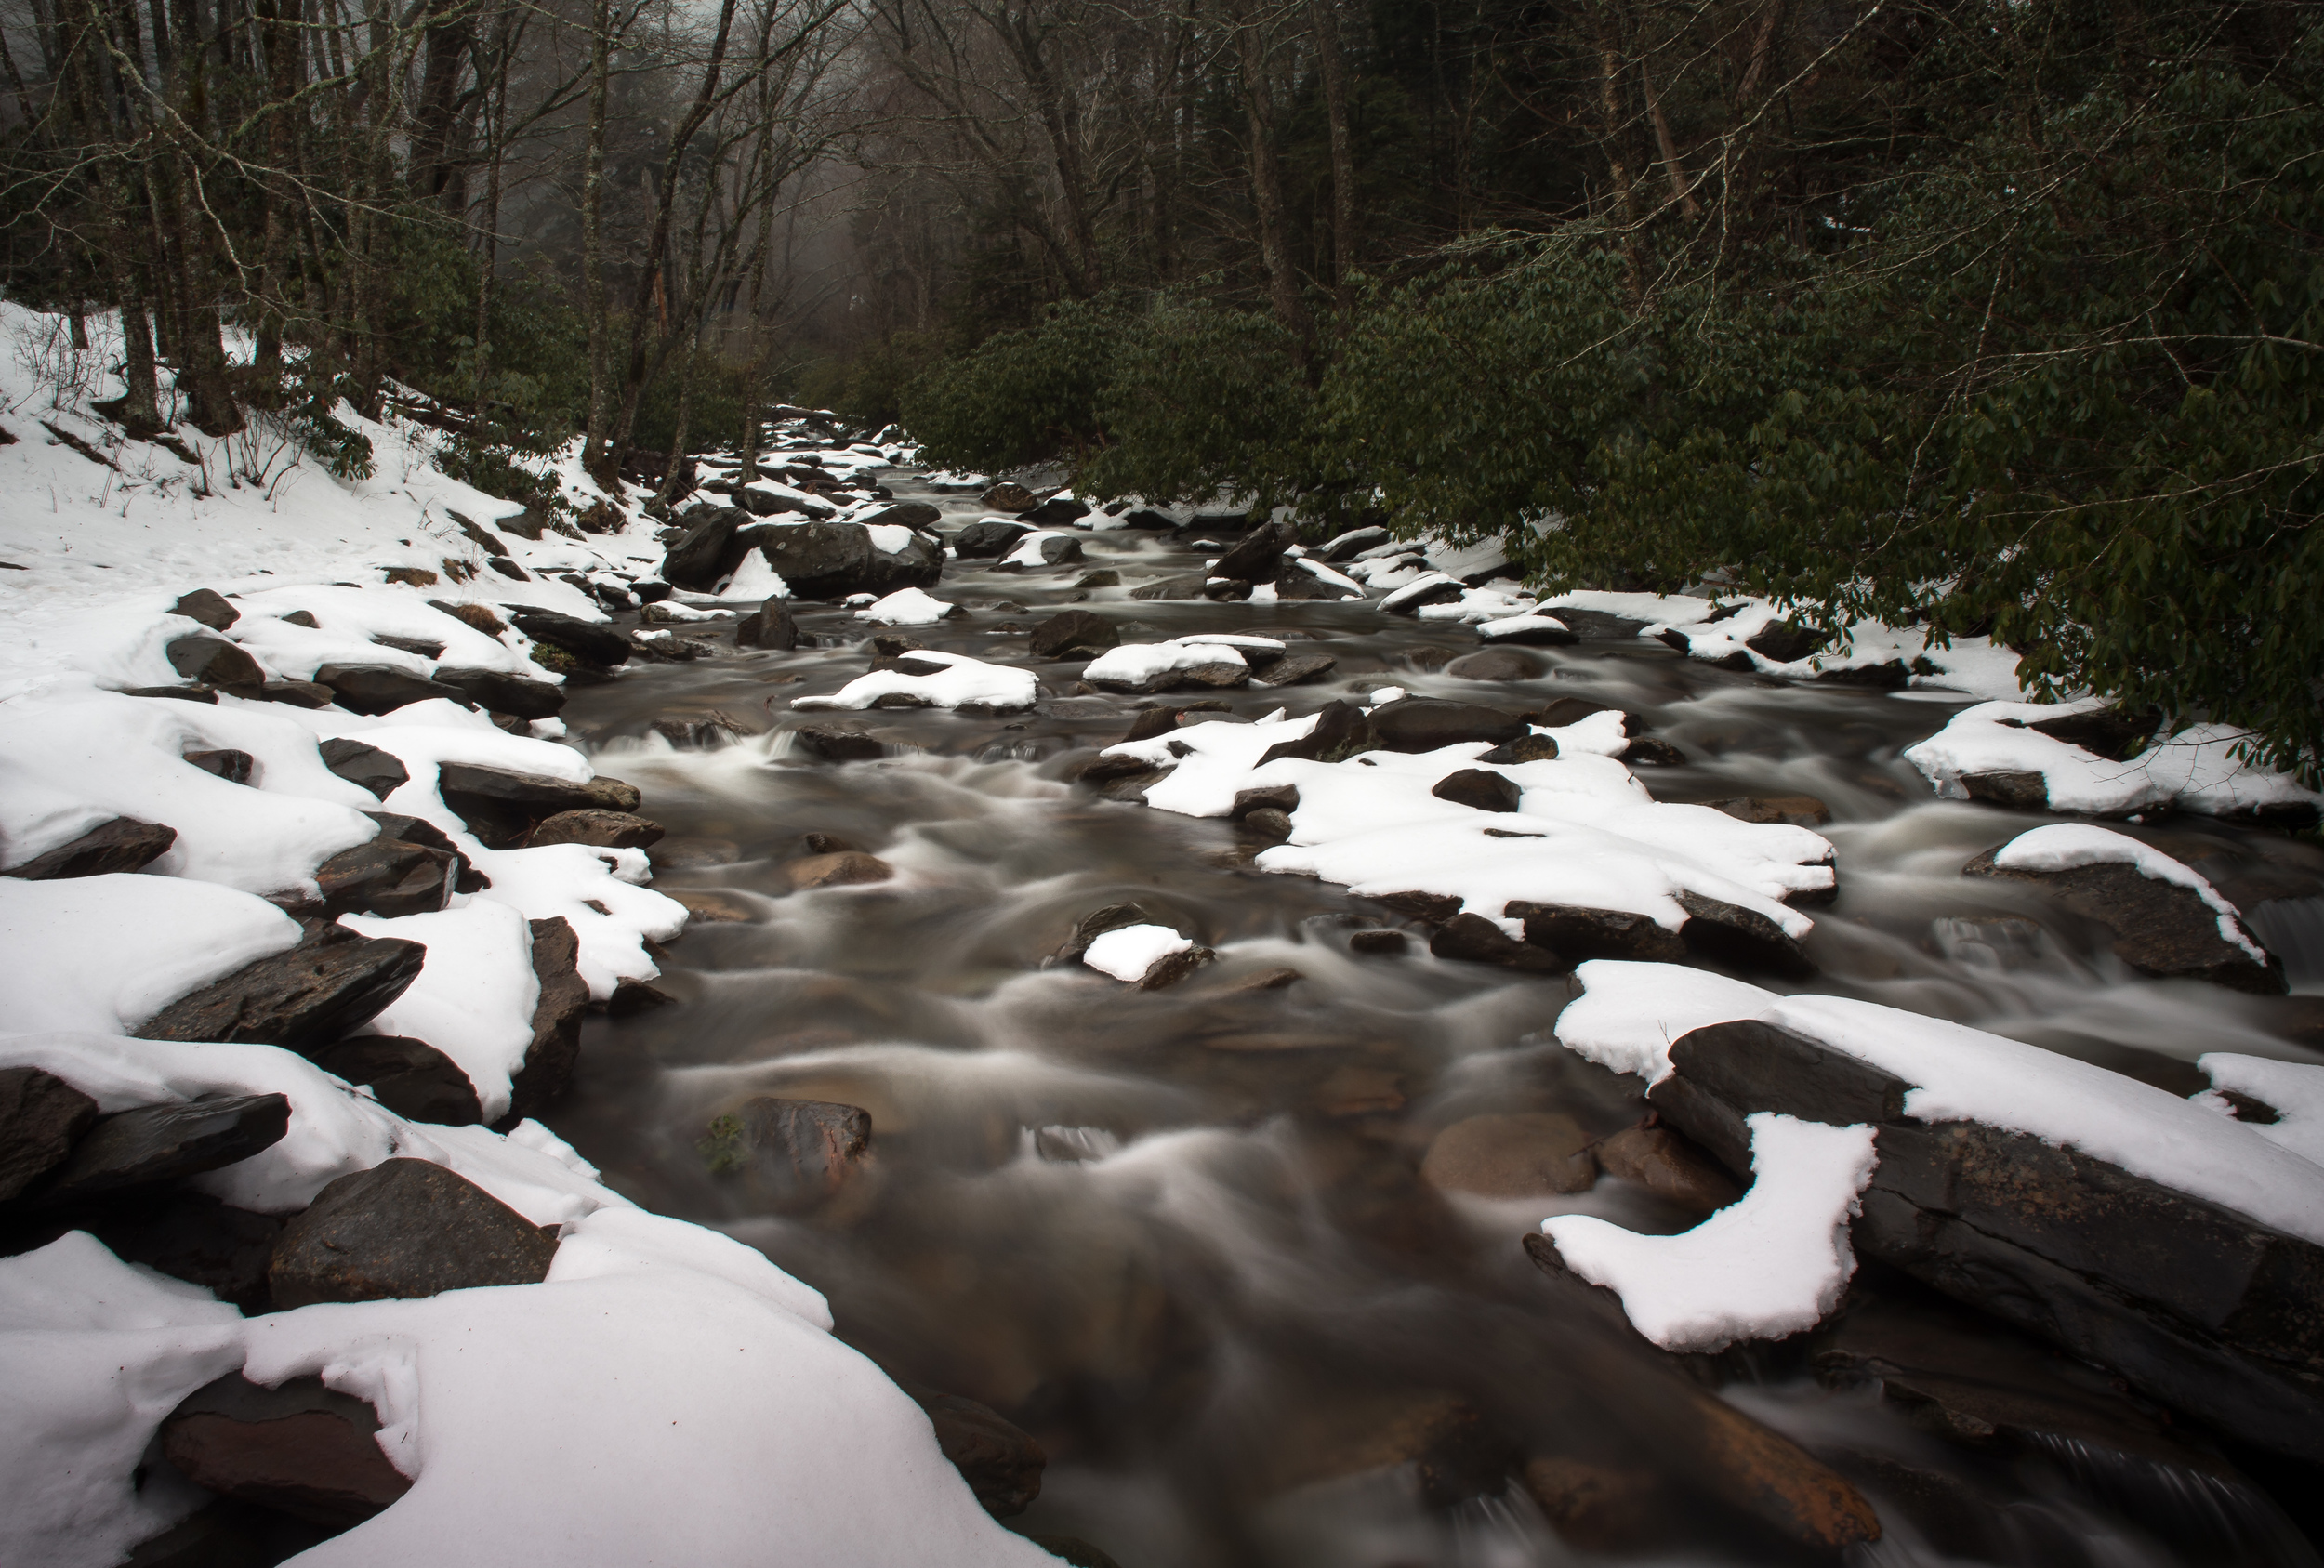
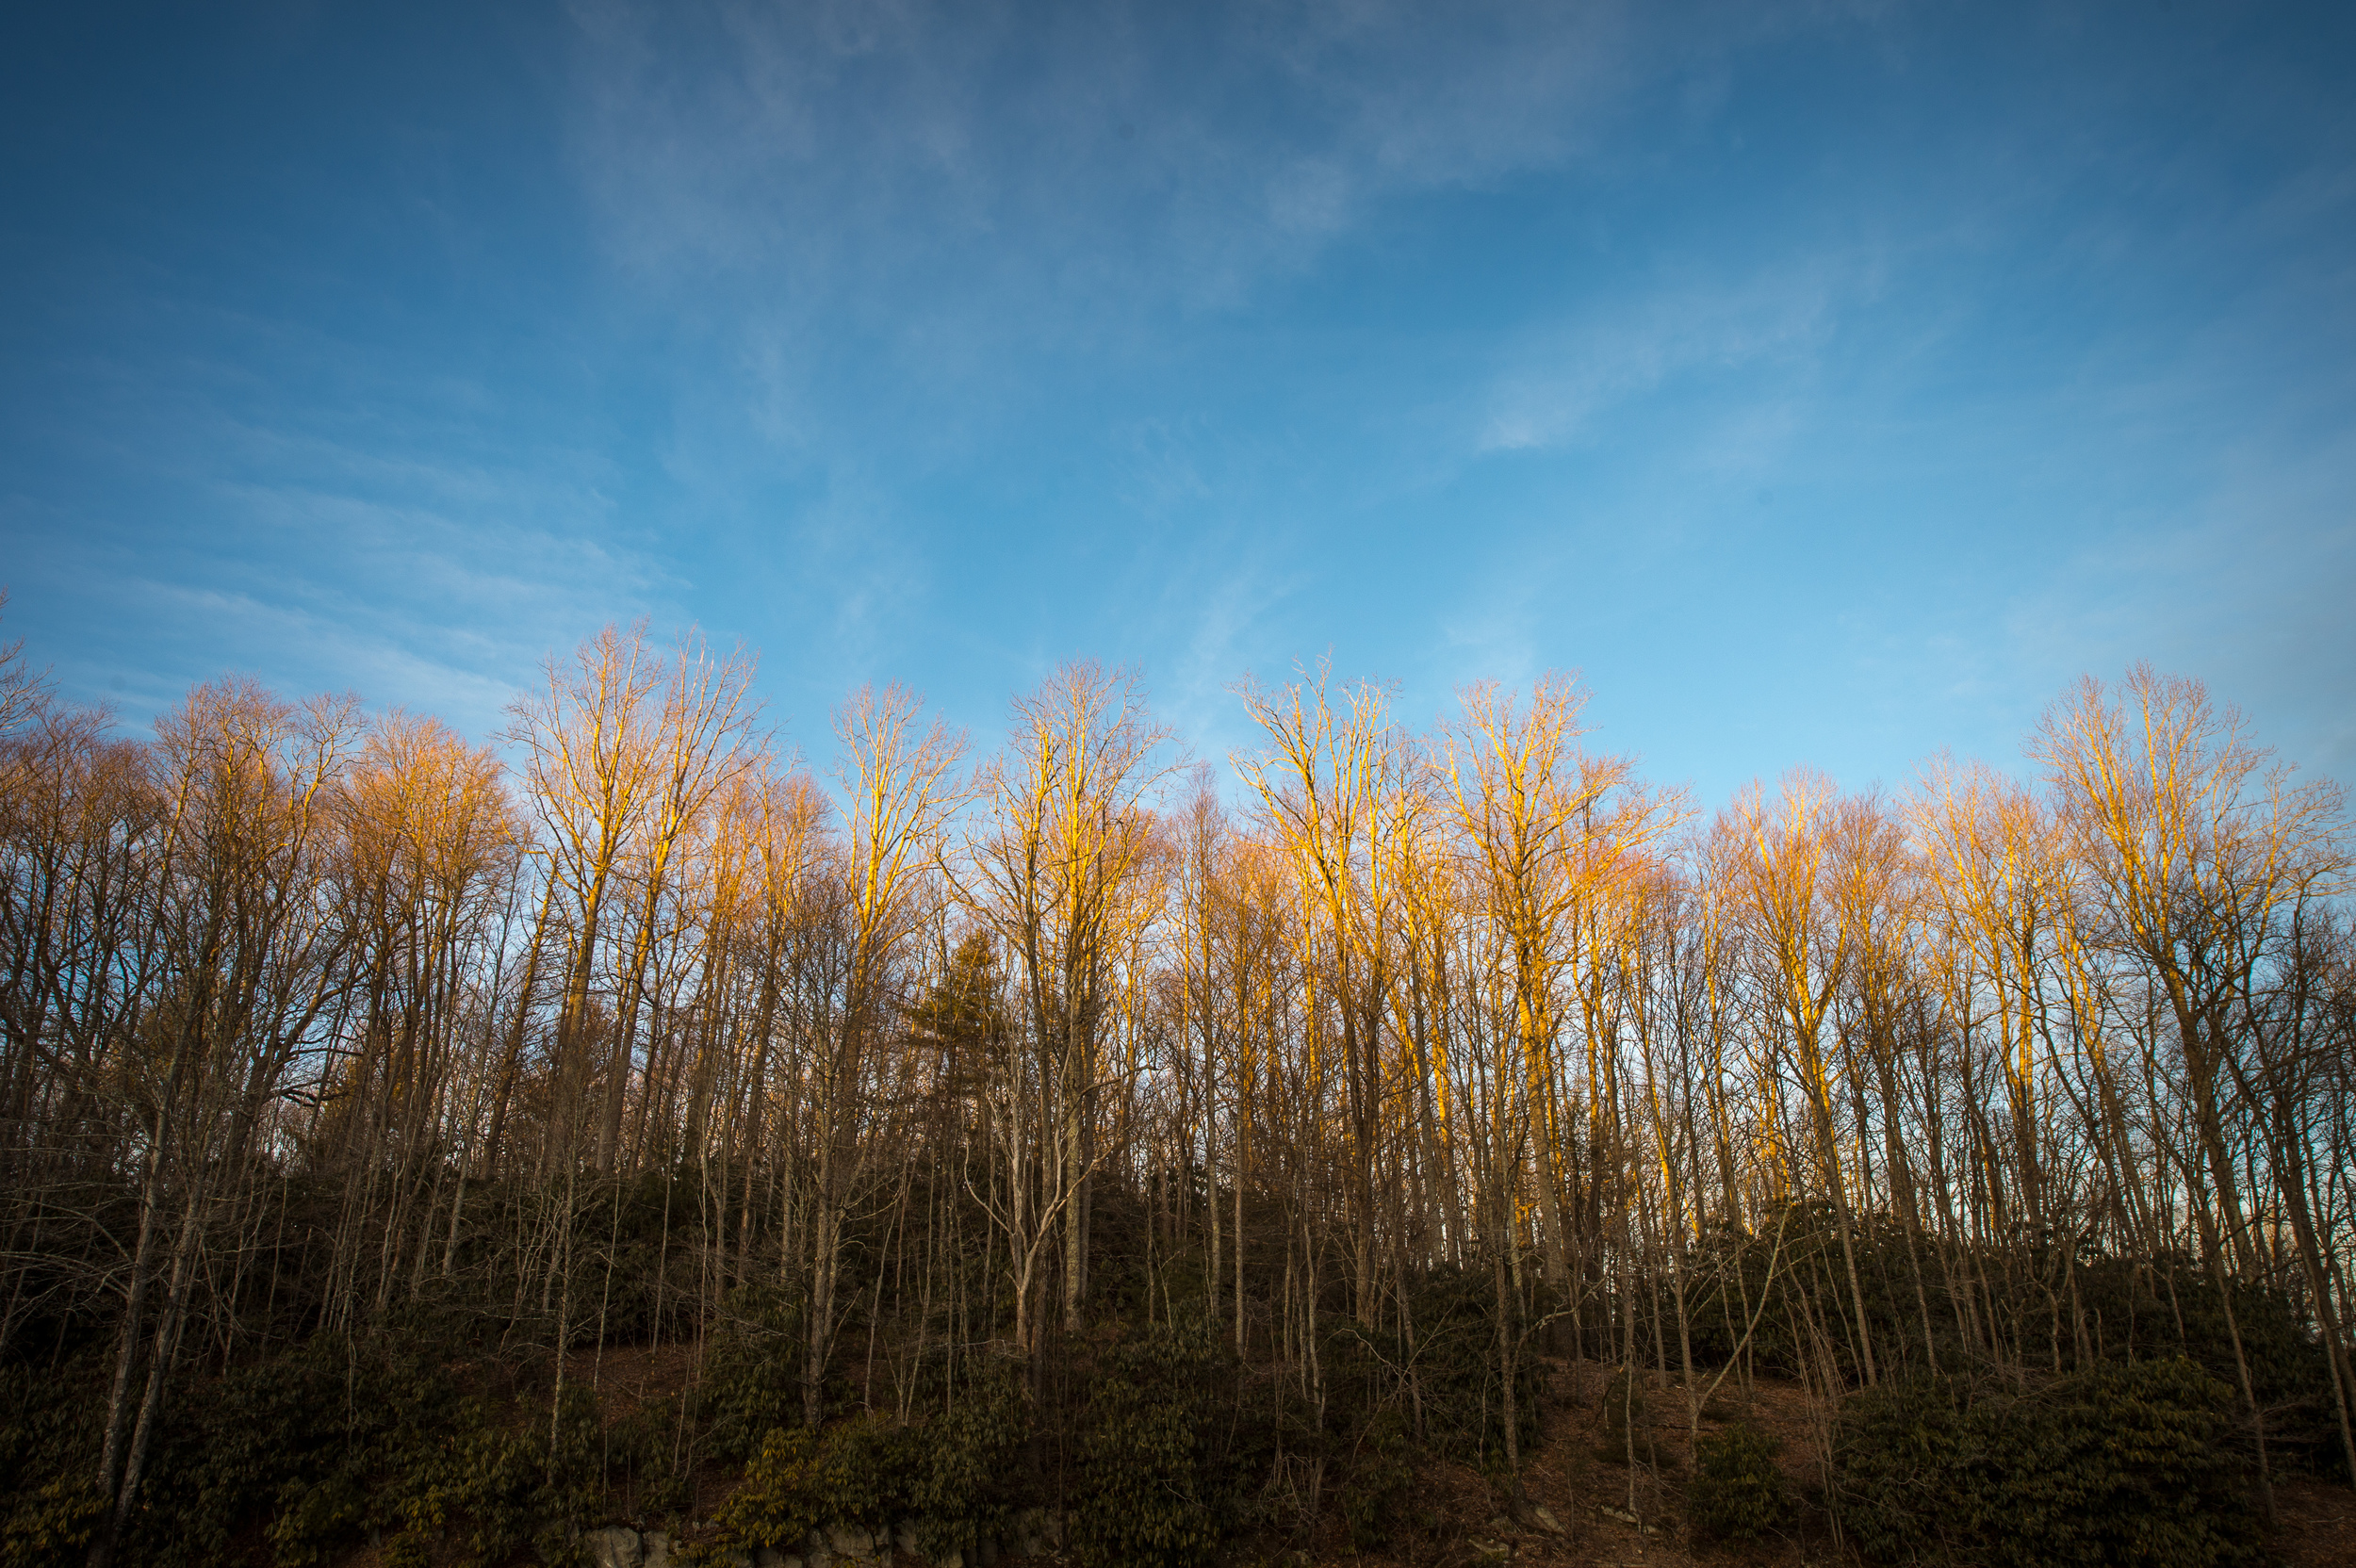
| Because temperatures remained cold in the morning, recent snow still stuck to the trees, offering a nice contrast between the bare trees in the foreground and the pines in the back. 1/320 @ f13, ISO 400. TIP: Using a long telephoto lens compresses the scene and enhances the contrast between foreground and background. |
So as I entered the loop with the sun already rising fast, I pulled over at the first opportunity and began taking photographs. It wasn't great, but it did fit the idea that I start shooting. Ideally I would have been able to scout the location so that I had a better idea of where to stop along the 11-mile loop to get that first shot. With 11 miles to cover you never really know what's ahead of you and since it is a one-way loop, you can't turn back. I did four trips around the loop, two in the morning and two in the afternoon.
 |
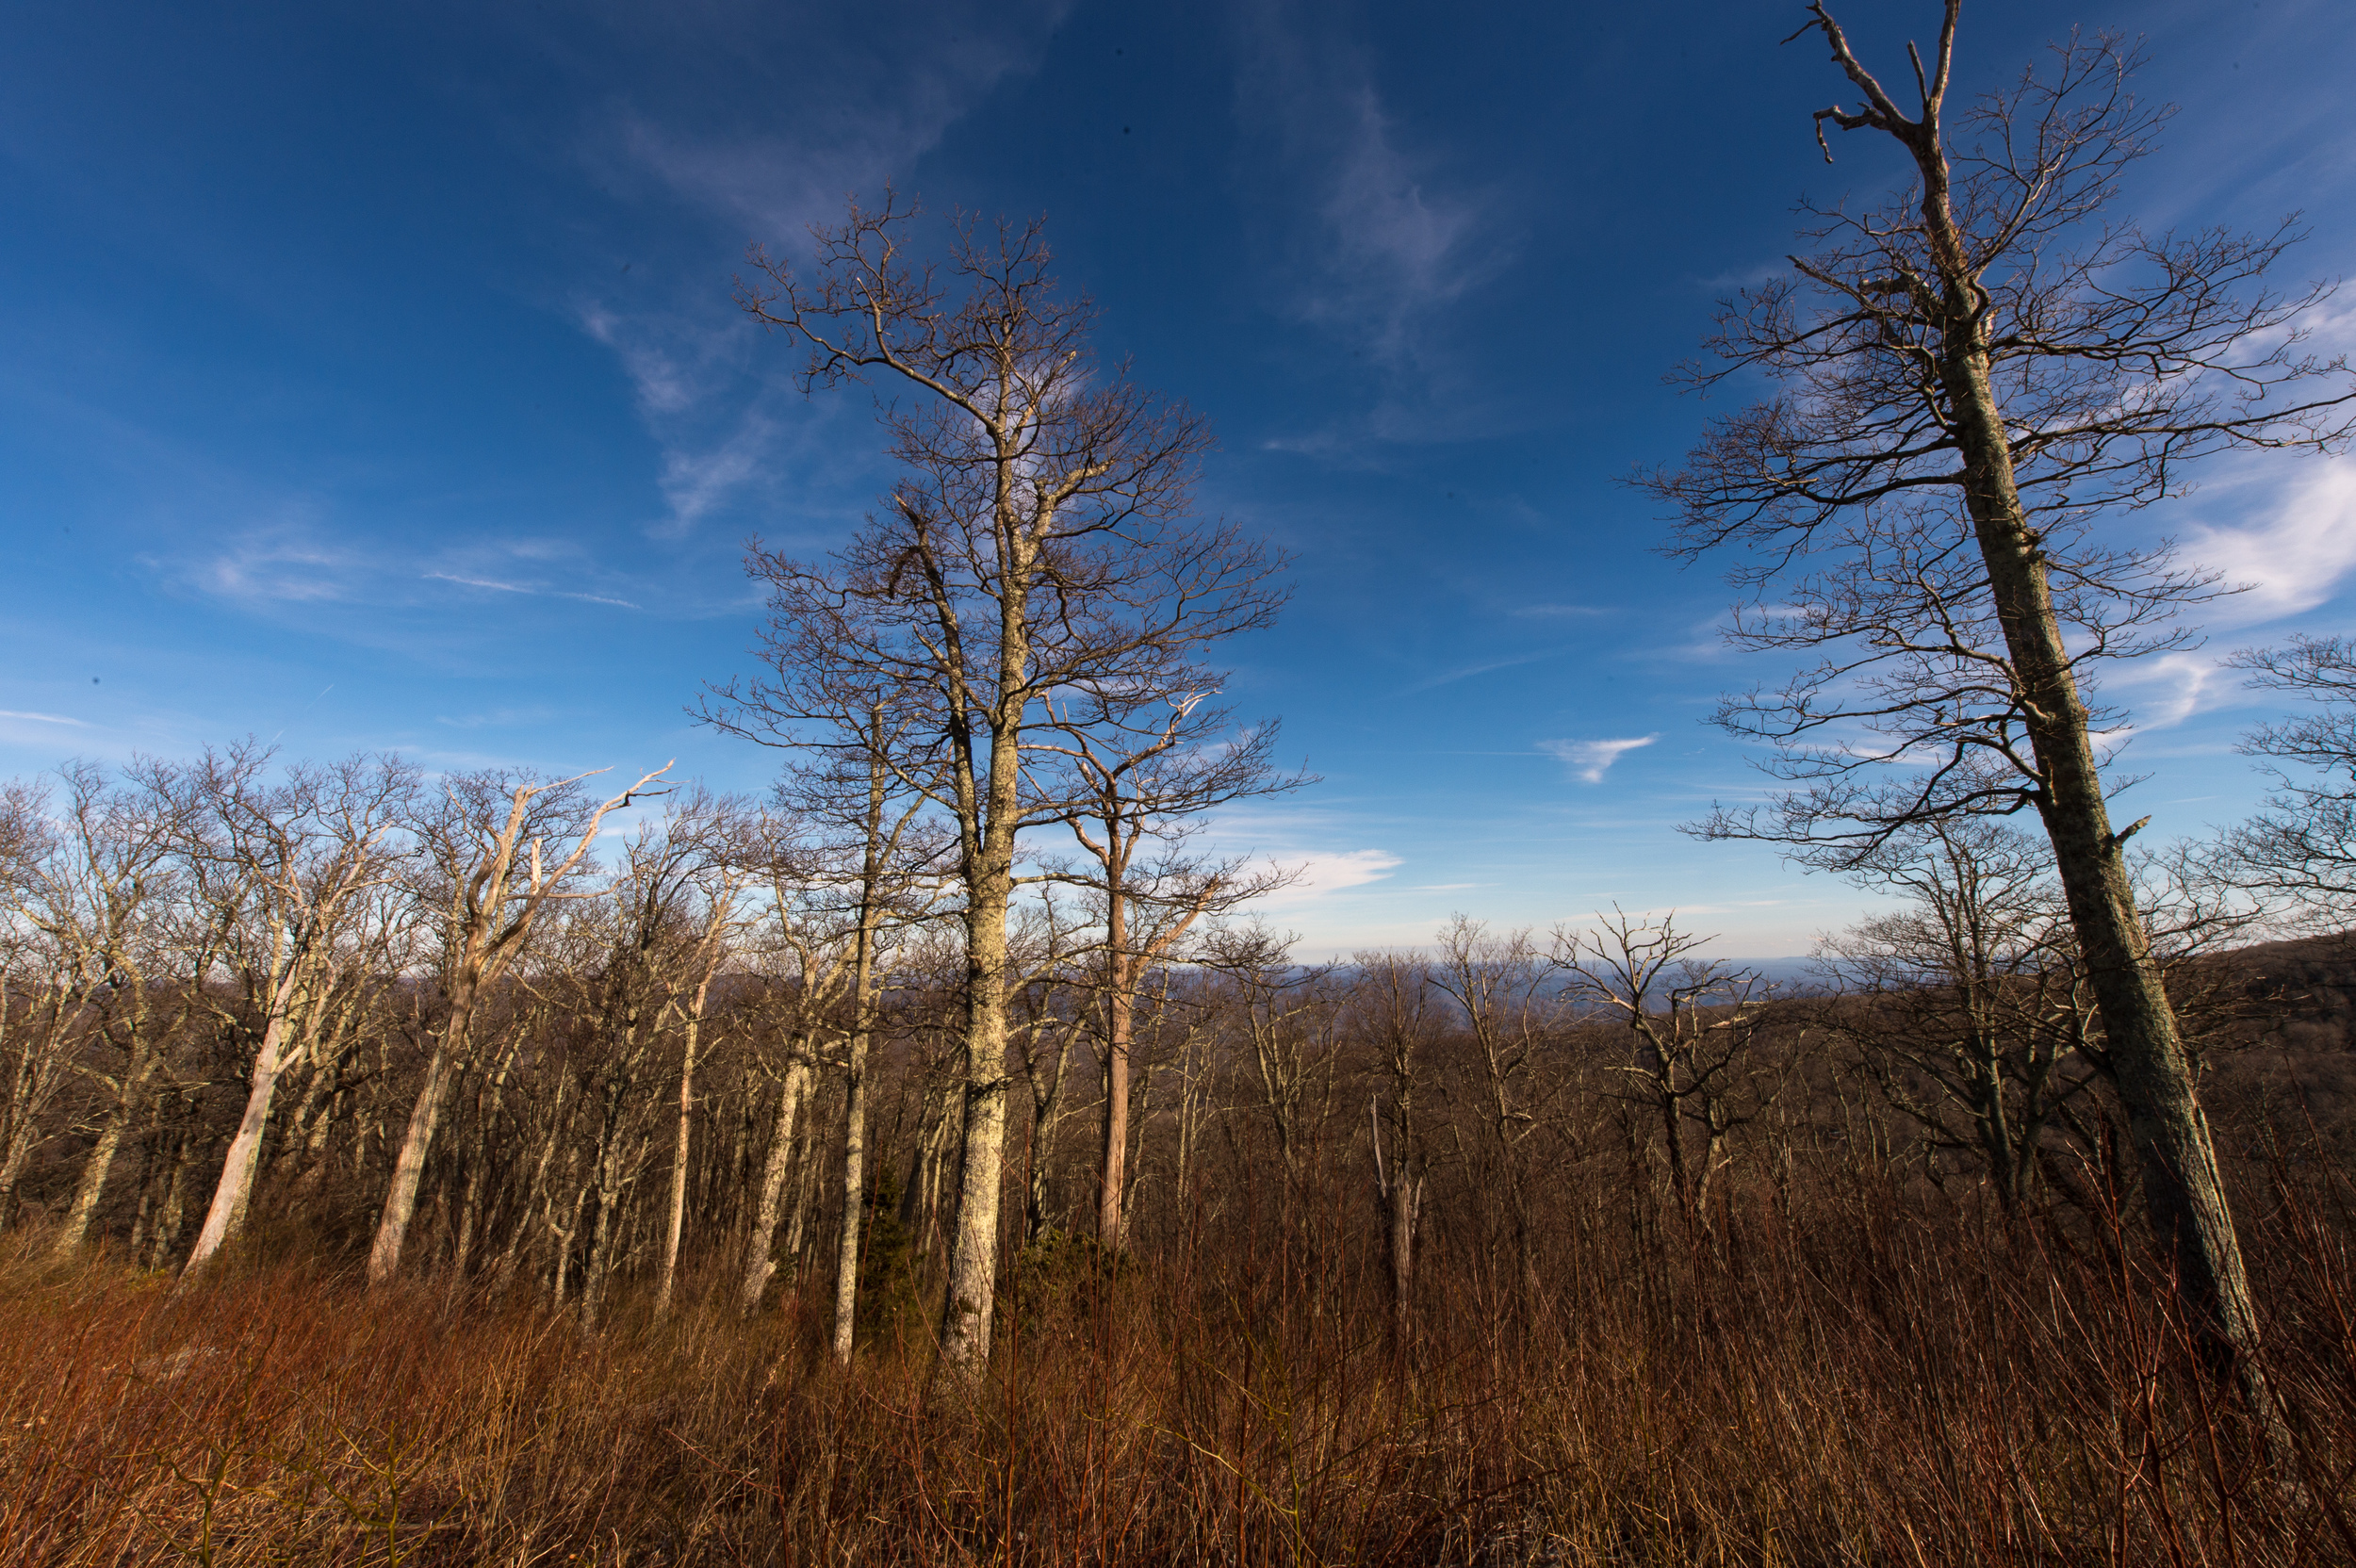
| Still fairly early in the morning there was a slight warmth to the sky while the mountain has a blue-green look. The colors change throughout the day offering many looks at the same scene. 1/800 @ f16, ISO 400. |
Being unfamiliar with the route, I pulled over almost every opportunity, got out of the car and looked around. Sometimes I grabbed my camera and shot, other times, I quickly returned to the car and headed for the next turnout. My goal was to make at least one loop as fast as possible, without missing any photos along the way and then take more time during subsequent loops.
 |
| Deer were the most visible wildlife I saw during my visit. Here two bucks greeting each other. 1/250 @ f8, ISO 400. |
One thing almost all visitors to Cades Cove are sure to see is wildlife. Everything from horses, deer, turkey, elk, wolves, fox, coyotes and black bear*. Your chances of just spotting these creatures are reduced while driving, especially by yourself. I did spot some bucks in the distance and stopped to photograph them for about 20 minutes. I then walked to the other side of the street and that is when I spotted two coyotes moving across the field and finally before getting back in the car, spotted a
bird Flicker Woodpecker off to the left. Three nice animals all because I stayed put for a while.
 |
Not all wildlife is large and easy to spot. This Flicker Woodpecker (yet to be identified) was only a short distance from my feet as I was standing around looking at the great vistas. 1/200 @ f13, ISO 400. TIP: Don't forget to look down and always be ready to shoot. |
But it is the Great Smoky Mountains, so much of the time on the first loop was spent photographing them. One thing I noticed is that the color temp and look of these mountains change throughout the day depending on light and angles. That was fun; it was like taking a completely different photo of the same scene each time.
 |
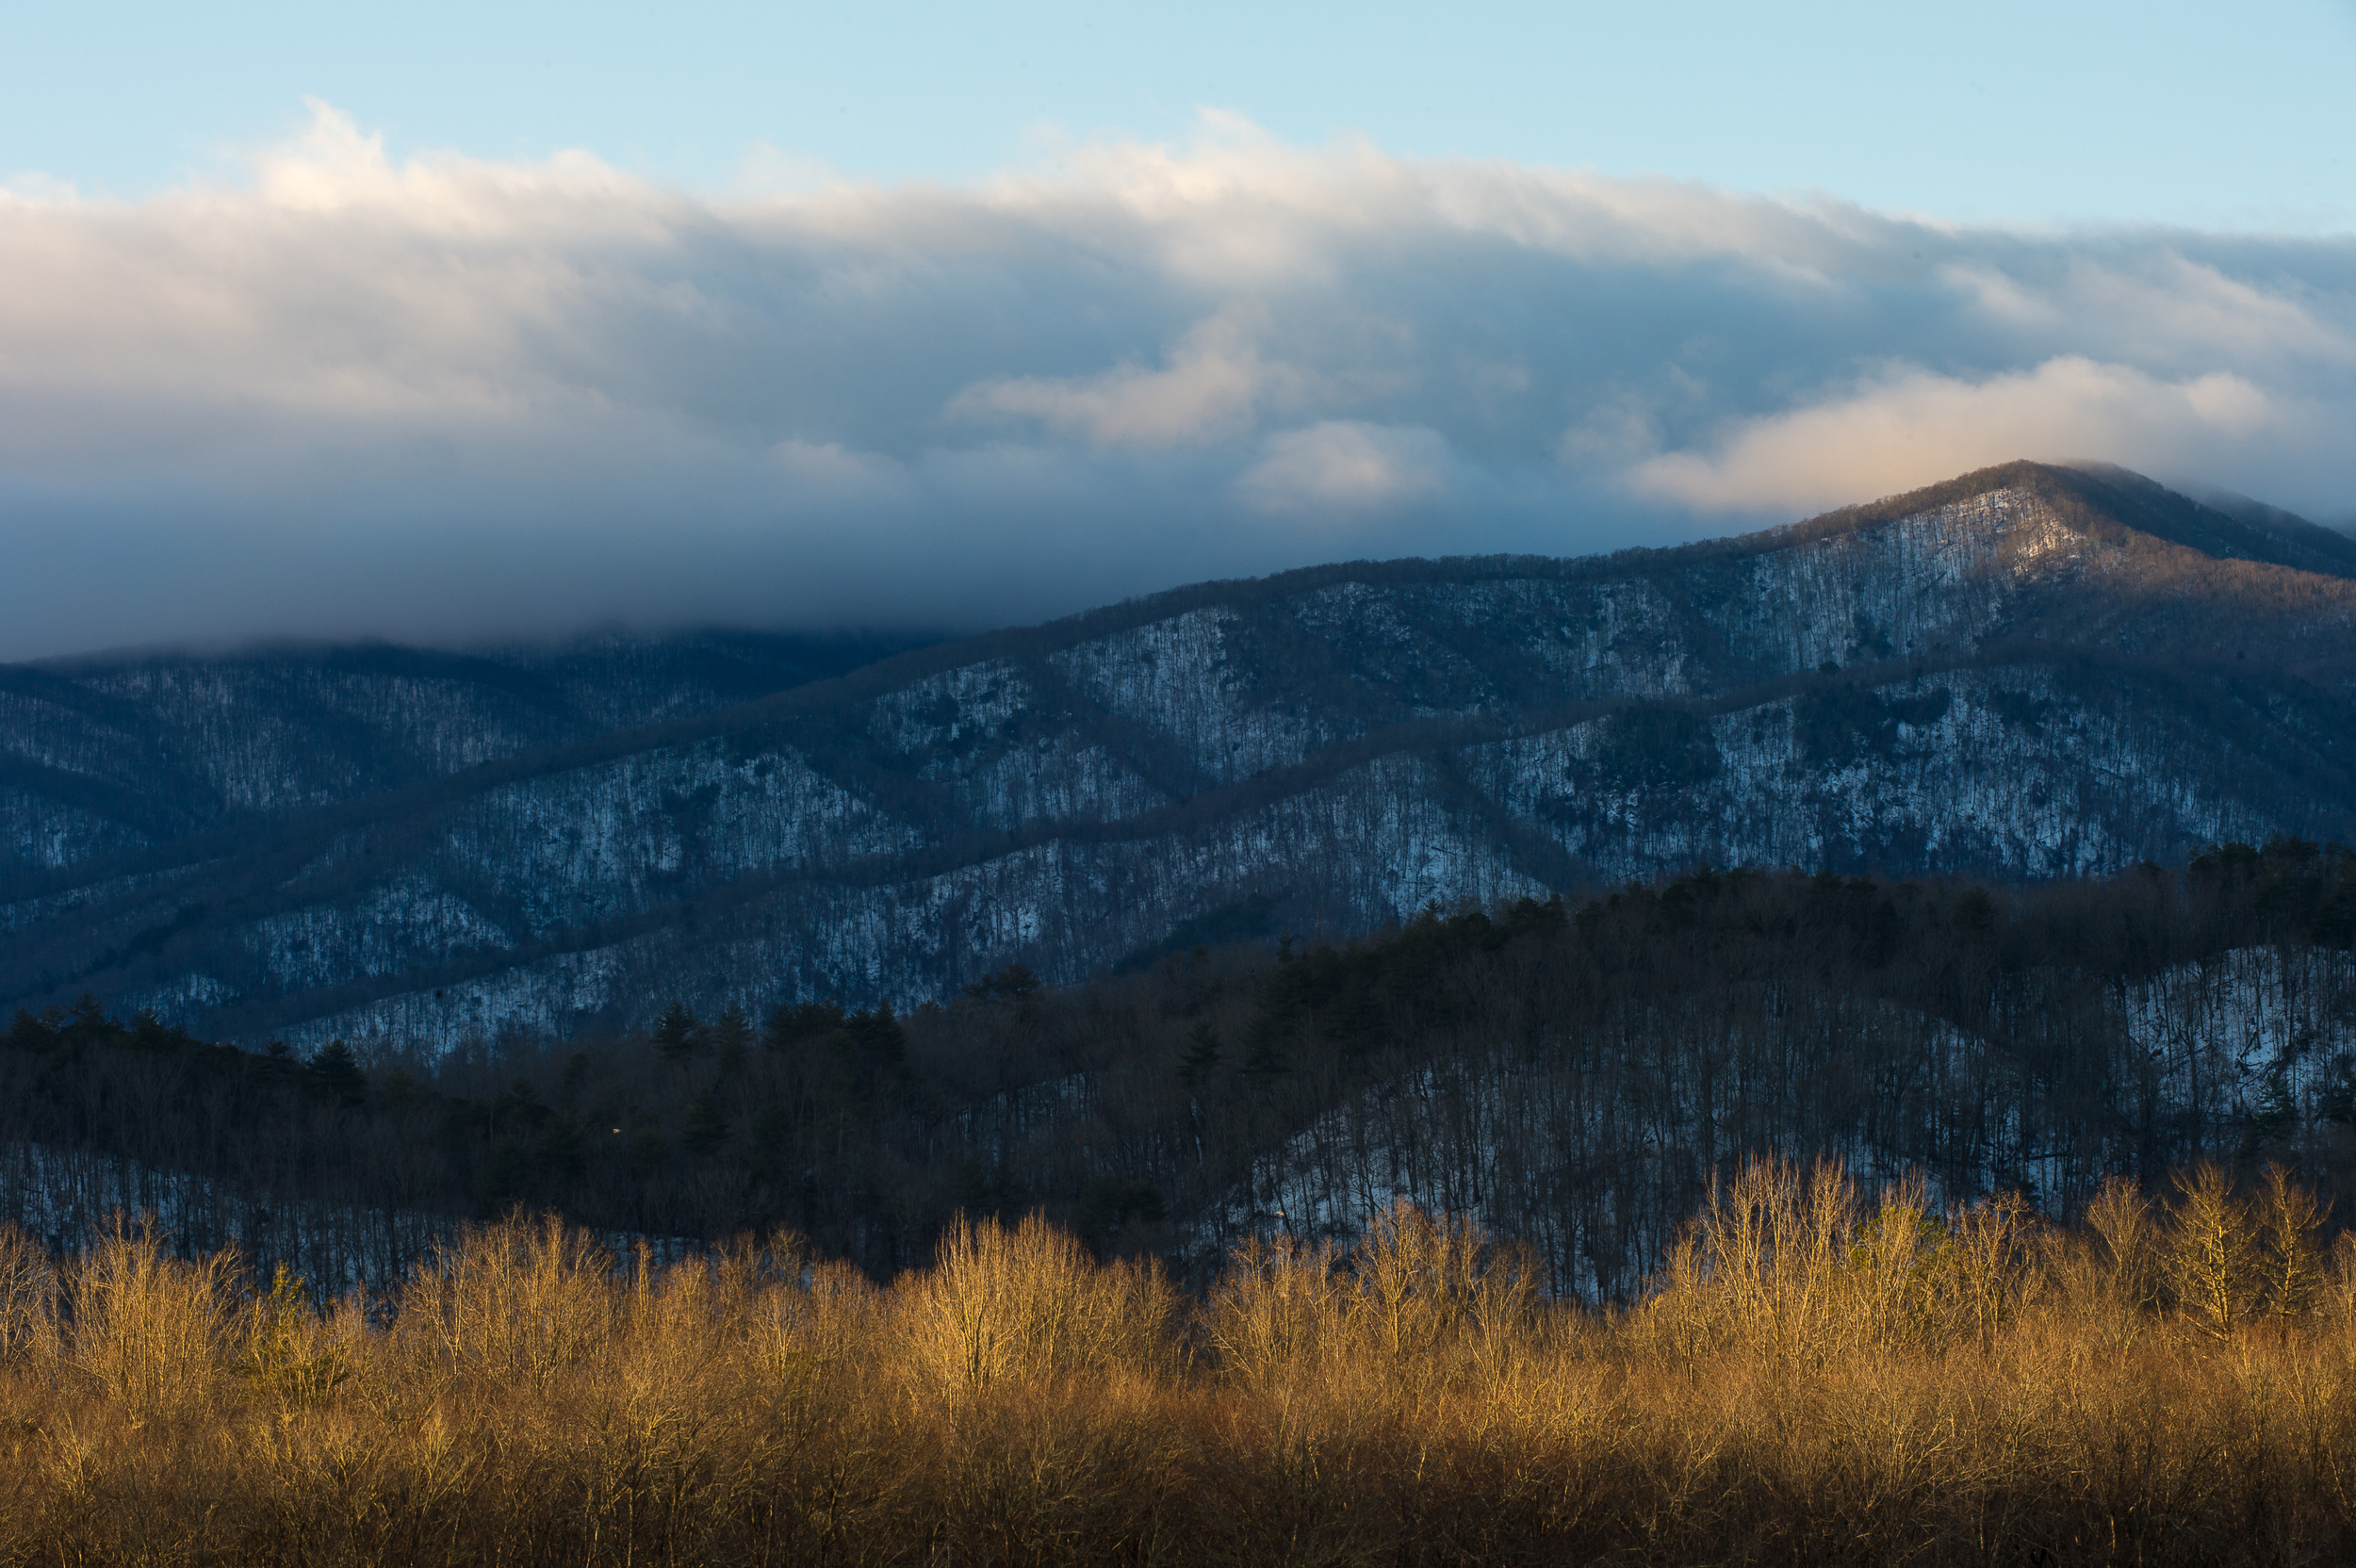
| Later in the day the mountains took on a different color and with the warming temperatures and snow melting, more of the grass became visible and provided a warm contrast to the cool mountains and sky. 1/50 @ f22, ISO 200, Cokin graduated ND filter. |
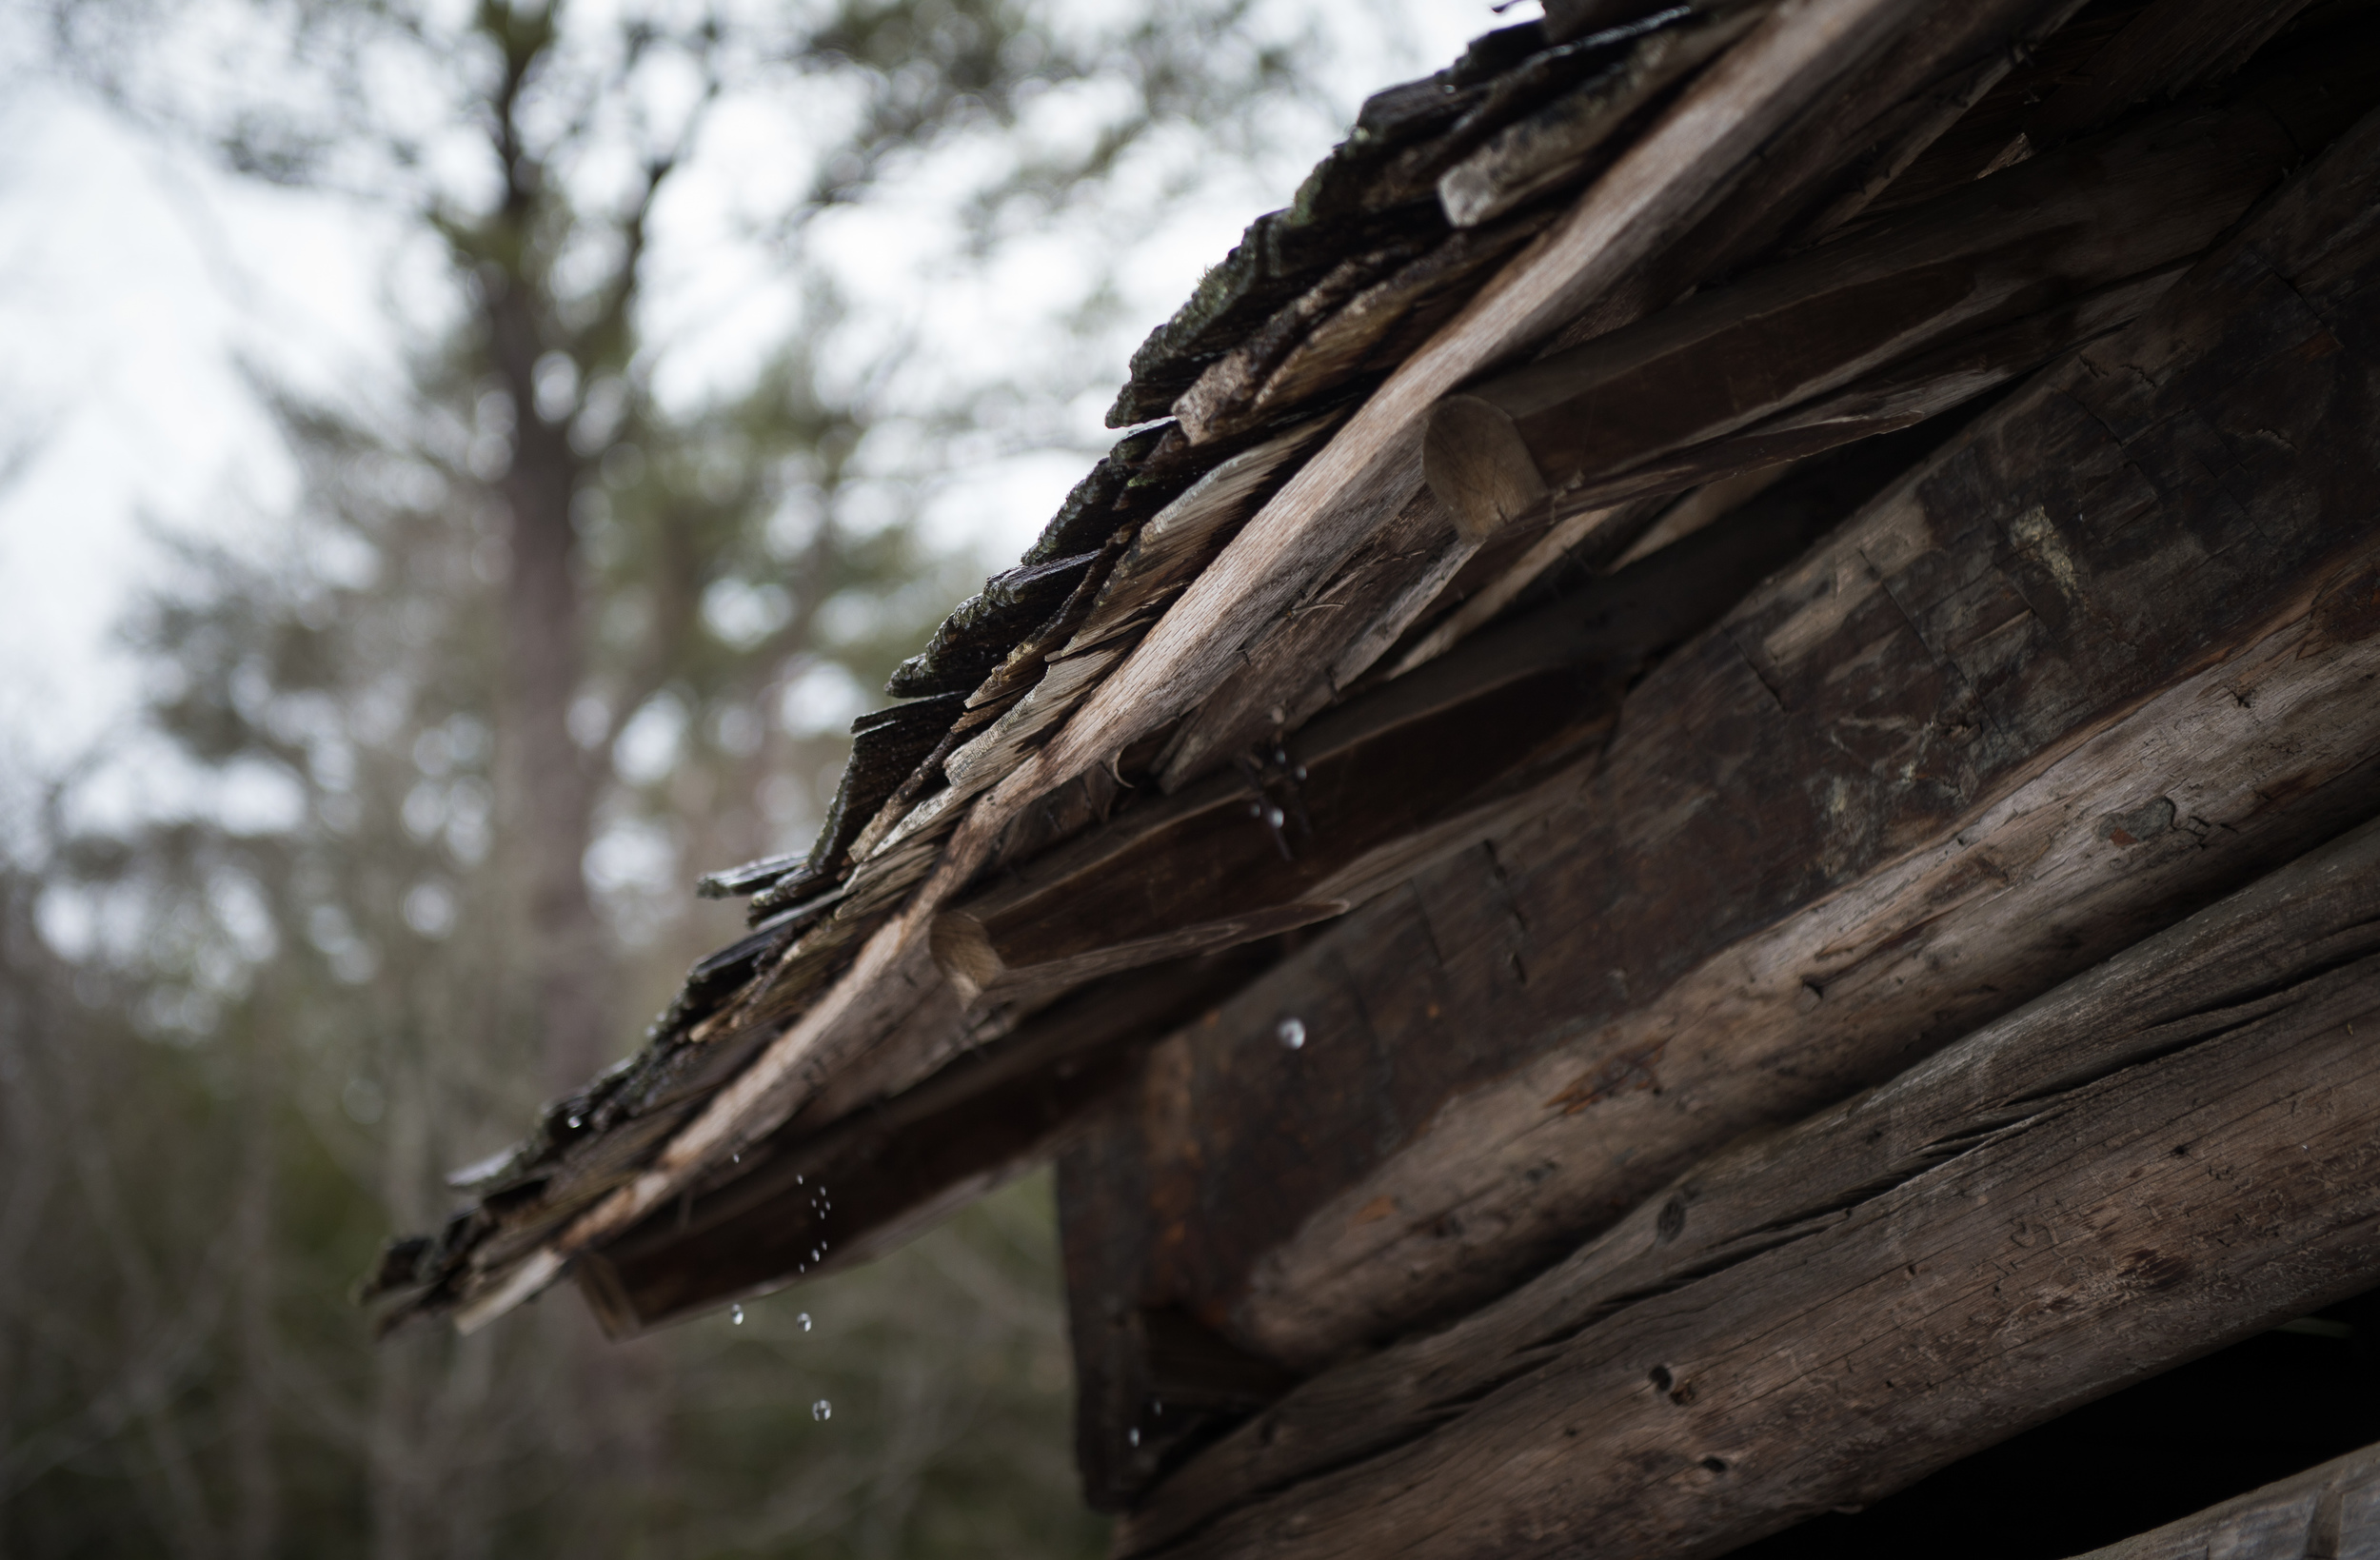
Along the way, there are a number of structures and old cabins to explore. During the second loop as the sun rose, but still provided some quality light, I made sure to explore a few and am glad I did. I was drawn by the warm look of the wood that contrasted with the snow and also the shadows created by fences and the buildings.
 |
| Tipton Place is near the end of the loop and offered several structures to photograph. 1/160 @ f20, ISO 400, Exp. Comp. +1. TIP: I choose to shoot from a low angle since the snow surrounding the area had been trampled. |
Typically there is more parking located at these sites and since I was already exploring the buildings, it seemed like a good time to explore the surrounding woods. Don't be afraid to walk off the road and into the woods, you might be surprised what is just out of site.
 |
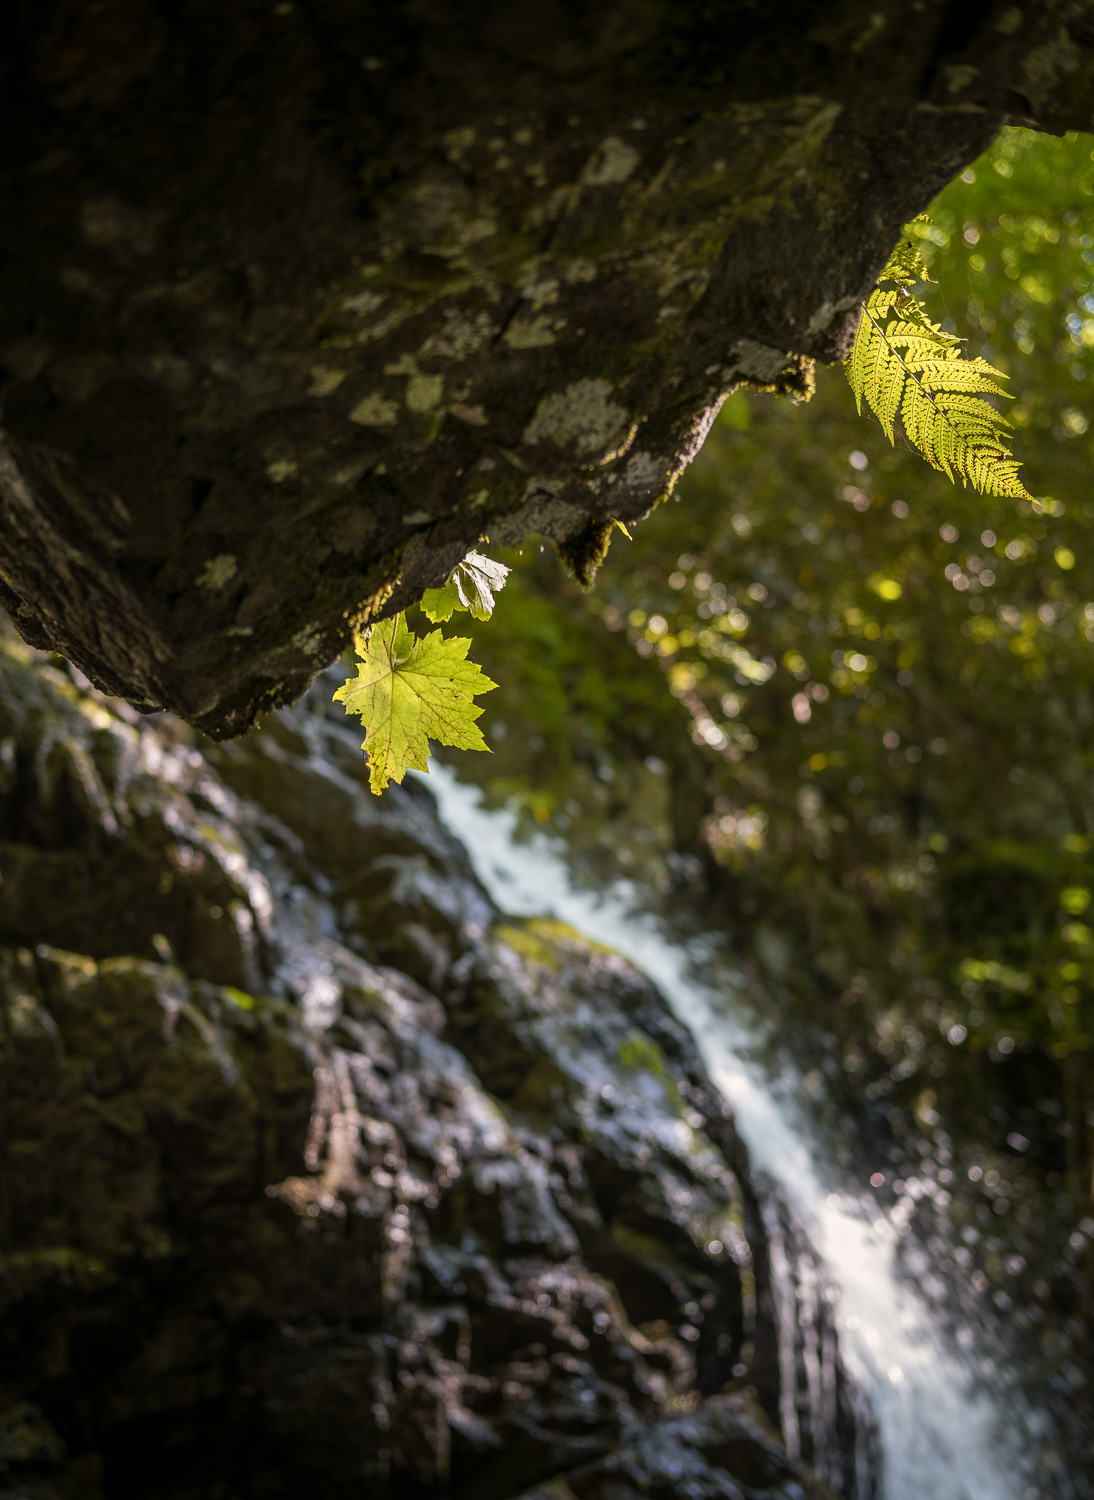
| This small stream runs past Tipton Place and allowed me to take advantage of some nice light streaming through the trees. 1/50 @ f20, ISO 400, Exp. Comp. +1. TIP: When shooting into the sun, use the tree or branch to block light from hitting your lens. |
When I returned in the afternoon it was a different experience for several reasons. First, the temperature had risen 30 degrees which meant the snow was melting fast. The first place I noticed this was the trees. Also, the number of cars making the loop had more than
tripled quadrupled, which meant traffic jams as people would just stop in the middle of the one-lane road, mostly to look at deer. So it took more than twice as long to make the loop as it did in the morning. And this is the winter, so be prepared in the Spring. Again, my suggestion would be to take your time and not worry about spending too much time in one location. Why not let the wildlife come to you.
 |
| Clouds started to build and the moon came out in the late afternoon once again giving a very different look to the mountains. 1/50 @ f22, ISO 200, Cokin graduated ND filter. TIP: When you have interesting clouds, grab a wide angle and aim high. |
With the first day of shooting down, my plan for tomorrow is to return to Cades Cove and a few locations I've identified along the loop in the hopes of getting a better sunrise. Then I'll start making my way to Gatlinburg, shooting and scouting along the way.
* Bears hibernate in the winter.