This photograph which was taken one hour before sunset exhibits typical lens flare that causes artifacts usually in the shape of the iris. Lens flare is more common when using a zoom lens. ISO 200, f11 @ 1/500, with a Nikon 70-200 2.8 at 200mm.
Light is the key to photography and as we continue to chase that light, more often than not we find ourselves out during the golden hour; that wonderful time around sunrise and sunset. However, after it has risen or while waiting for it to set, we rarely point our cameras in the direction of the sun and that's a shame.
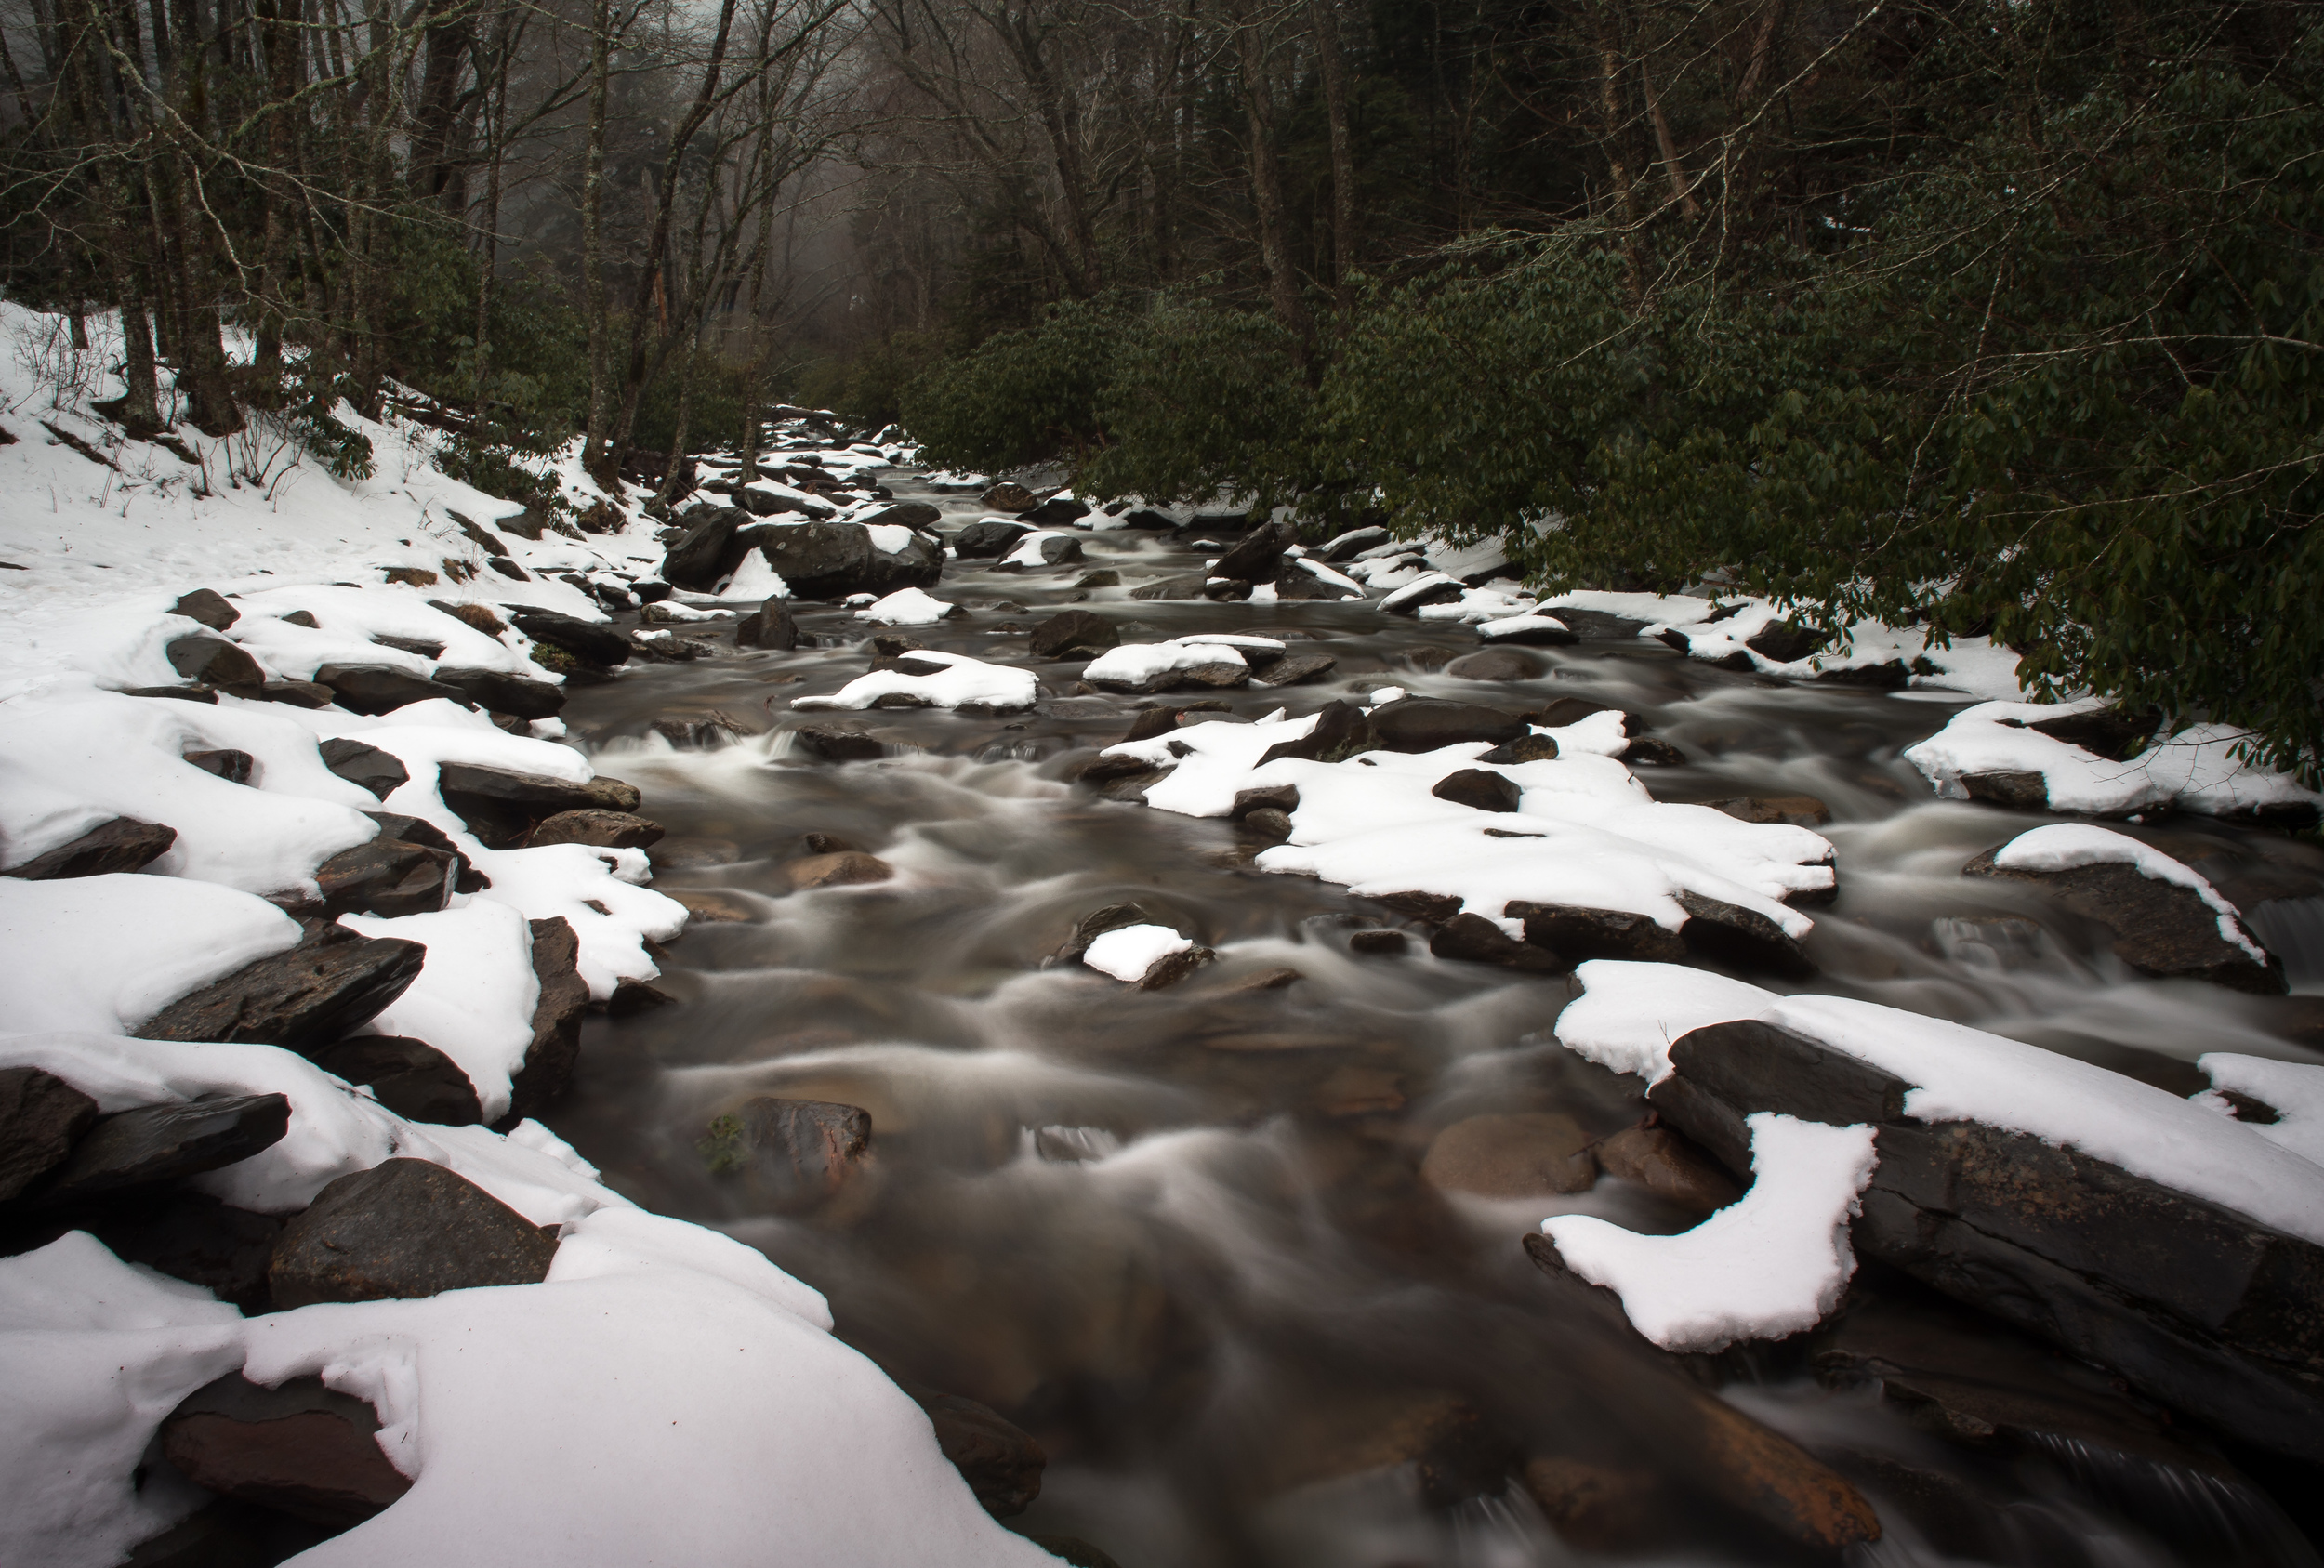
During two recent visits to Shenandoah National Park, I found myself embracing the idea of pointing my camera into the sun and came away with some beautiful results.

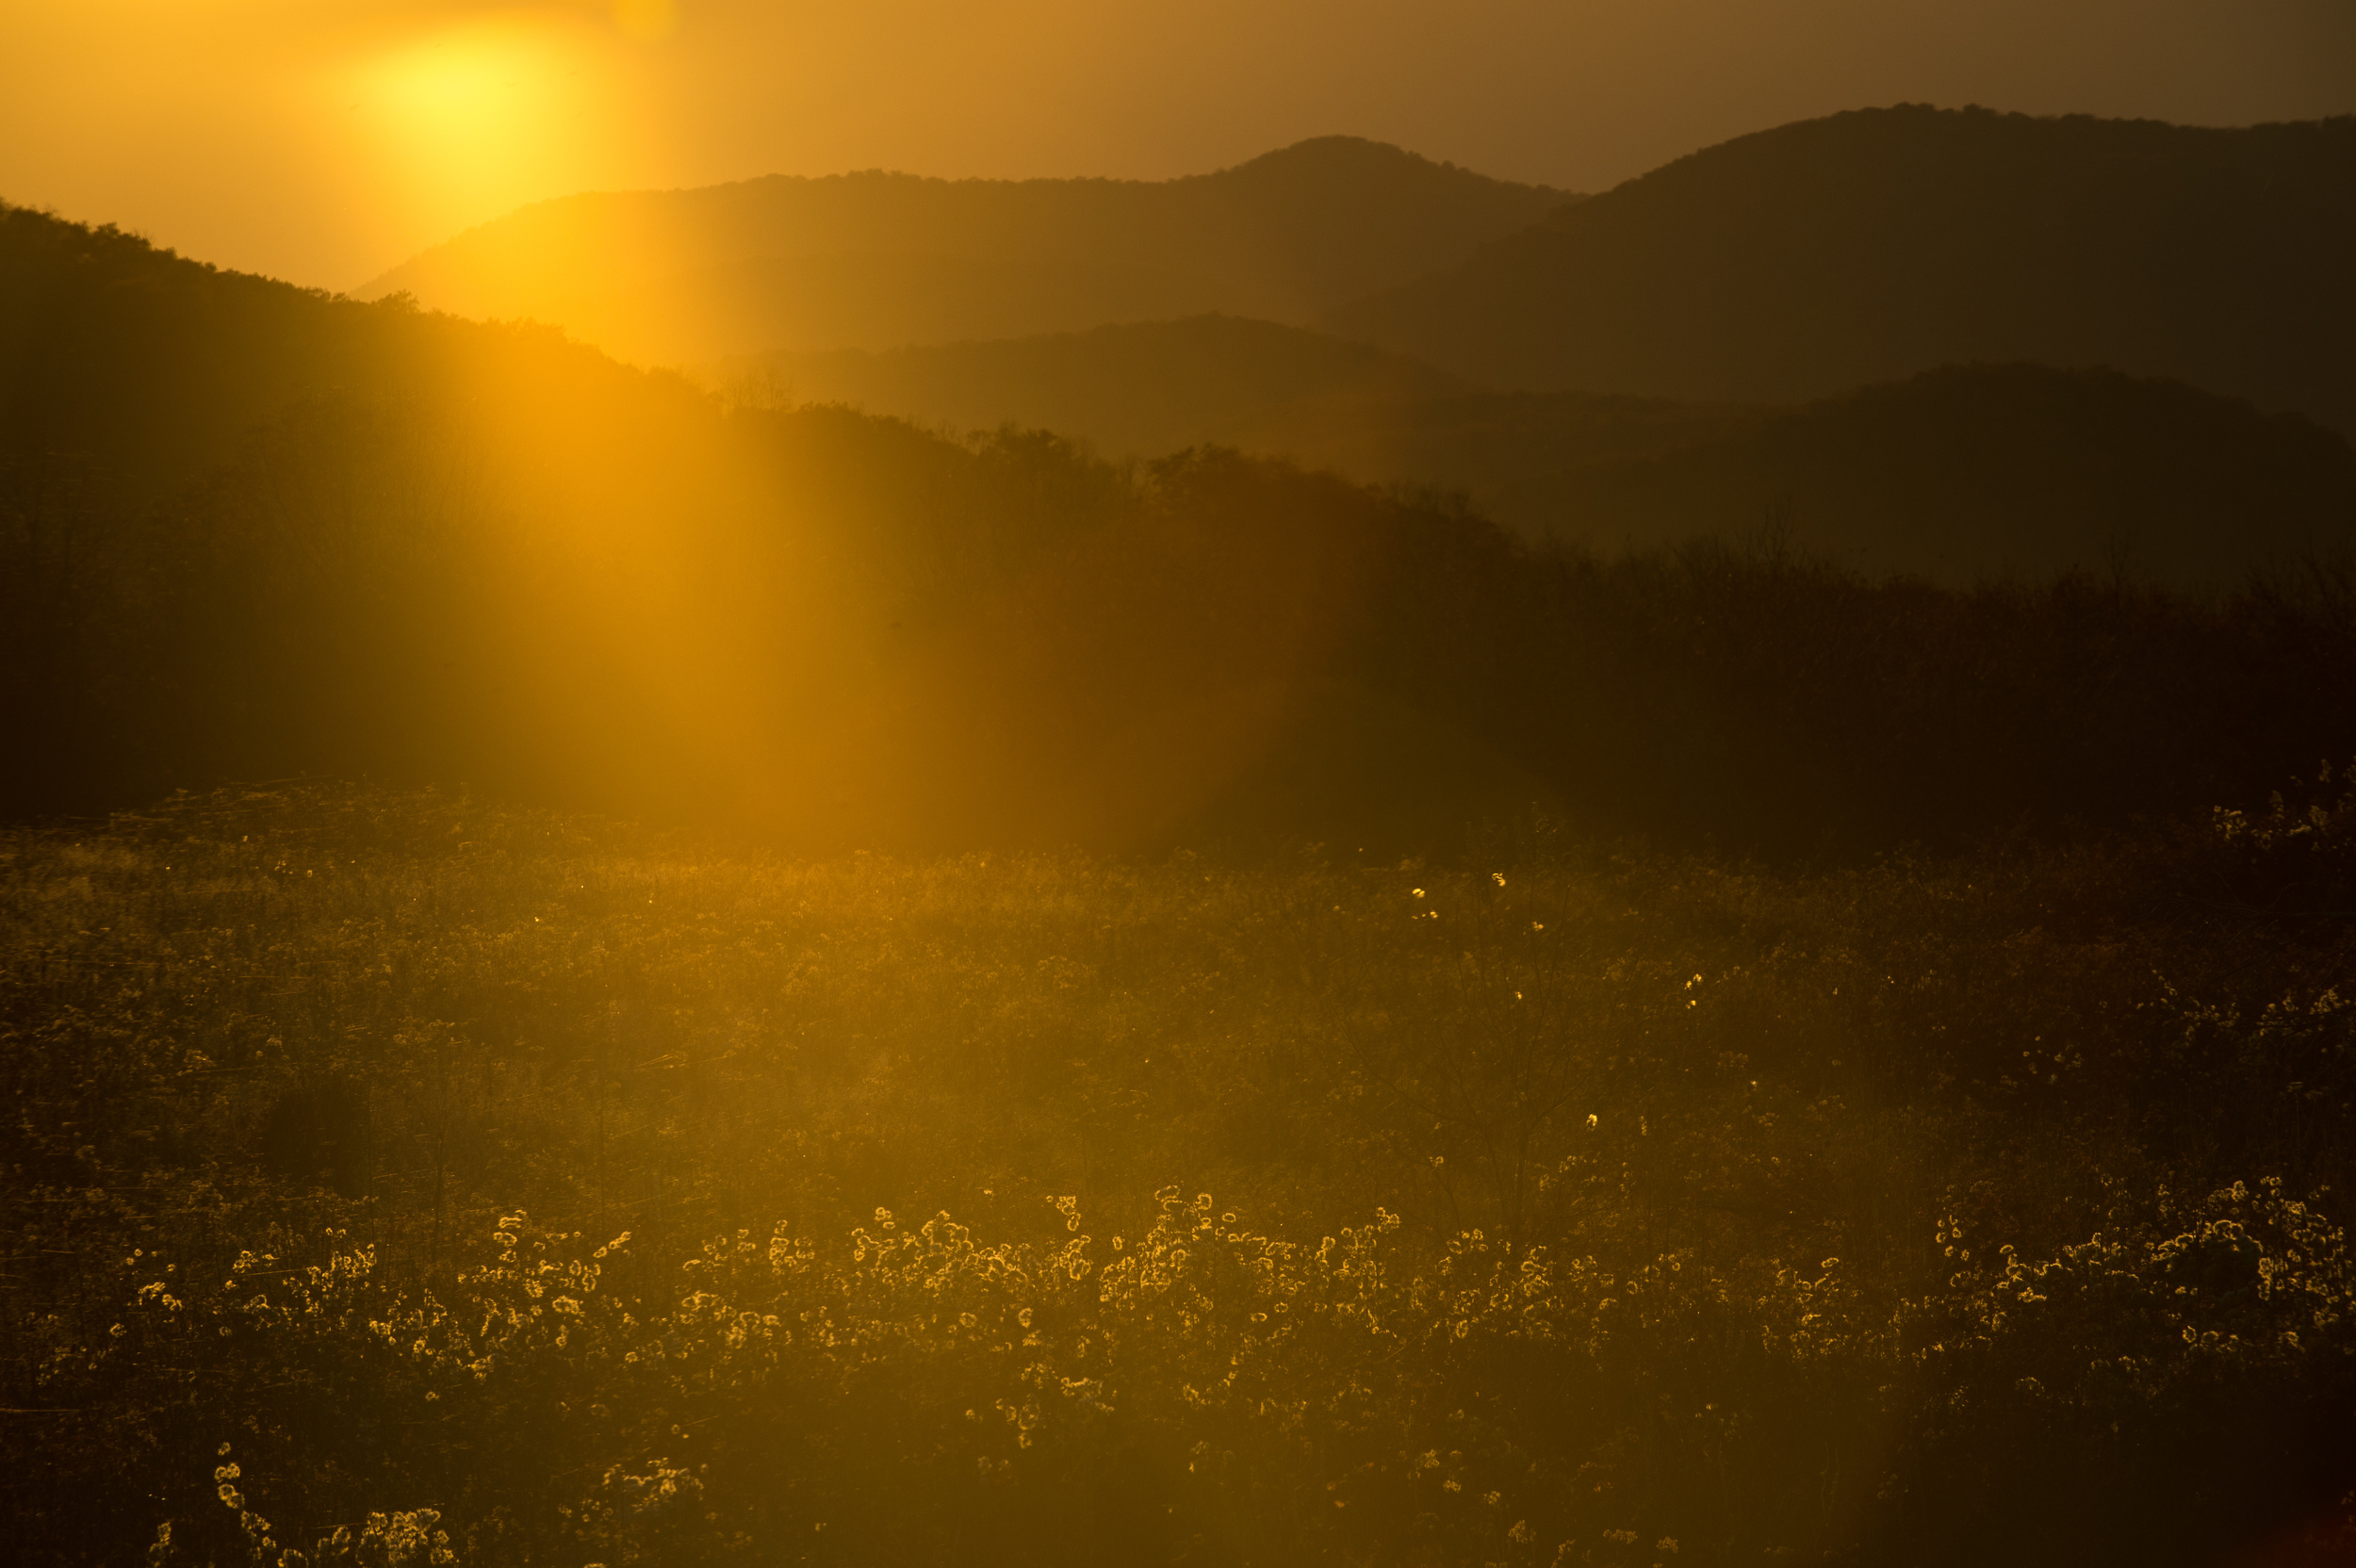
This photograph was taken one hour after sunrise from high above the valley backlit by the sun. The light shining through the early morning fog gives this image a soft, ethereal feel. ISO 200, f22 @ 1/400 with an Nikon 80-400 4.5/5.6 at 400mm.
One reason, of course, you might avoid shooting in the direction of the sun is lens-flare, but perhaps that is the exact reason you should keep shooting. Traditional we have been told that lens-flare is a mistake, something to avoid, but more and more I'm seeing it used as an artistic effect. I believe it can add an authenticity to a photograph, almost like you did make a mistake, as if you suddenly turned around, grabbed your camera and fired off a frame.
Another reason that you might avoid shooting in the direction of the sun is that it tends to produce flat, monochromatic images. However, it is just that lack of contrast that can give a photograph an otherworldly or ethereal feeling. A sense of being overexposed, but in a good way.

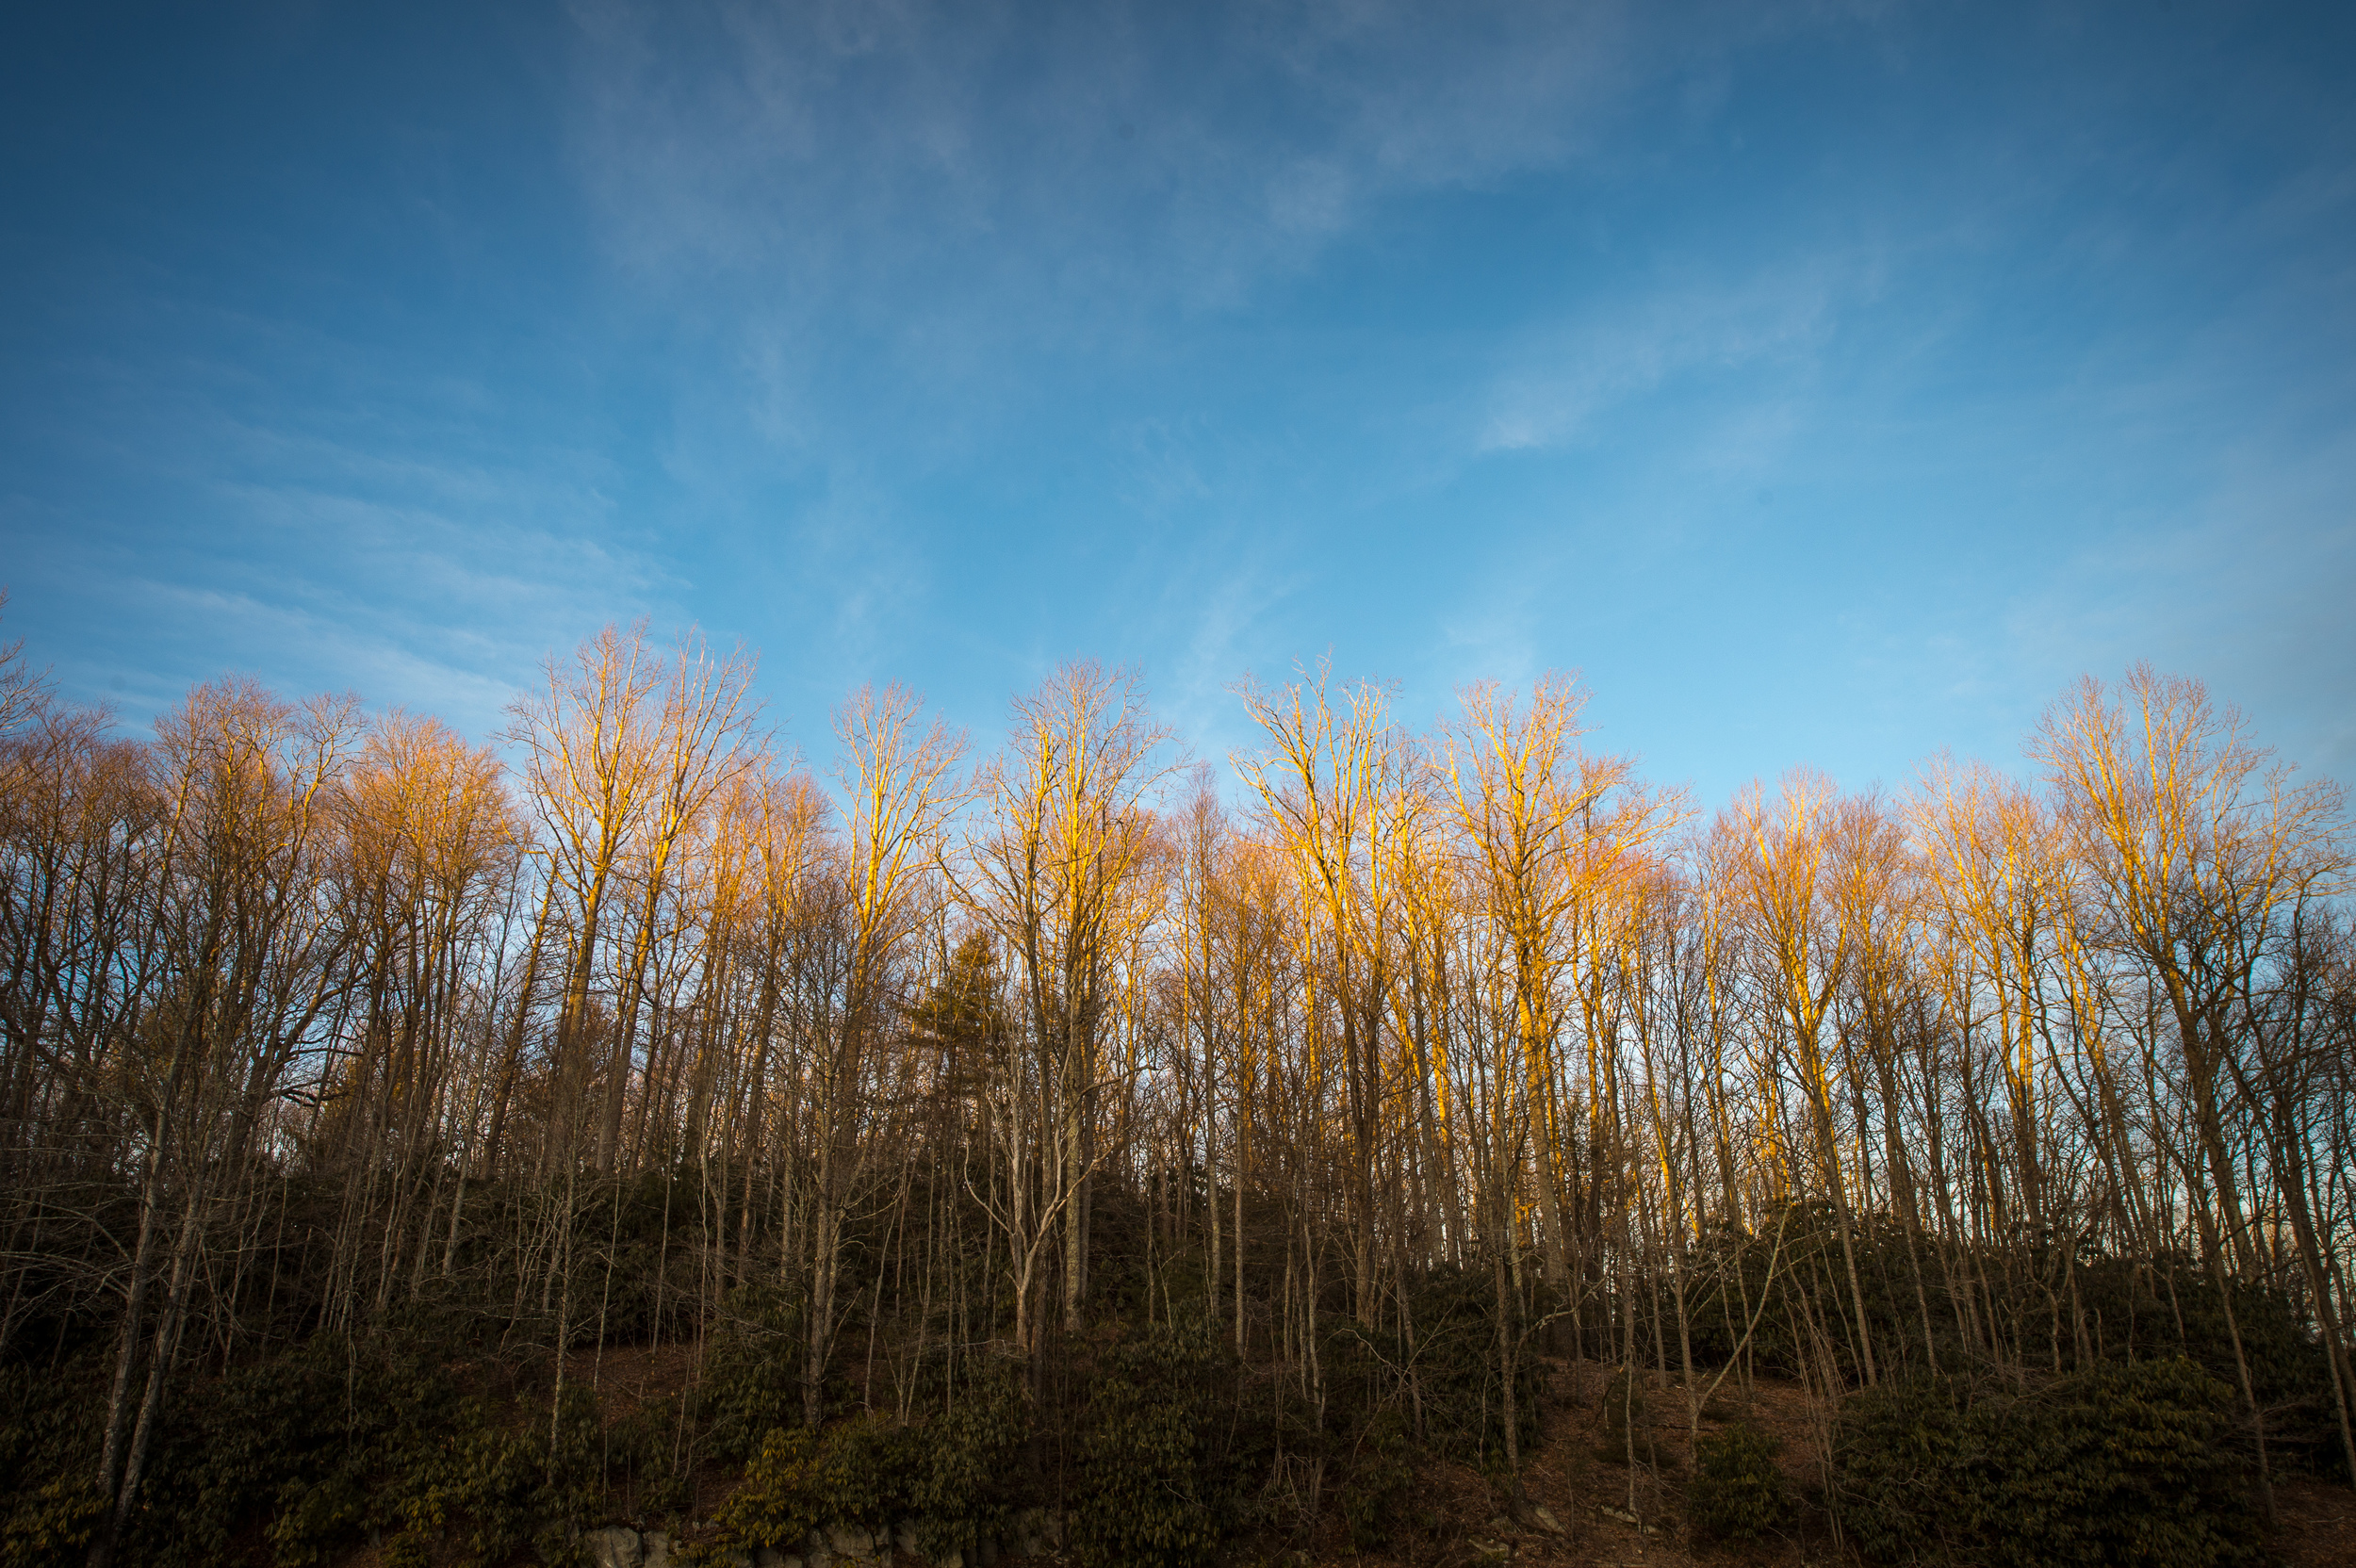
The sun, just out of the frame at right one half hour before sunset produced this unexpected pinkish hue. Shooting into the light can often result in flat, monochromatic images. ISO 200, f4.5 @ 1/80, with a Nikon 300 2.8.
Don't get me wrong, sometimes lens-flare and flat imagery is not desired, otherwise we could all throw away our lens shades and only purchase inexpensive zoom lenses and place cheap filters on them.
Keep in mind a few things when shooting into the sun. Use live view instead of looking through your DSLR camera, especially with a long lens. Set your camera to manual mode, both exposure and focus, so you control the effect, otherwise the camera will try to compensate for your "mistake."
So the next time you are waiting for the sun to set or turning your attention elsewhere after the sun has risen, keep shooting. And if you quickly dismiss a photo because of lens-flare while editing, go back and take another look, you might be surprised.