Chincoteague Ponies. 1/1600 @ f5.6, ISO 400. Nikon D4S, 300mm 2.8 with 2x teleconvertor.
For a couple of years, I've had Assateague and Chincoteague on my photographic trip list and with a few days off I finally decided to make it a reality. But first, I was a little confused about the difference between the two locations.
I'll try and break it down. The whole island is Assateague and is located in both Virginia and Maryland. The Chincoteague National Wildlife Refuge is on Assateague Island but located in Virginia. Assateague Island National Seashore is located in Maryland and is a U.S. National Park.
Well, are they horses or ponies? Apparently they are referred to as Assateague Horses and Chincoteague Ponies, although they really are all ponies due to their size. At the Assateague National Seashore, the horses are free to roam while on the Chincoteague National Wildlife Refuge they are penned in and not free to roam Assateague Island. Confused?
It really doesn't matter because both locations should be on your trip list and I saw plenty of horses, or should I say ponies, in both locations as well as plenty of other wildlife and many great locations to photograph during a day and a half visit.

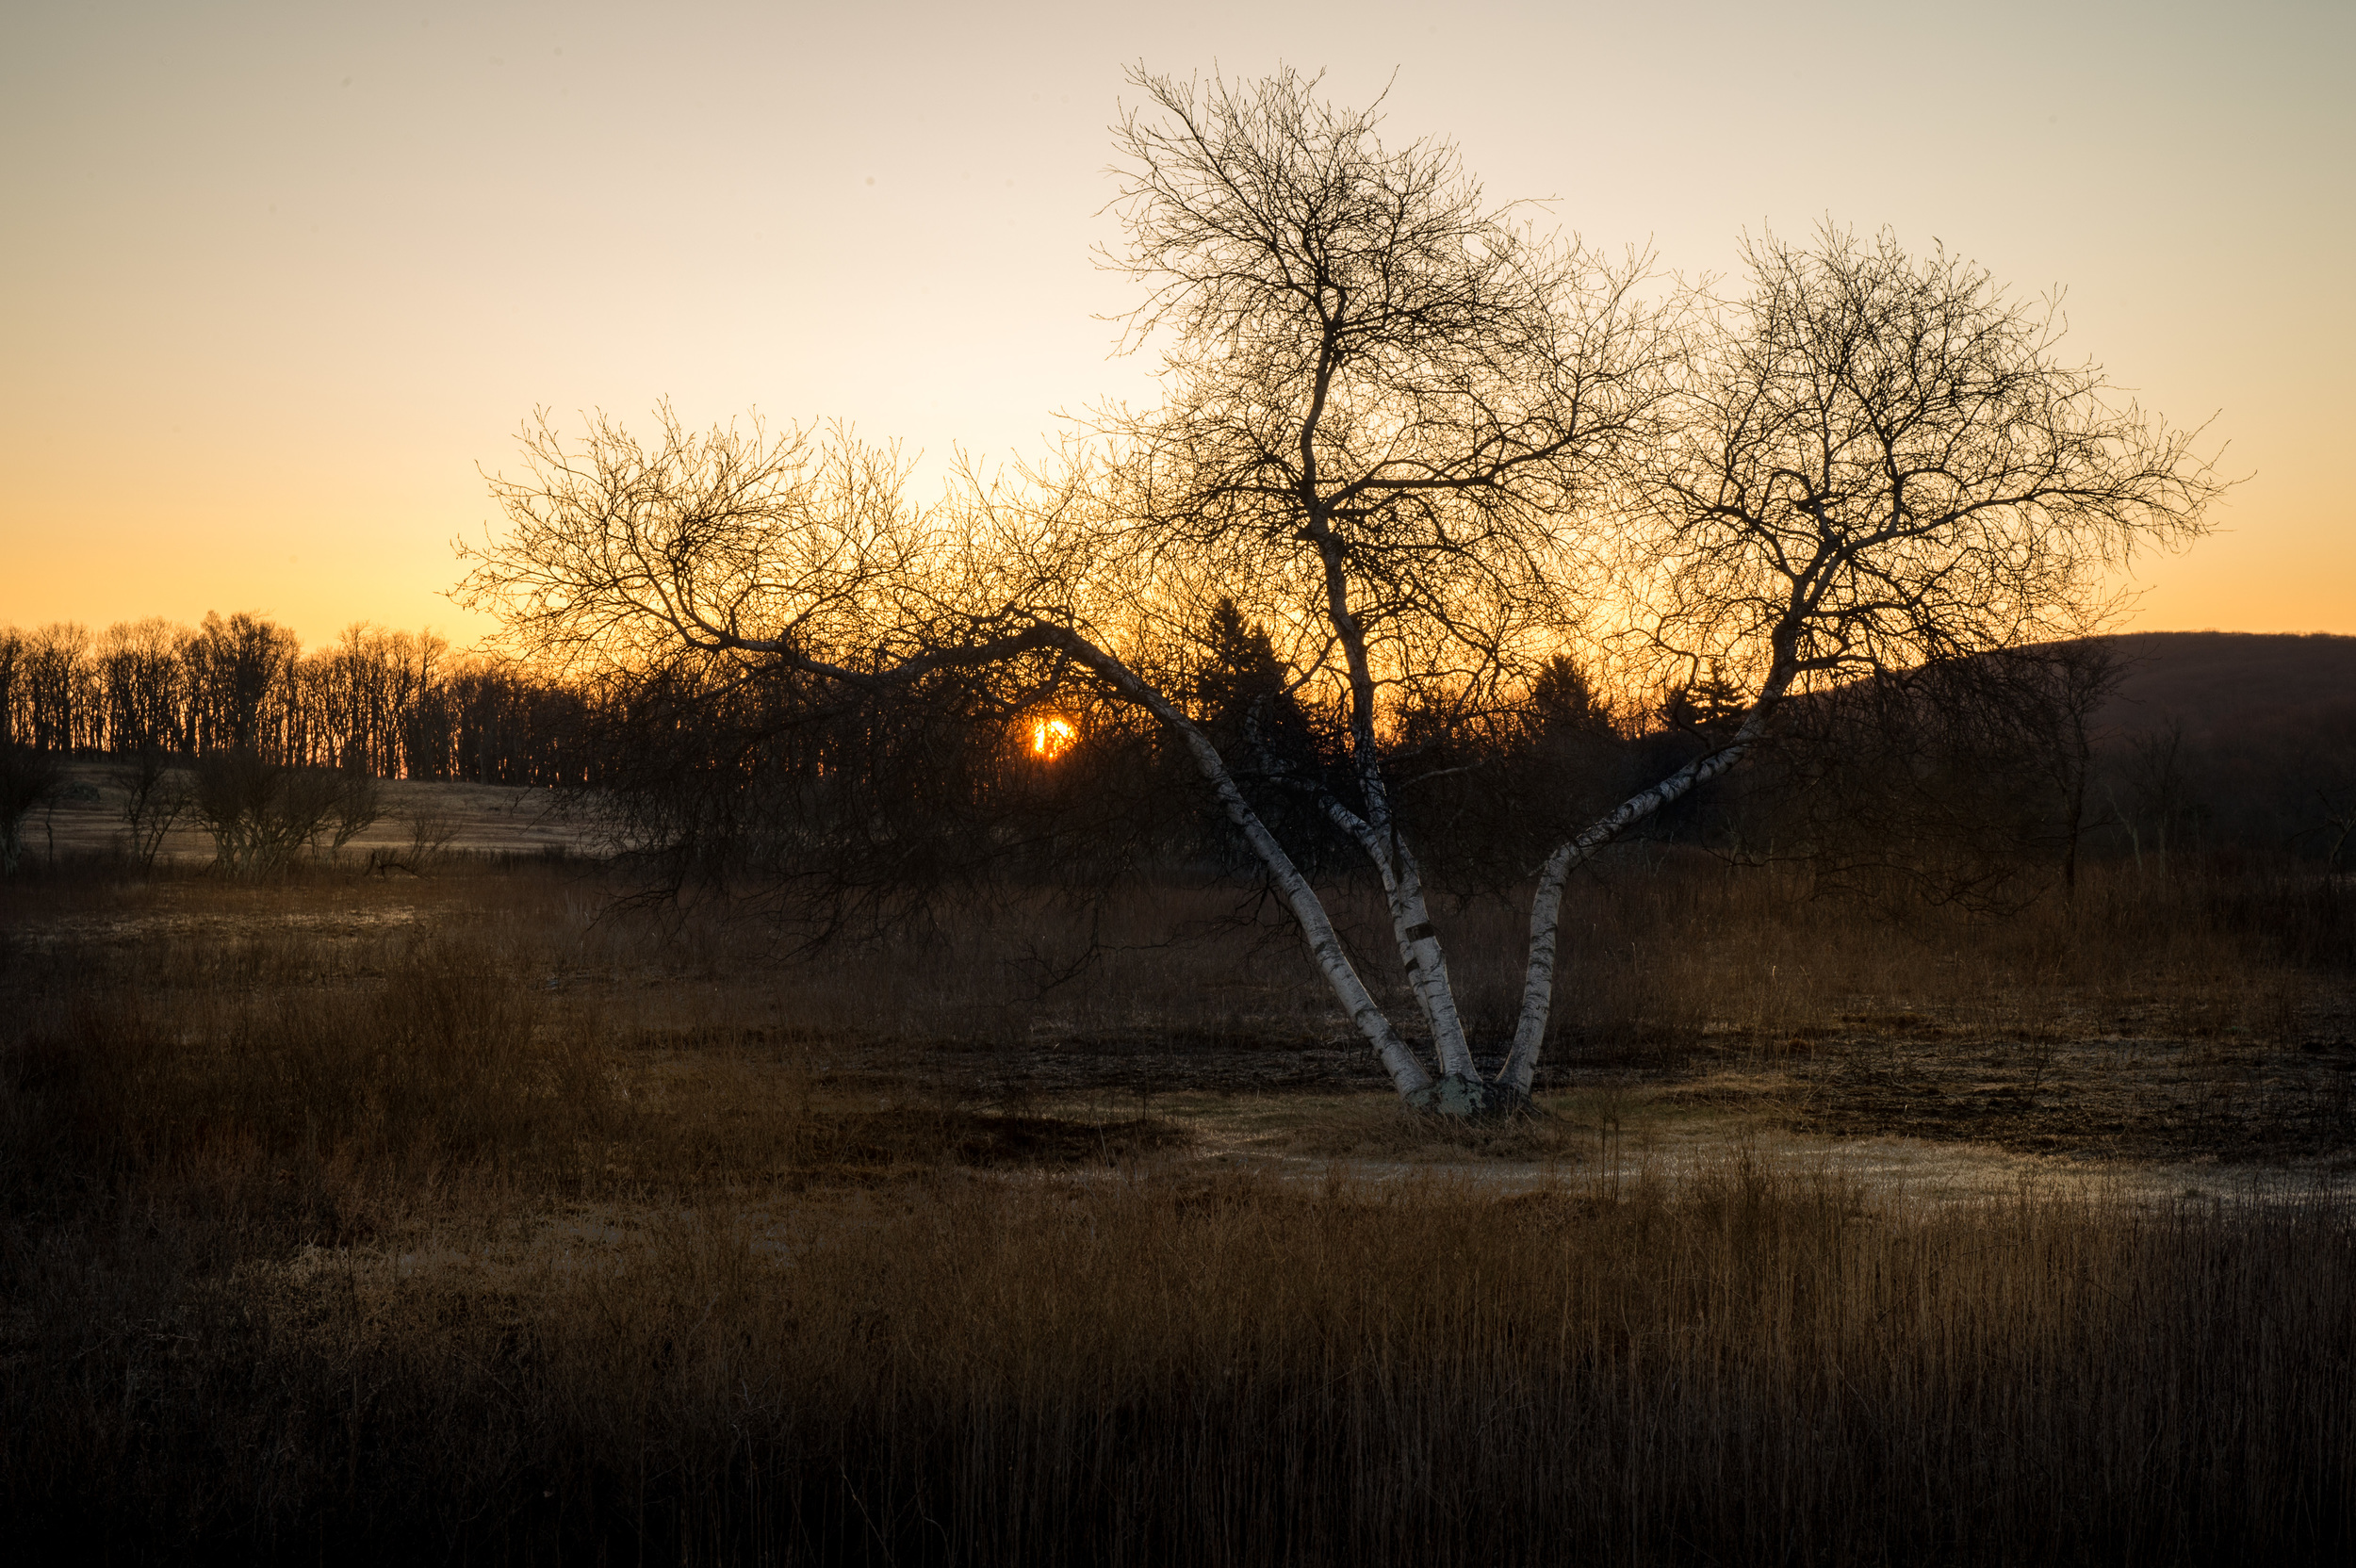
Assateague sunset. 1/10 @ f20, ISO 200. Nikon D4S, 14-24mm at 14mm.
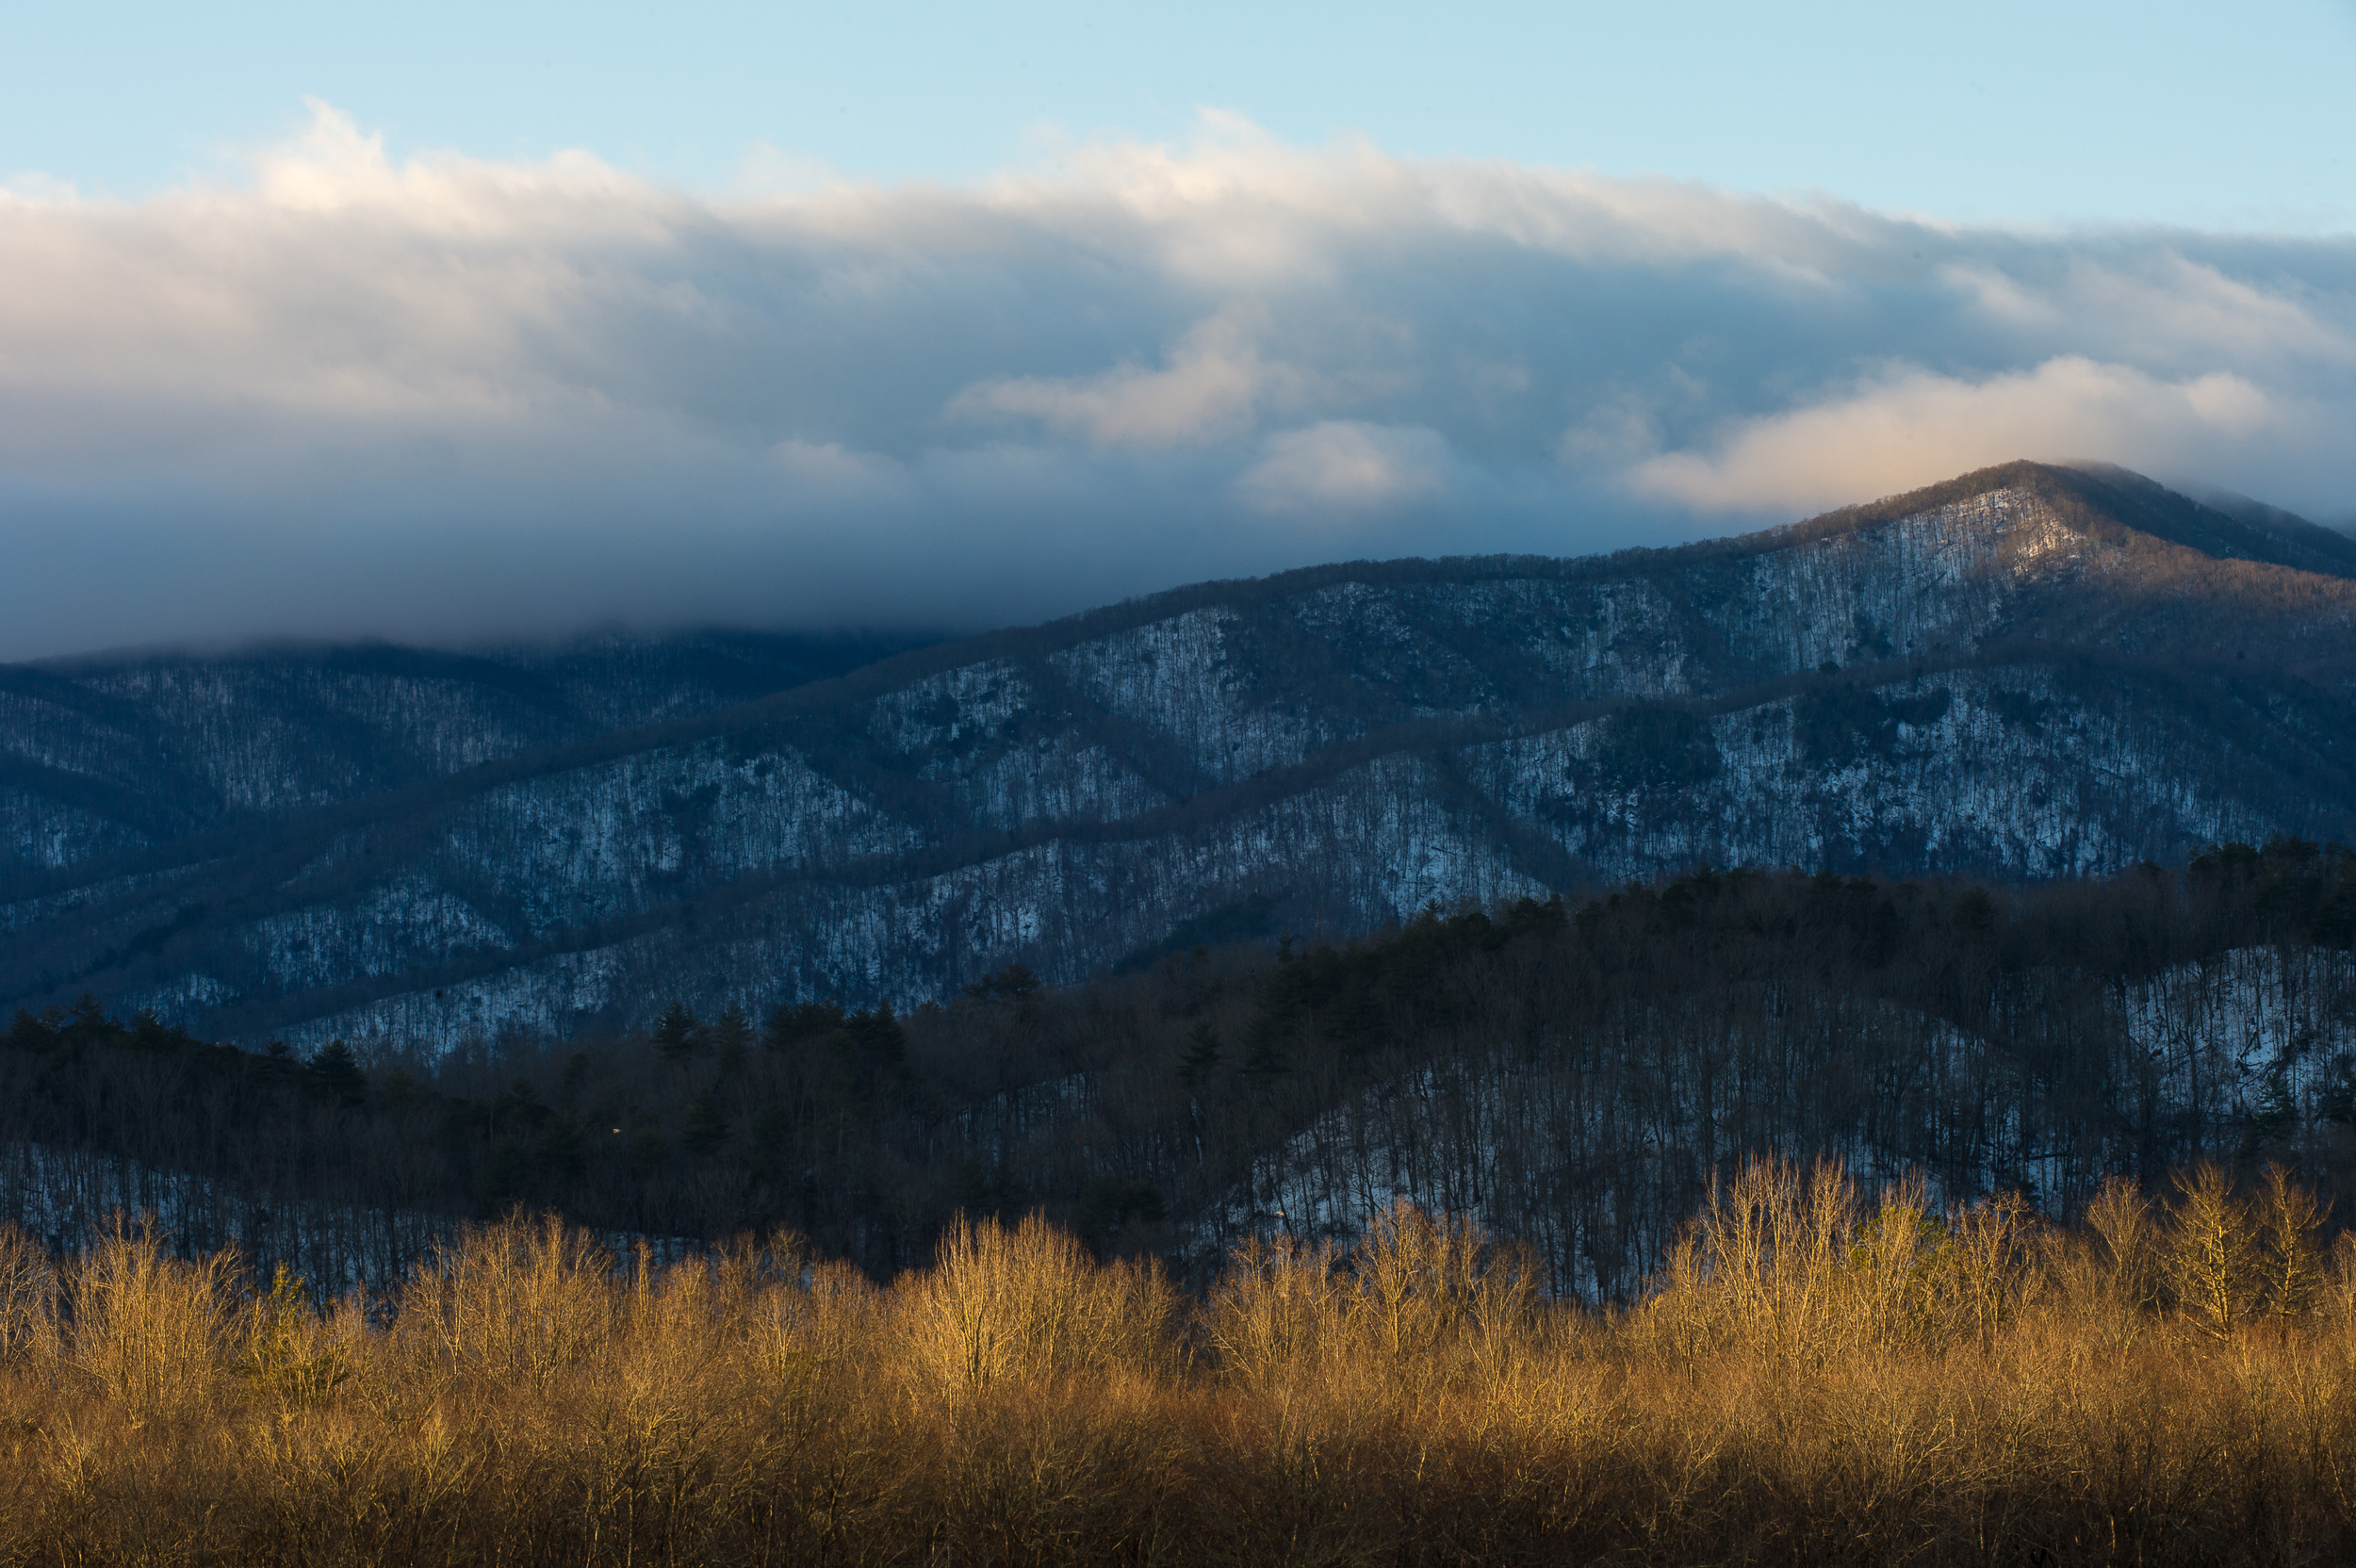
I arrived at Assateague National Seashore around noon and spent the remainder of the day taking short hikes, scouting locations, and of course stalking horses. One thing I noticed after crossing the bridge to the island and before I arrived at the park entrance was how close the marsh was to Bayberry Drive and that in several spots there was room to pull over. I knew then that it would be a great place to photograph the sunset.
And it was at one of these spots that I took the photograph above. Setting my tripod low in order to emphasize the foreground I was drawn to the green plant life in the water as well as the interesting pattern created by the marsh itself. This all came together and It actually makes this a much better photo despite what turned out to be a mediocre sunset.
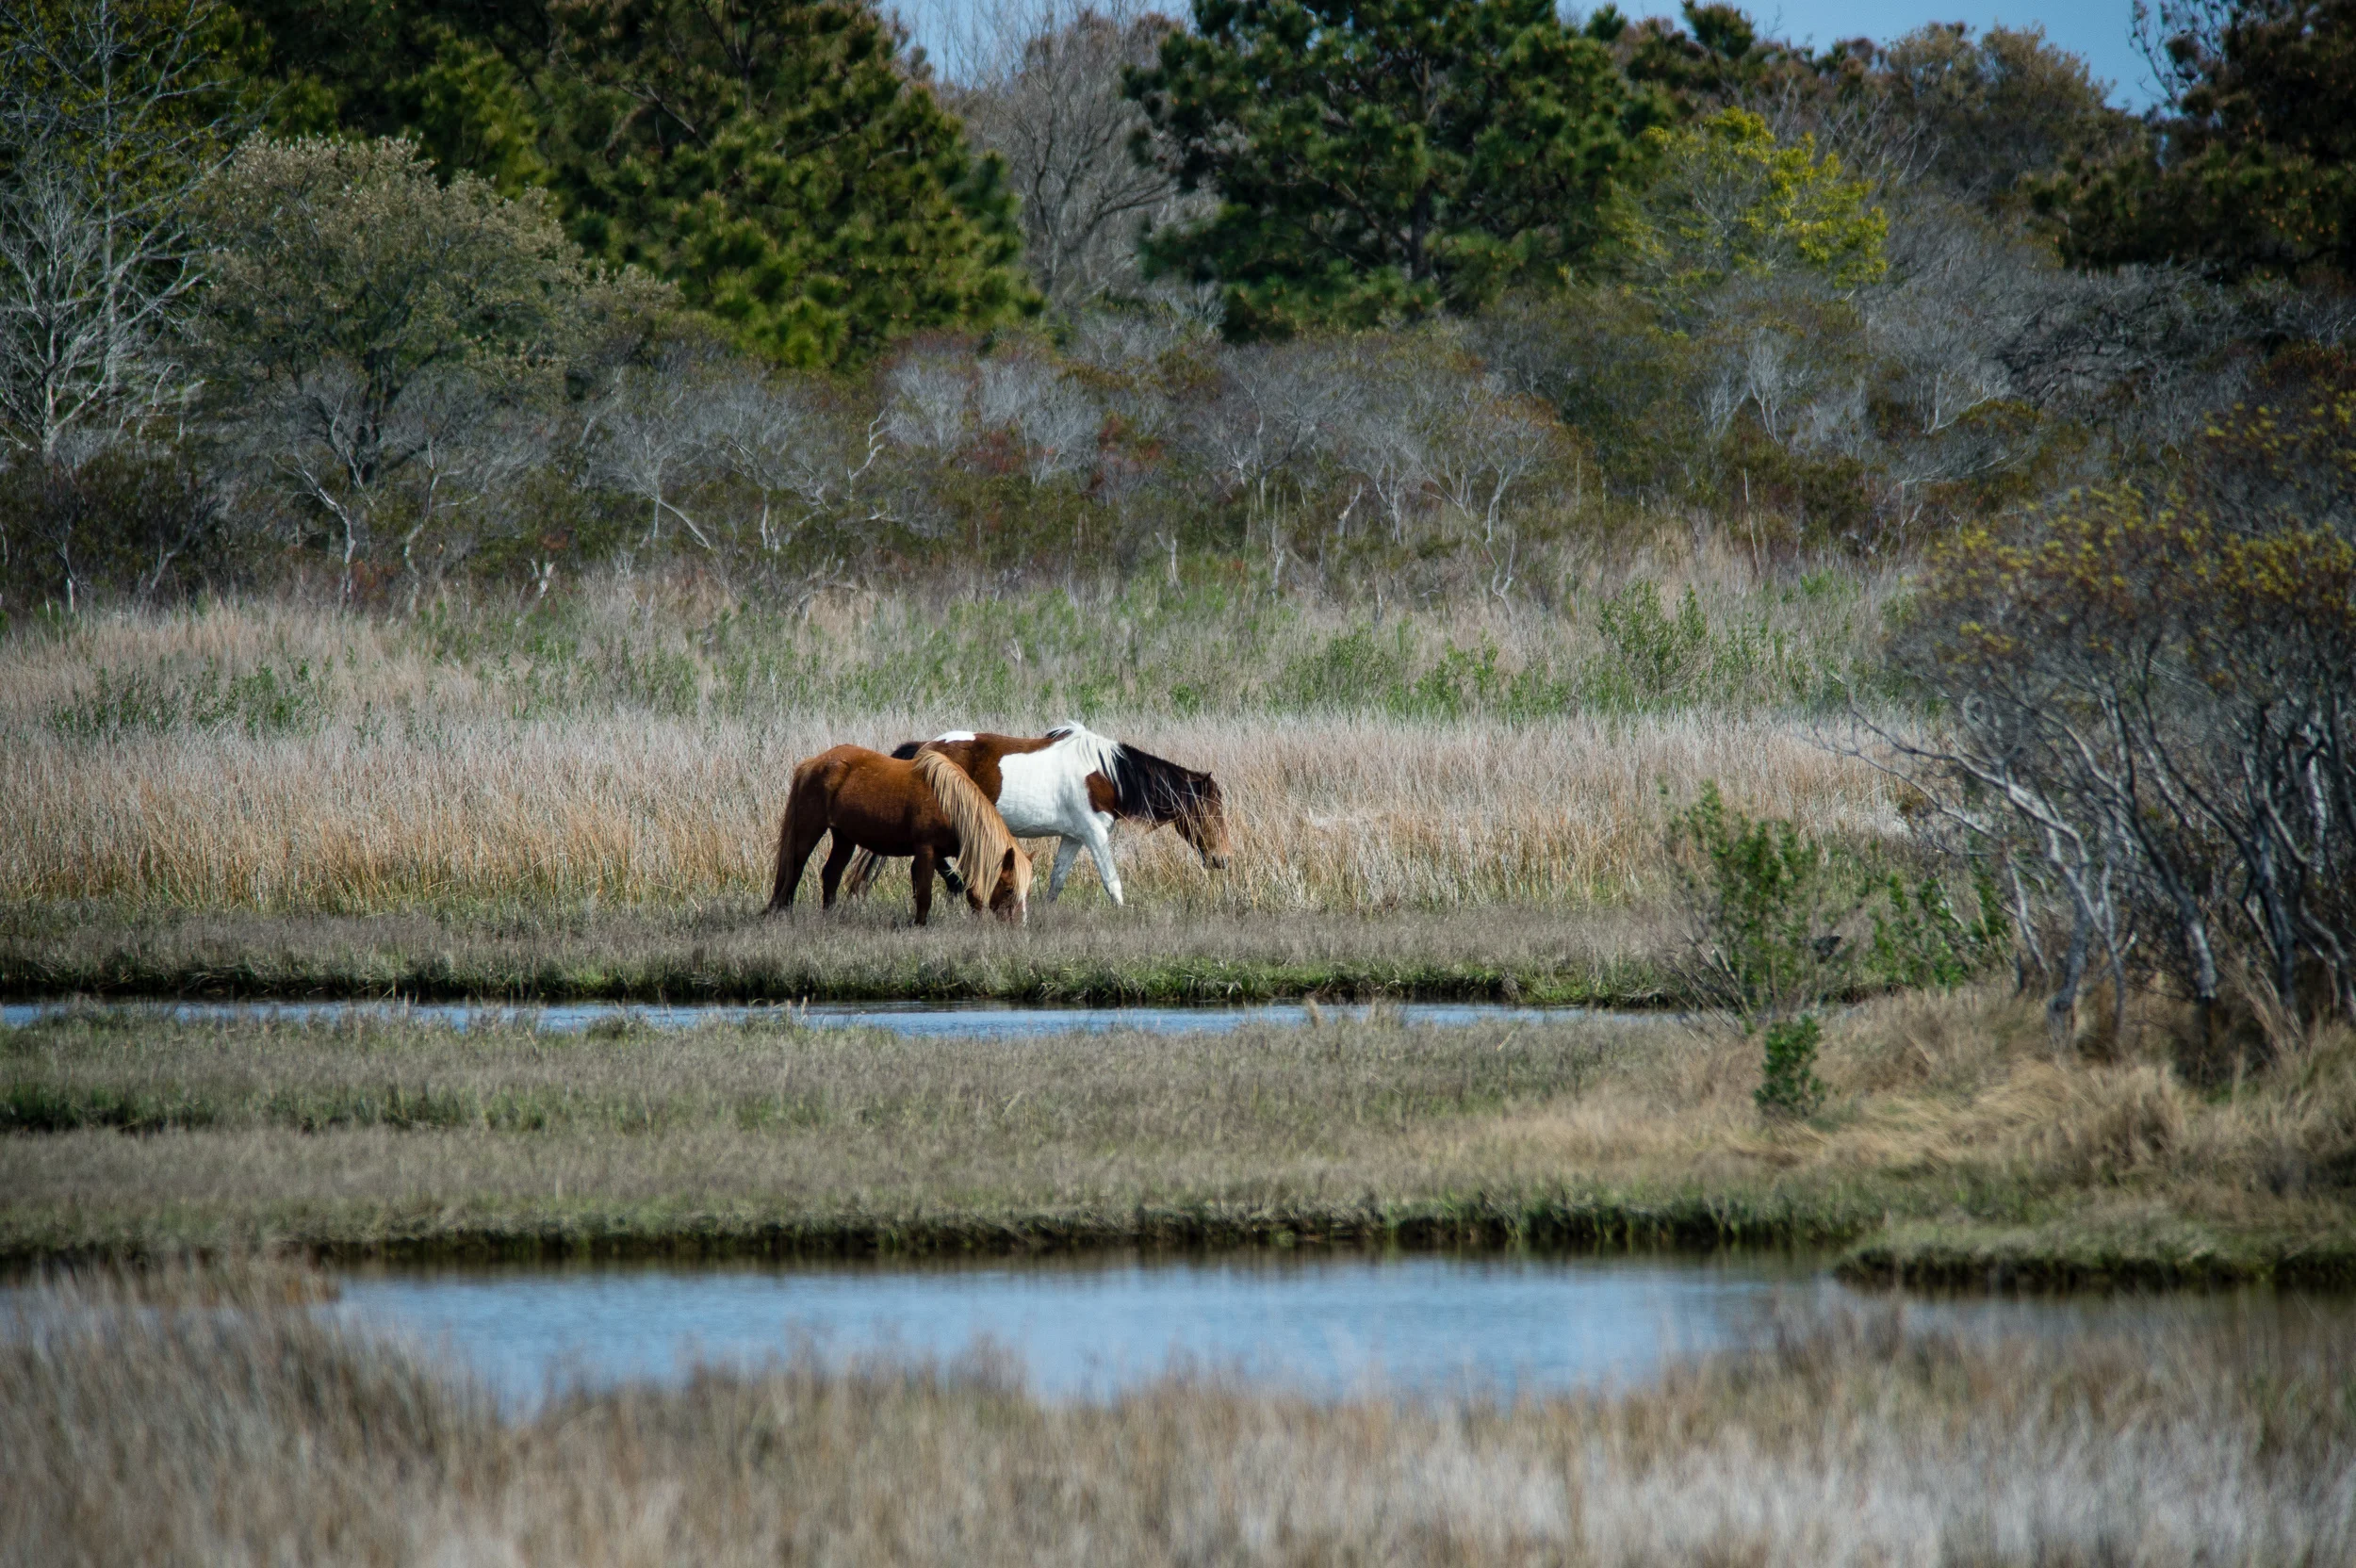
Assateague Horses. 1/2000 @ f5.6, ISO 400. Nikon D4S with a 300mm 2.8 and 2x teleconverter.
I spotted these horses while on the Life of the Marsh trail which is a short loop boardwalk trail located off of Bayside Drive. And it's a good thing it was short because initially I only had the 80-400mm lens with me when I first spotted them so I returned to my car and retrieved a 300mm lens and 2x teleconverter to get this shot.
I like the two pools of water in the foreground marsh which adds some depth and helps bring you into the frame. These horses and ponies spend a lot of time with their heads in the grass eating, so patience and timing are needed in order to catch even one of them looking up.

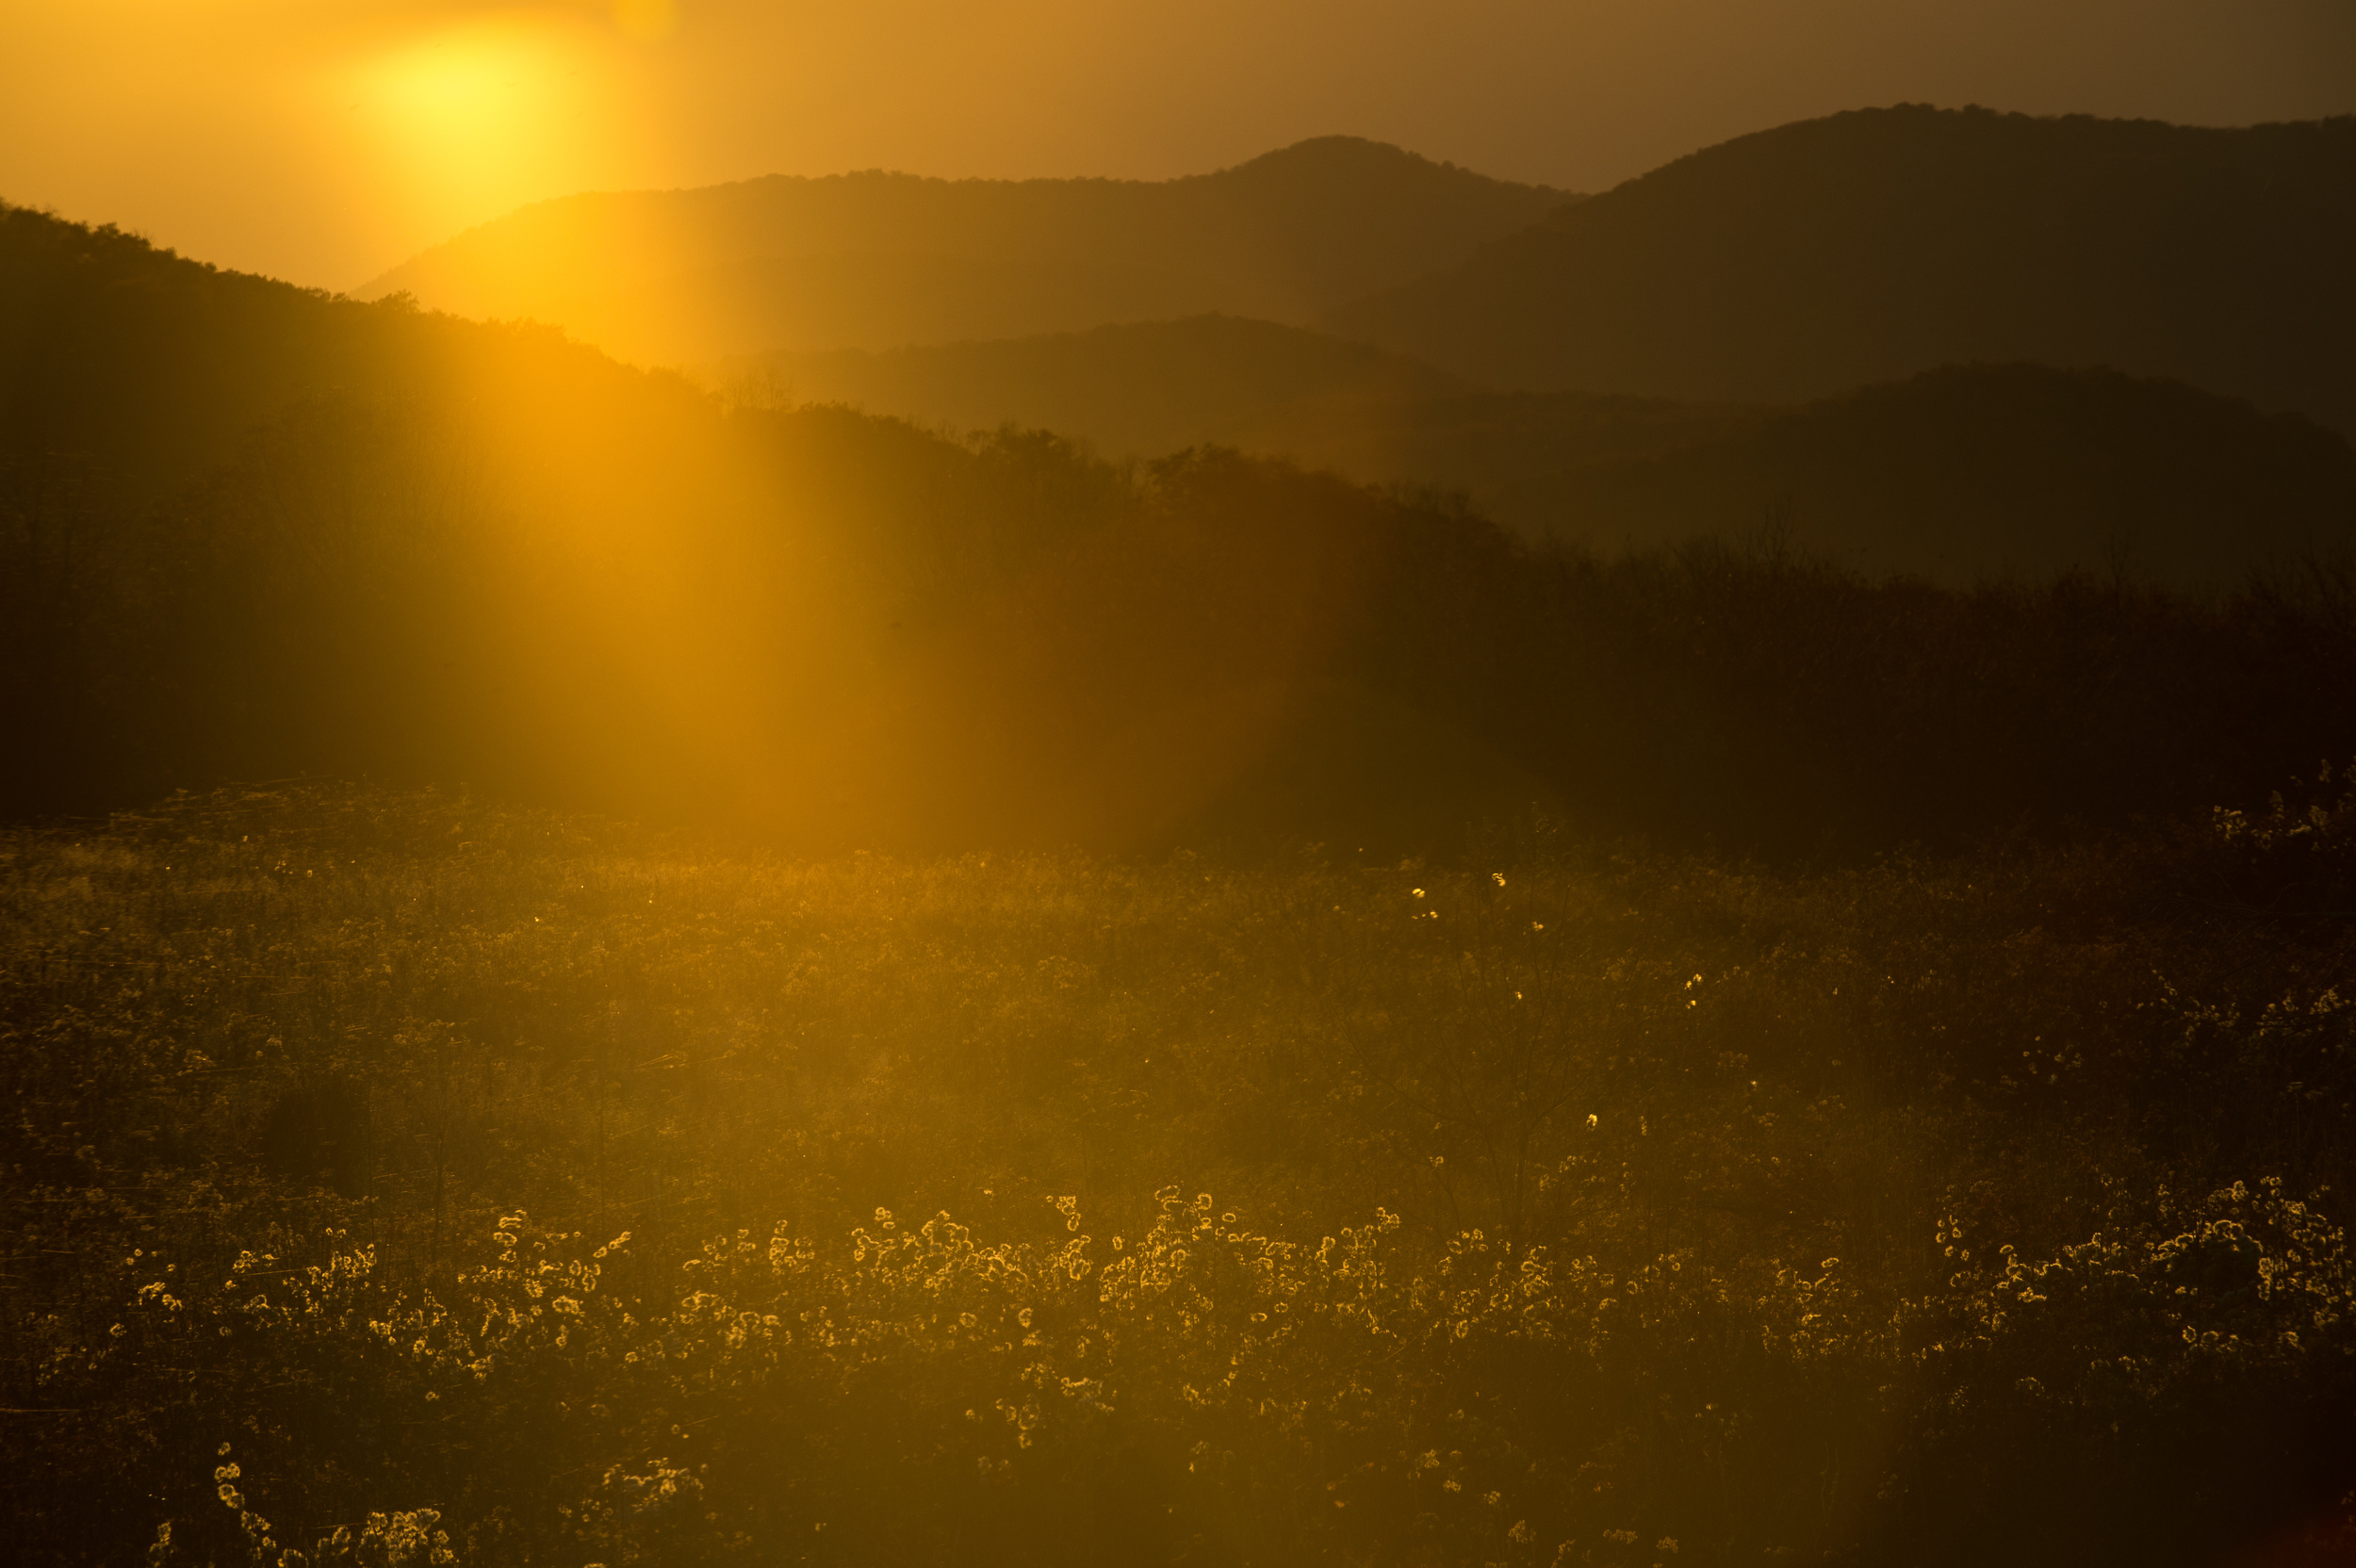
Chincoteague sunrise. 1/640 @ f5.3, ISO 200. Nikon D4S, 80-400mm at 195mm.
Chincoteague is about one and a half hours drive from Assateague so it is possible to photograph them both in a single day, at least during this time of year. Or, as I found out if you "camp" in Walmart parking lots, spending half the night in Fruitland, Maryland, and half the night in Ocean City, Maryland, it is a much longer trip than it should be and because of that, I almost missed the sunrise. Next time I'm camping on the beach in the National Park or staying in a hotel on Chincoteague Island, both better alternatives.
One tip I read prior to the trip is that if you wanted to see the ponies on Chincoteague you should drive along Beach Road until you come to a section where marsh is on each side and there is ample room to pull over. Ponies will be to the right, but I found it to be a great spot to catch the sun rising over Swans Cove Pool on the left. This tip saved the day and my sunrise shots.
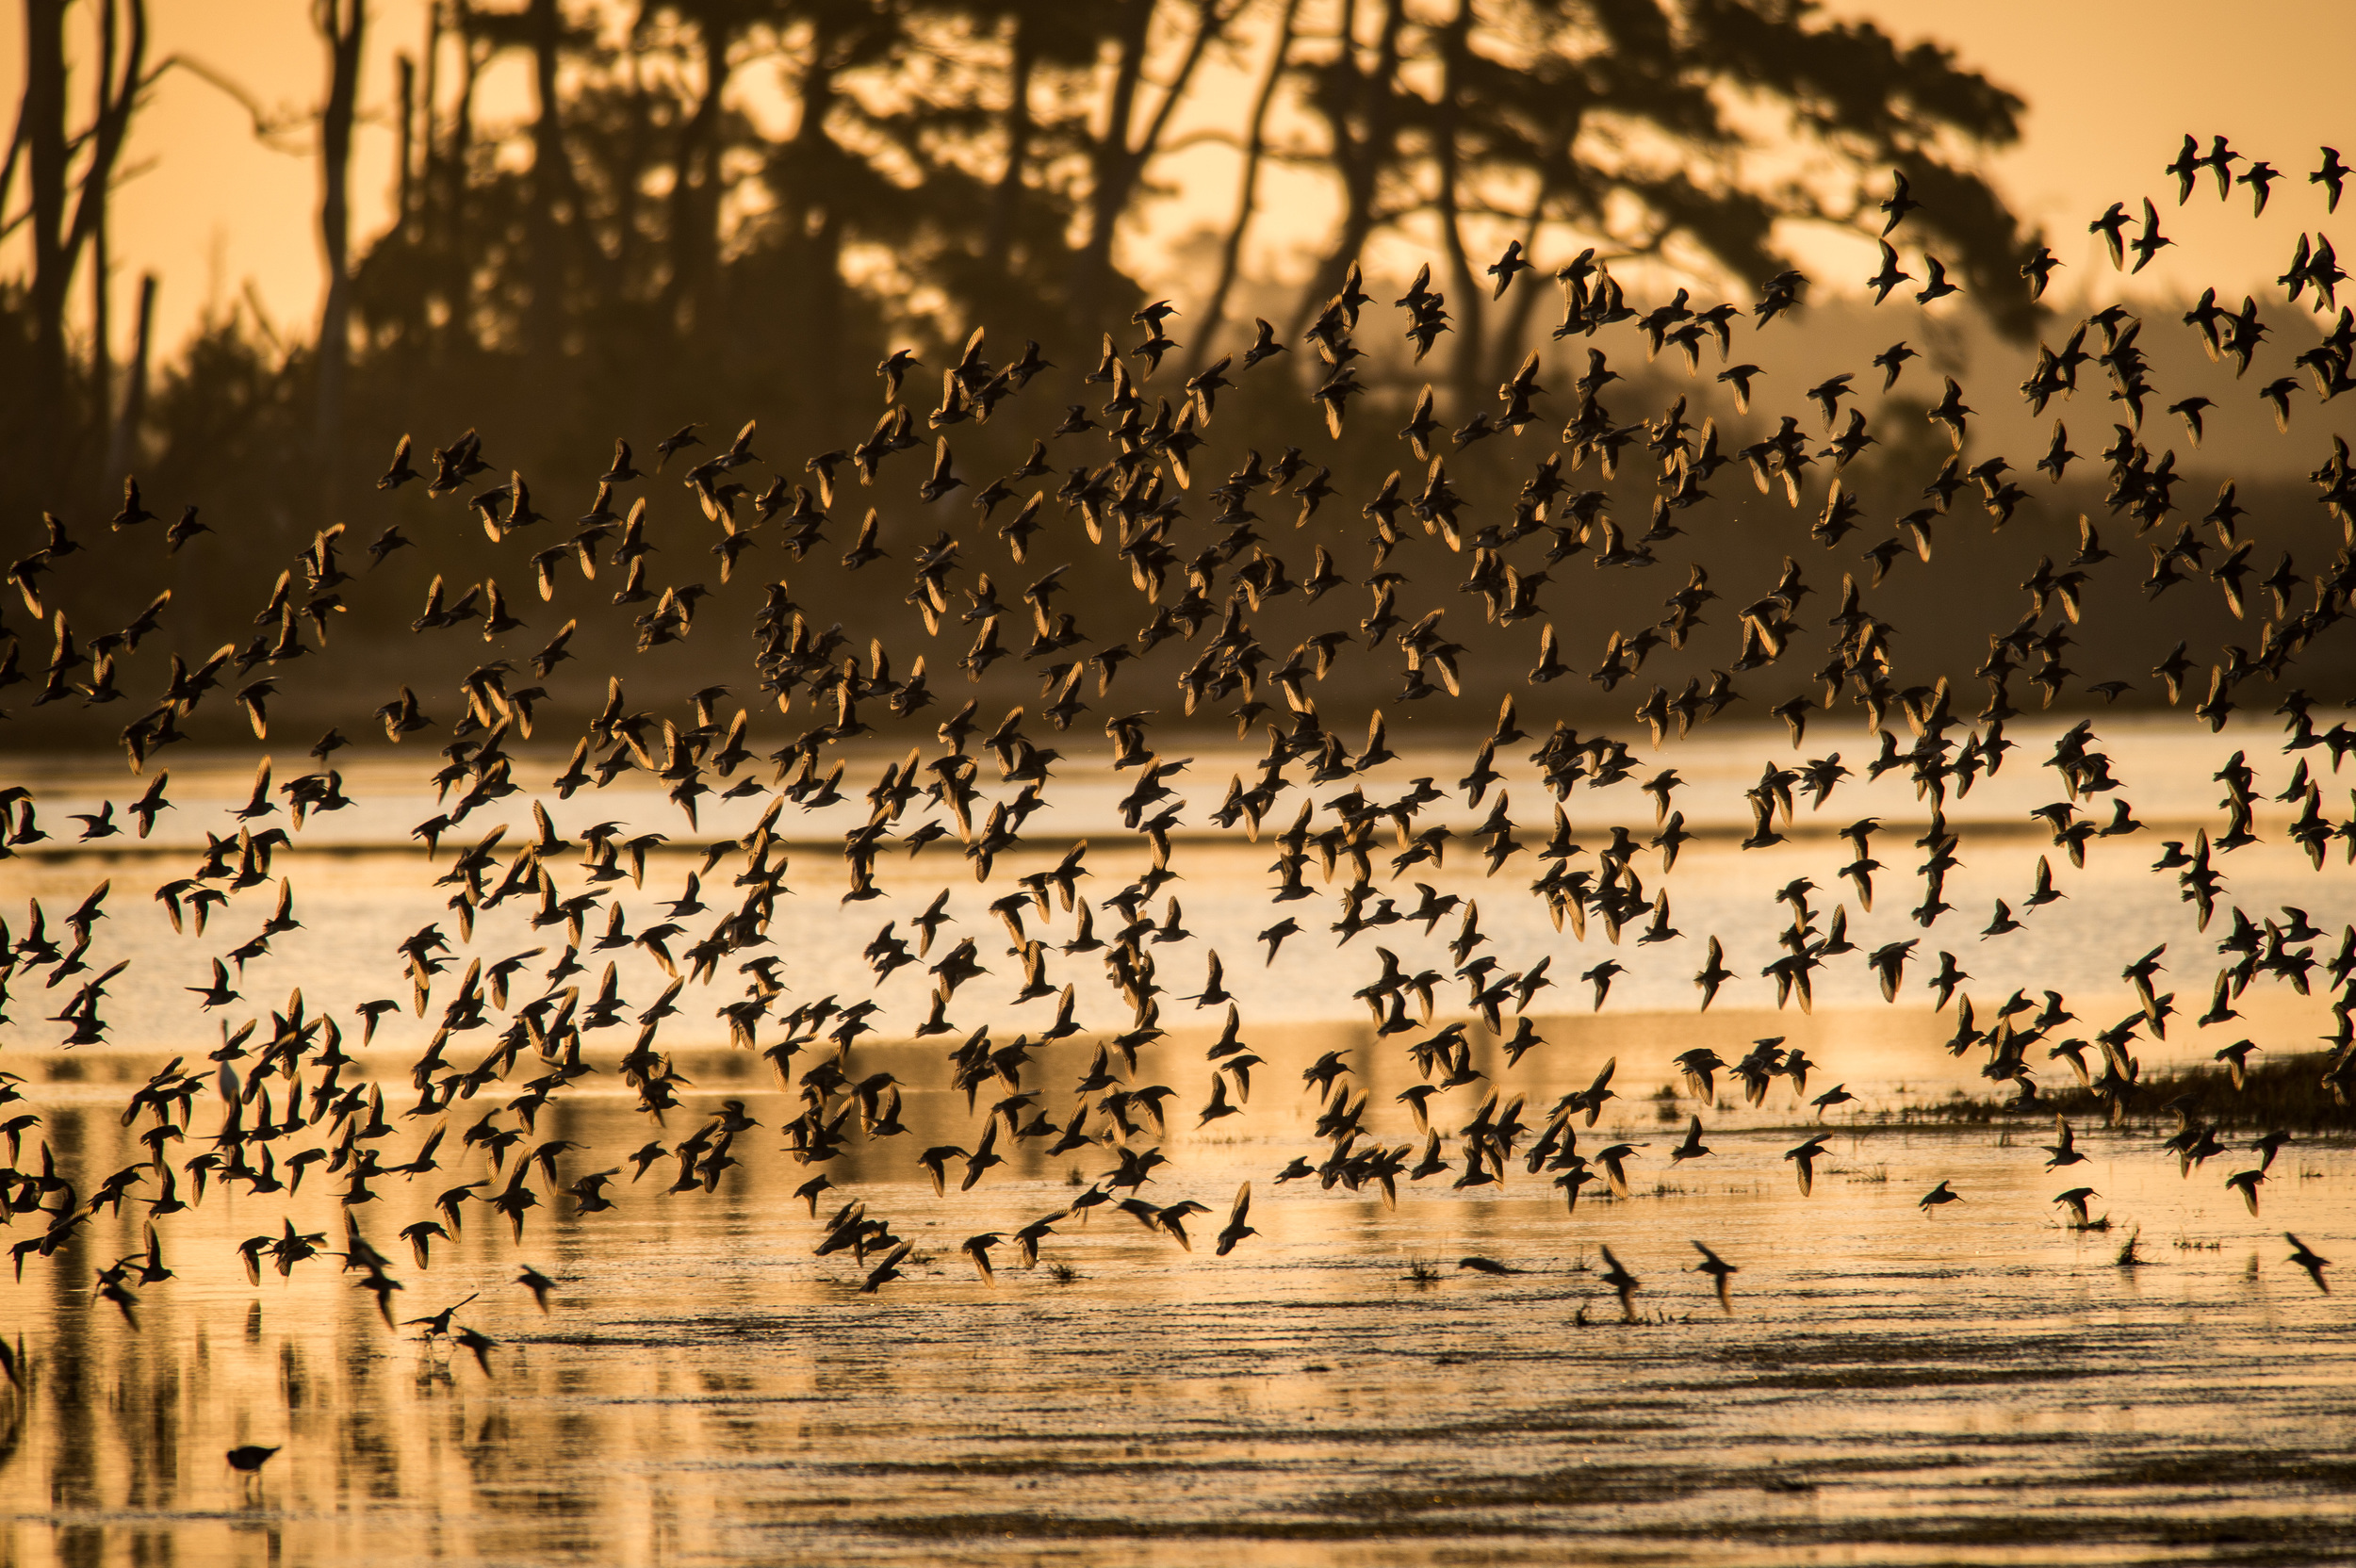
Swans Cove Pool, Chincoteague. 1/800 @ f5.6, ISO 400. Nikon D4S with a 300mm 2.8 and 2x teleconvertor.
After the sun cleared the horizon, I began to focus on the various birds that were gathering in the foreground. There was still some great warm light coming from behind the birds, so I just waited for them to take flight and used that strong backlight to ensure separation from the background.

Assateague Lighthouse. 1/340 @ f5.6, ISO 200, exposure compensation +0.7. Fujifilm X-Pro2 with a 35mm (50mm equivalent).
One thing I always consider after choosing a photo destination is how I will spend the middle of the day. It could be a nap, long lunch, exploring the visitor center, or scouting locations, but on Chincoteague, it was the Assateague Lighthouse that captured my attention.
Sometimes a scene just presents itself and as entered the small clearing following a very short hike, I was immediately struck by the geometric patterns of the buildings and tower, the contrast between the white trim and red body and the light and shadows created by the surrounding trees. I also knew that this would look great in black and white.

Assateague beach. 1/250 @ f2.8, ISO 200. Fujifilm X-Pro2 with a 35mm (50mm equivalent).
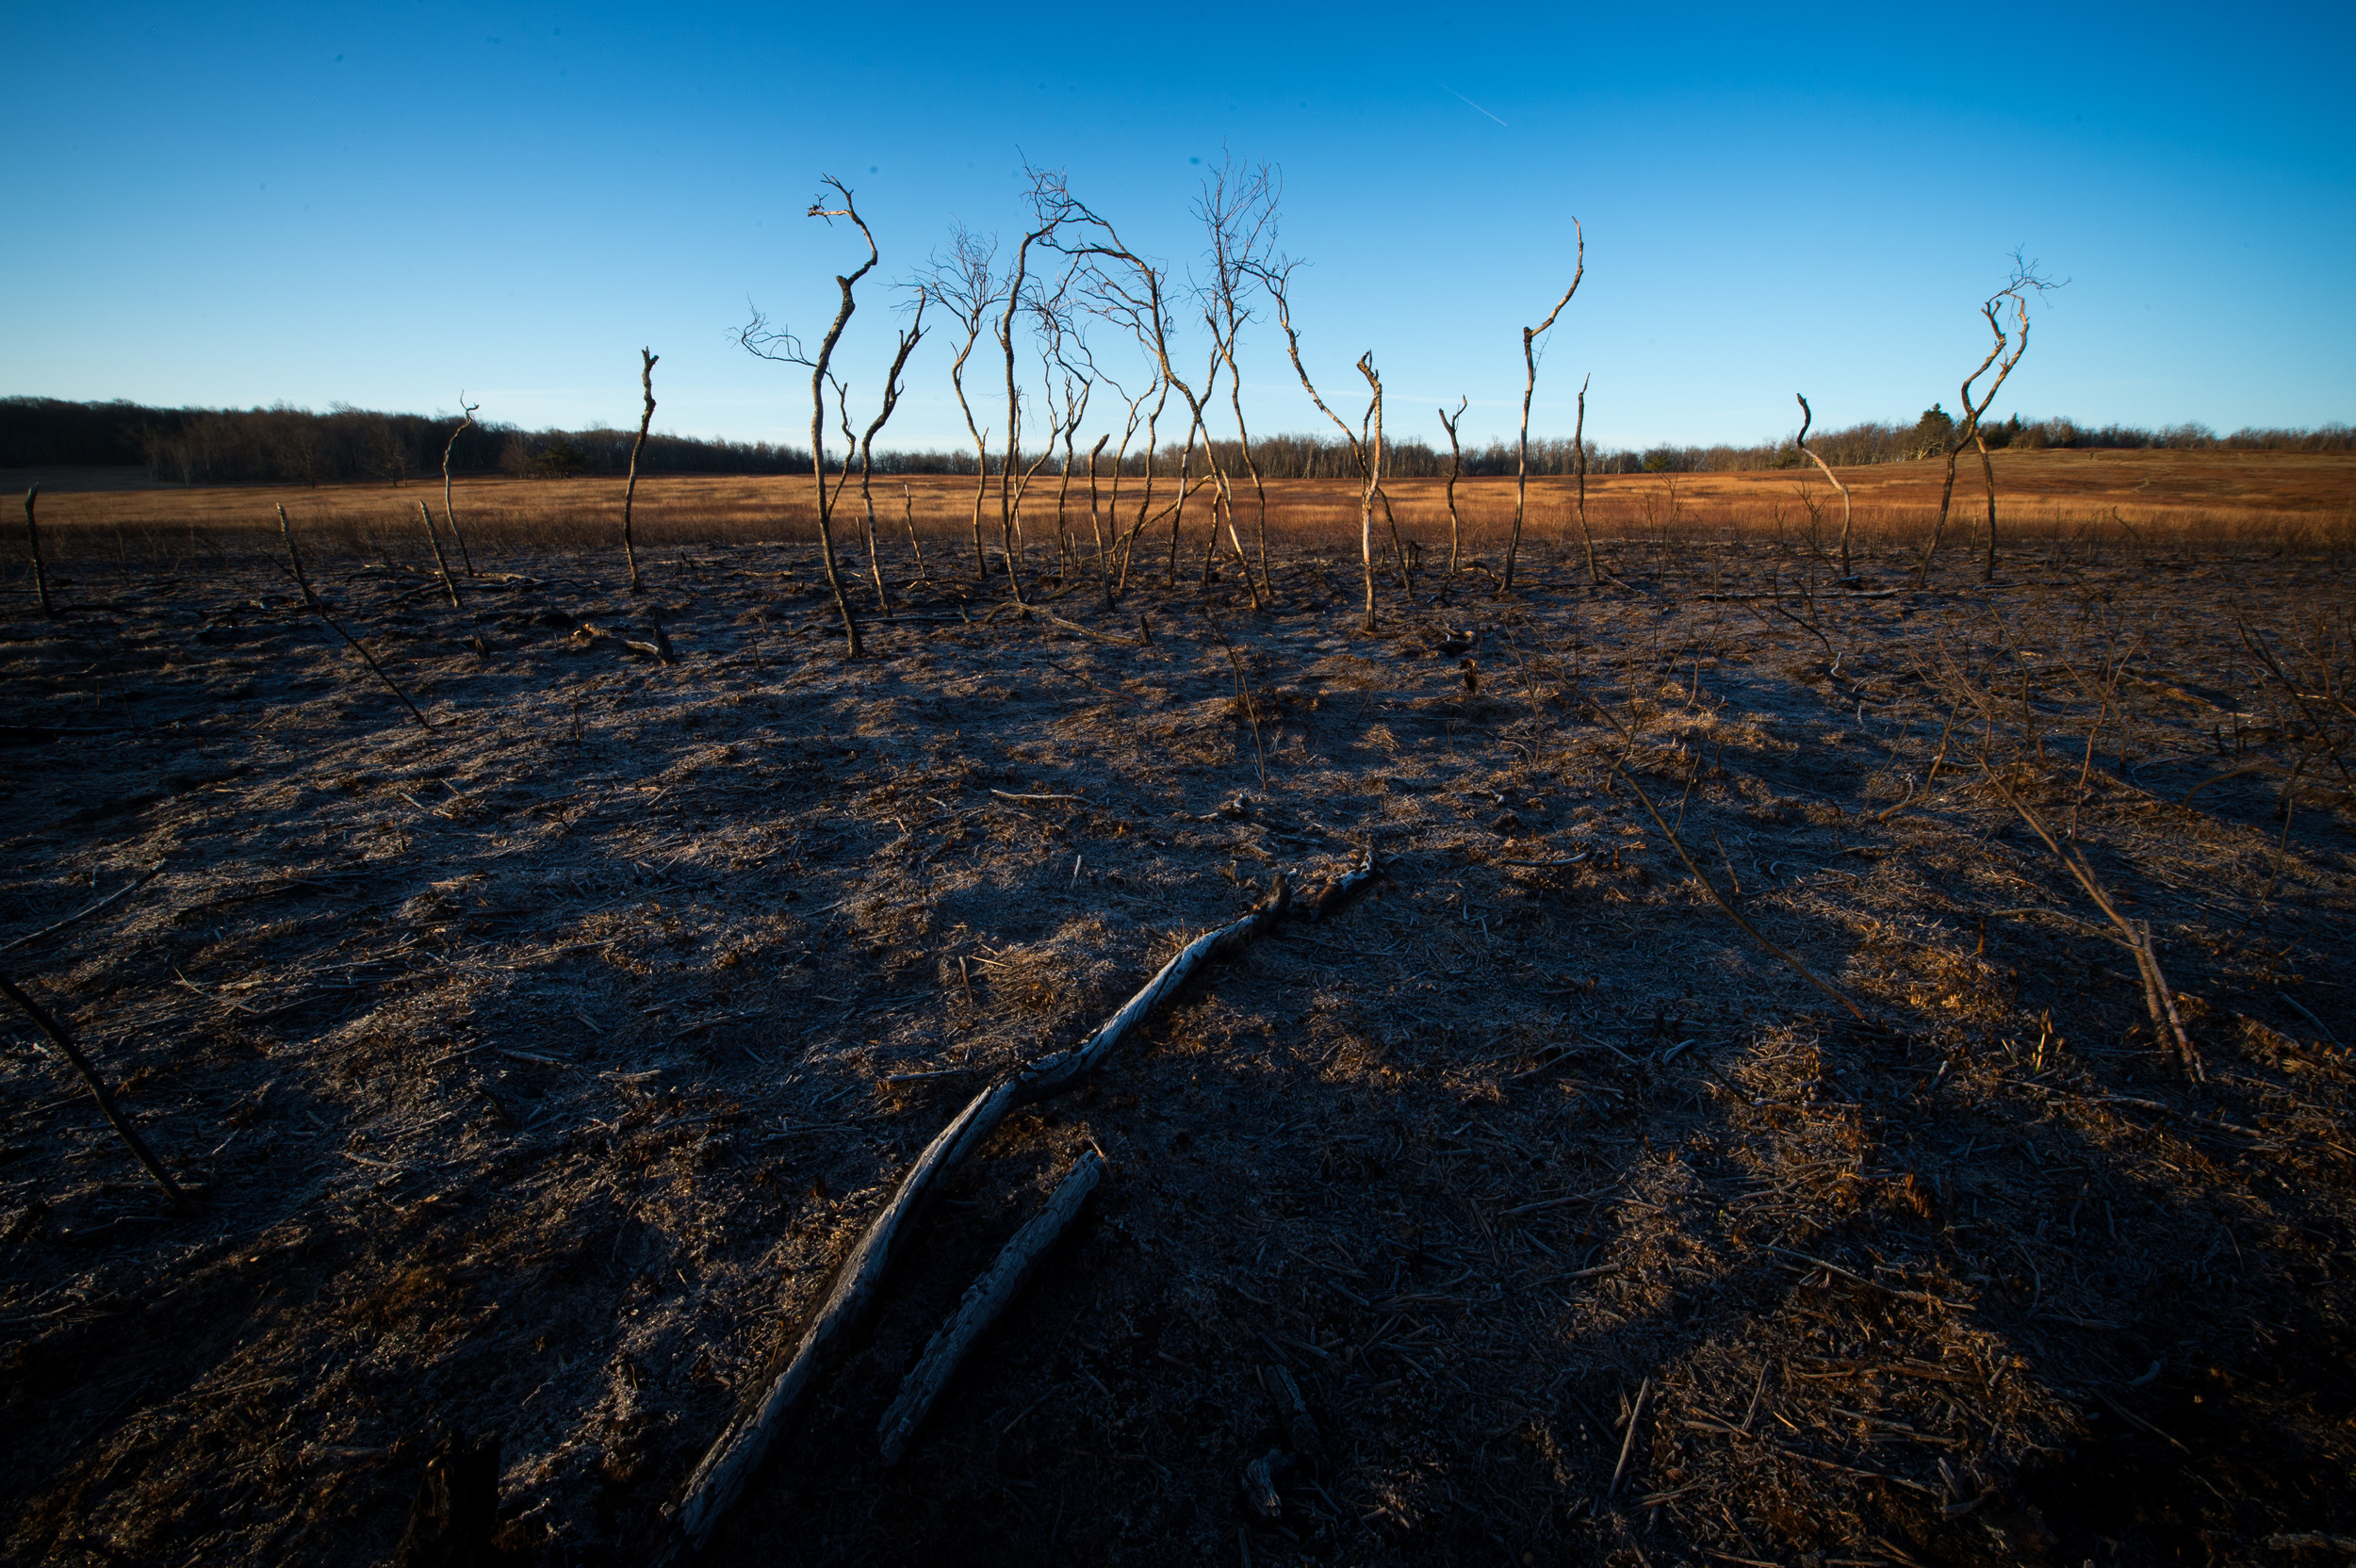
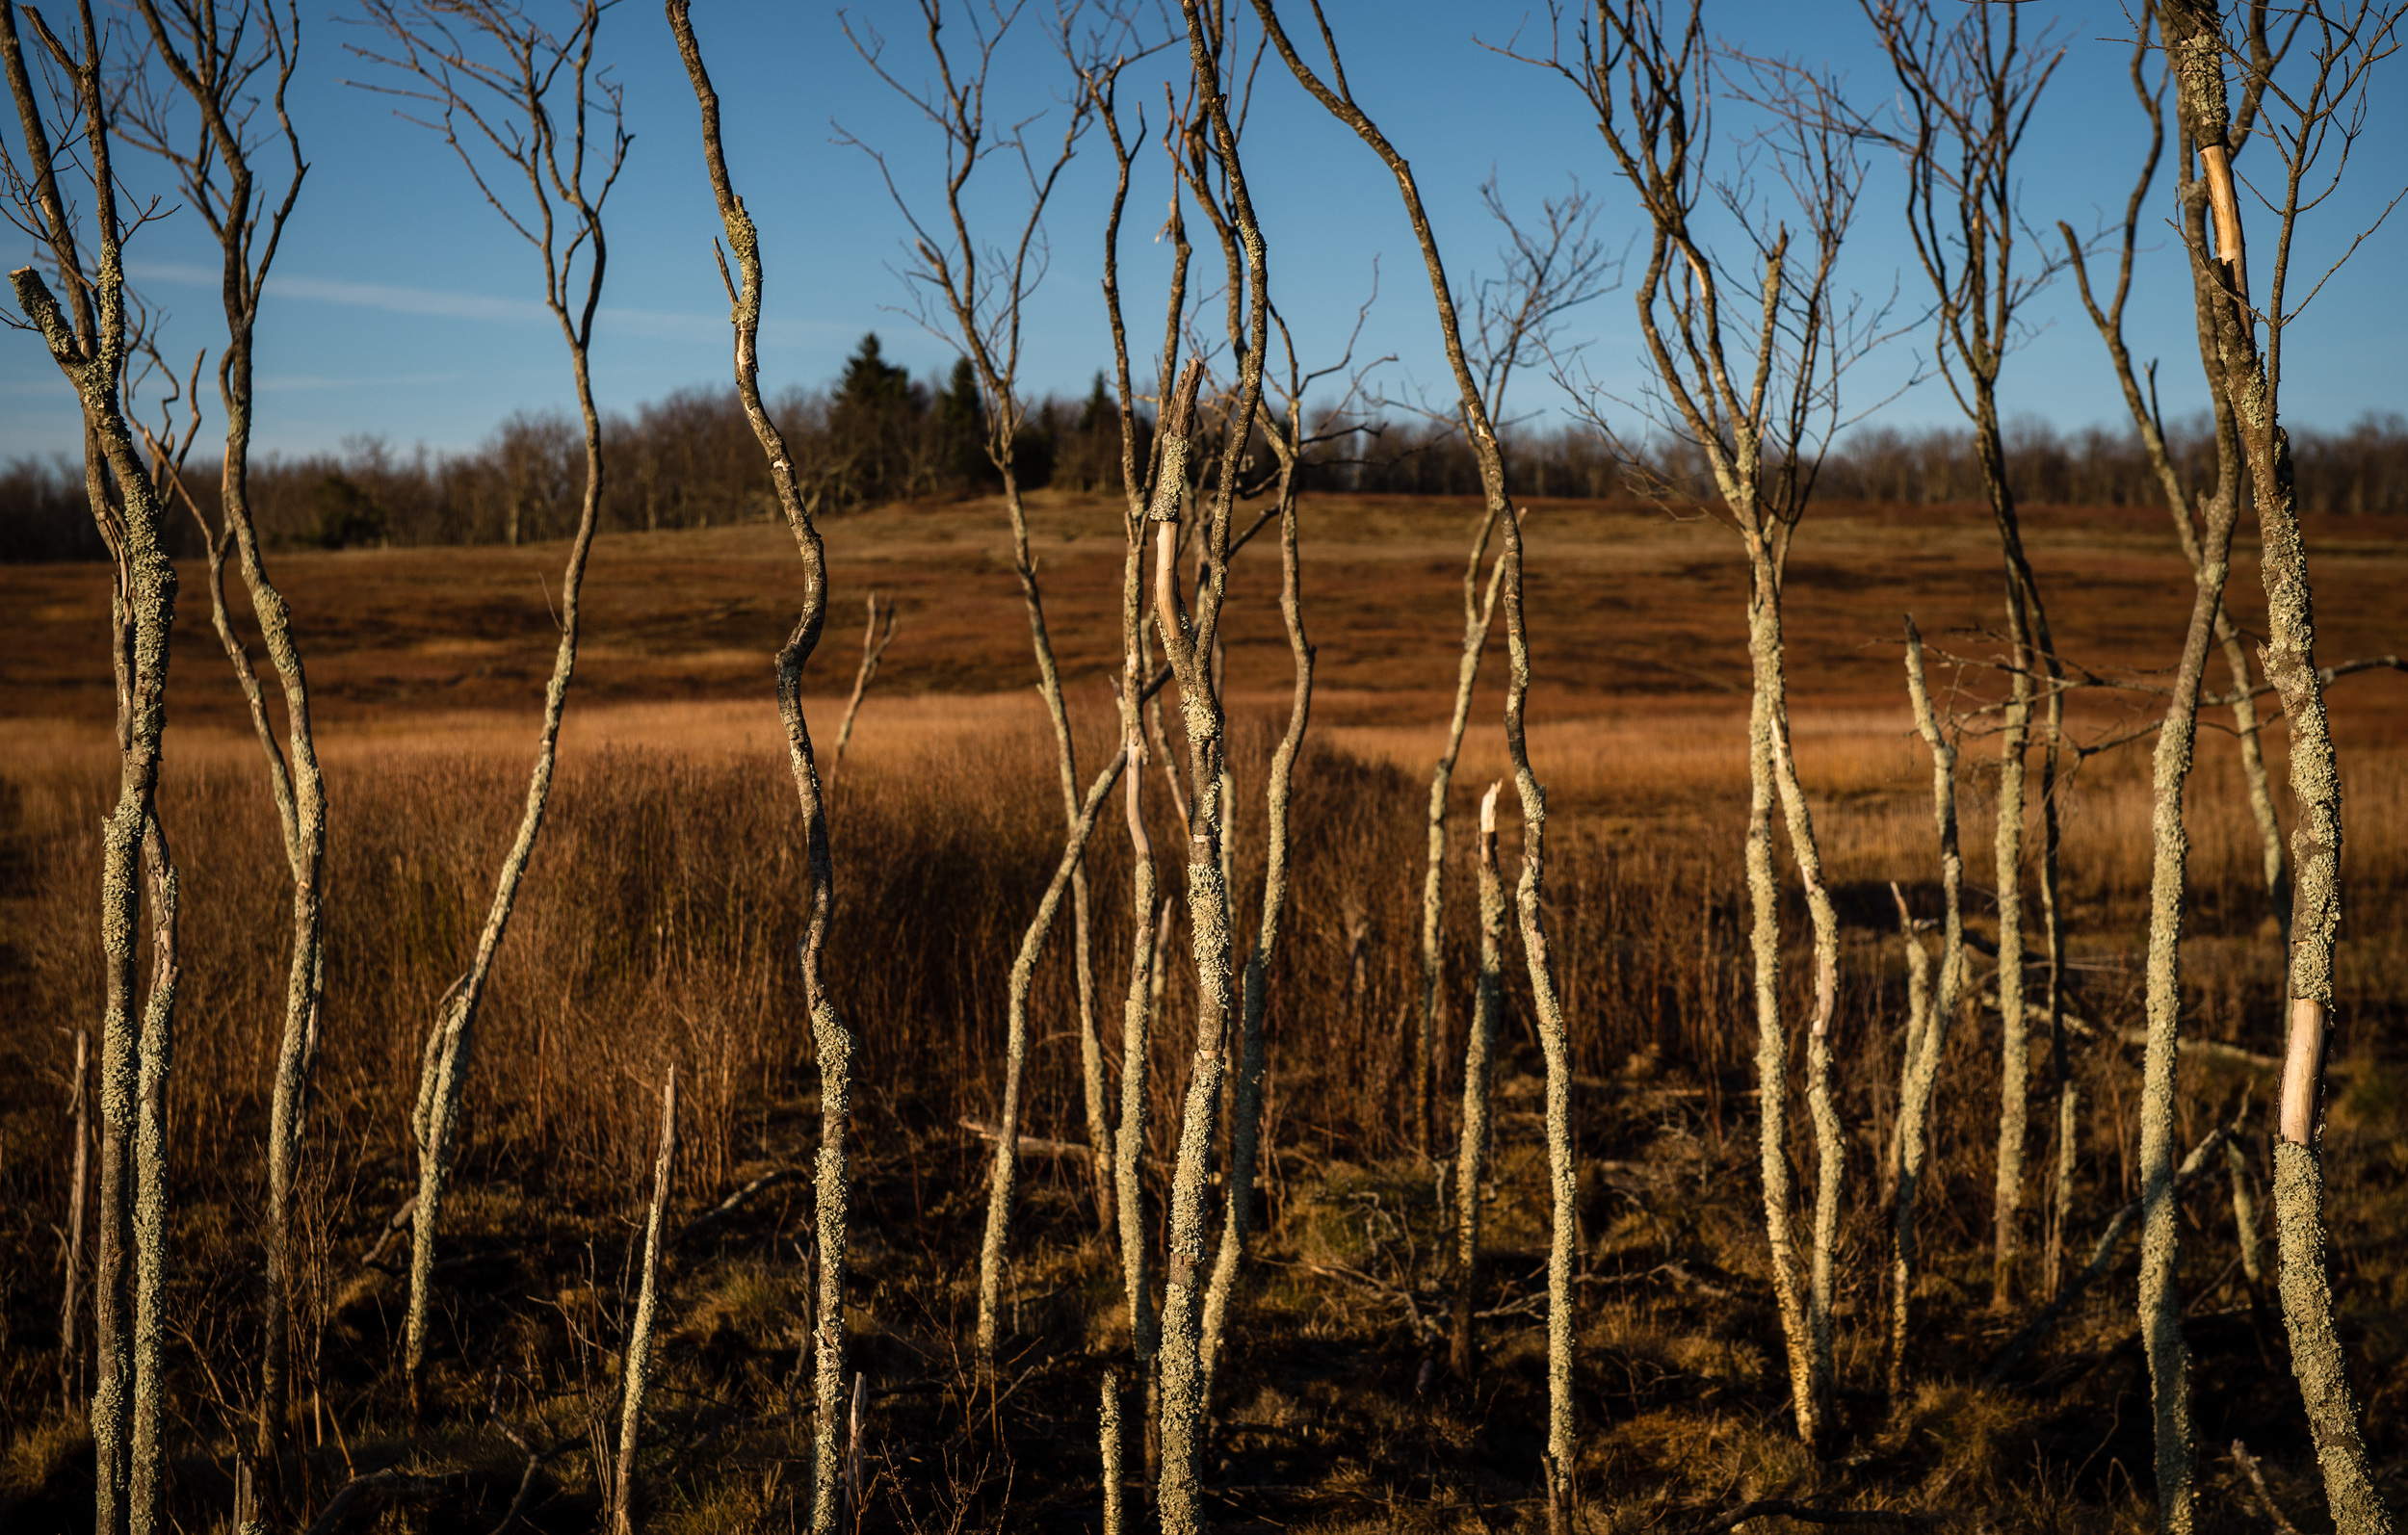
The other thing I did during the middle of the day was to explore the beaches, or more accurately, set up a chair and just enjoyed the sounds and smells of the ocean. You could probably spend most of the day photographing the sand dunes and the birds along the coast. I only took a few photos along the beach but liked the subtle texture and slight warmth of this image.
Do yourself a favor and visit Assateague Island, enjoy the beaches, wildlife, and the beautiful sunsets and sunrises, but I would suggest you do it during the off-season.