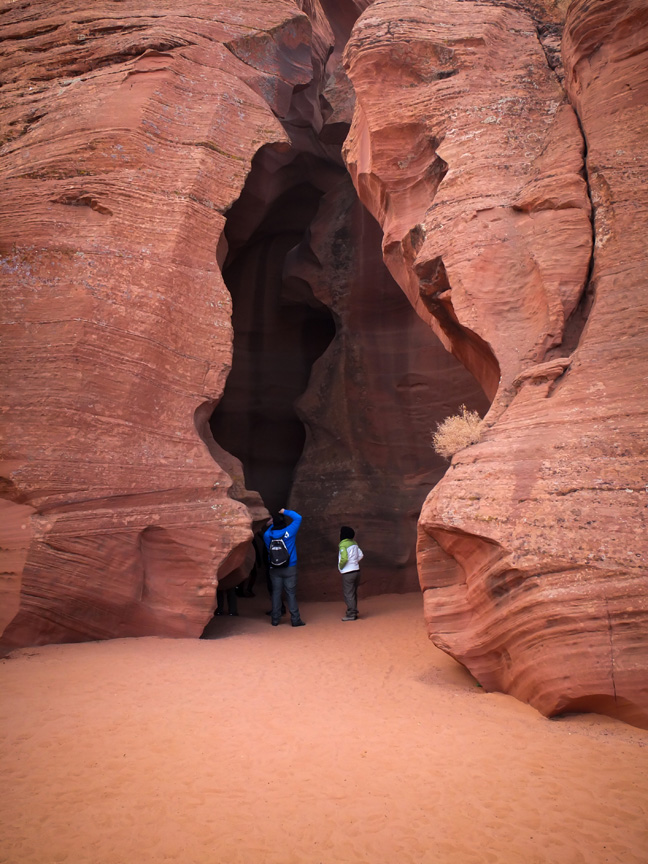
The entrance to Upper Antelope Canyon.
Located about ten minutes outside Page, Ariz., Upper Antelope Canyon is one of those magnificent natural wonders that should be on every photographer's must shoot list.
An authorized Navajo tour guide is required to gain access and while there are a number of tour operations available in the Page area, I choose Roger Ekis' Antelope Canyon Tours and specifically signed up for the photographer's tour. Most of the tour operations offer some sort of a photography option which will cost you a little more money, but does give you more time on location, ensures that you can use a tripod, and most importantly, means you are with other photographers whose sole purpose is the same as yours.
This was my first and only visit to Upper Antelope Canyon and I spent a total of two hours taking photographs. I mention this because I don't want to give the impression that I know everything there is to know about photographing here. However, I think you will find these five tips useful if you ever get the opportunity.

Photographed with a 10.5mm lens and corrected in Adobe Lightroom 4.
1. Take your time. You've anticipated this shoot, have seen incredible images taken by others and know that you have limited time, so you can't wait to drop the tripod legs and begin shooting. In our case, we walked immediately to the back of the canyon where it is much shallower and more cave-like with less light reaching the canyon floor. We then proceeded to shot while working our way back to the entrance. Two hours doesn't seem like a long time, but you don't have to make all your images in the first ten minutes either. Also in this case, I think the better shots are closer to the entrance of the canyon where it is wider, brighter and the sunlight filtering down from 120' above brings out the most colors and patterns in the sandstone walls. So use your first half hour of time to get used to shooting in this environment and don't rush.

My guide tosses a handful of sand onto a ledge creating a nice visual effect as it then "flows" over the edge.
2. Cooperation and communication are key. You will be shooting alongside other photographers in addition to sharing the canyon with other tours so you need to be cognizant of that. Your guide can help by warning when other groups are approaching or maybe even assist with moving lingerers along, but mostly it will be up to you to plan, frame and execute your shot, then get out of the way for others. Again, don't rush and with four photographers in my group it never was a problem getting the shots that I wanted. Rely on your guides advice, they have been visiting this location for years, observing it in different light and at different times of the year and can quickly point out the best shots or locations. I know you want to discover a shot that has never been made before, but with the limited time, a little assistance goes a long way. It is still your photograph the moment you release the shutter.

Detail pointed out by the guide is only seen by looking straight up.
3. Environmental awareness. When looking at the photographs, they look bright and colorful as if there was a lot of available light. Don't be fooled, the average exposure time for all of these shots was 1/2 a second. It's not so dark that you can't see, but it is dark enough that focus can be an issue. In fact, it was the one thing I had the hardest time with. Other than a tripod, I highly recommend that you bring a flashlight to not only assist with setting up your camera but to shine on the walls in order to assist with focus. Again be aware and courteous to other photographers. I started off at ISO 200, but found that my exposure times were too long, especially when shooting two stops under while bracketing, so I ended up shooting mostly at ISO 400 and in some cases ISO 640. It does get brighter nearer the entrance and I was back at 400.

Having the right equipment, including a tripod and remote shutter release, are essential.
4. Equipment. I went with a Nikon D3S attached to a Gitzo tripod and three lenses, the Nikon 10.5mm, Nikon 14-24mm and the Nikon 24-70mm. Most of the photos were shot using the 14-24mm and the 24-70mm. In my backpack, I also had a Nikon D700, Nikon 70-200mm VR, and an SB900 flash, but really should have left those in the car. My advice, bring the widest, fastest lens you own. The canyons are narrow and as mentioned before, there are other people moving by and you really want to concentrate on taking photos and not worrying about gear or lens selection. The floors of the canyon are covered in sand which gets stirred up as people and you move about, so be cautious if you change lenses and be sure to have a lens cloth handy. Lastly, I was using a pocket wizard plus to trigger my camera, but only because I didn't have a cable release. If you don't have a way to release the shutter remotely, use the self-timer.

Three shot bracket taken at -1.0, 0.0 and +1.0.
5. Take plenty of photographs at various focal lengths and multiple f-stops. Almost everything I shot during my two hours was bracketed by either three or five stops. Originally I thought I would process these photos using the high dynamic range or HDR technique, however, in the end none were. The bracketing was critical though when it came to selecting the best exposure to process. I would shoot the multiple exposures, check focus, then shoot another sequence.
As I mentioned at the start of this post, this was my first visit to the canyon so I only have this one brief experience photographing in the mid-December light. The look in this canyon will change depending on the time of year, so if you want to photograph shafts of light then you will need to visit during the summer months. Of course during the summer you will also contend with large crowds which would certainly add to the anxiety of getting the photographs you want.
In addition to Upper Antelope, there are other slot canyons in the area including, Lower Antelope, Canyon X or Cardiac Canyon. These locations are less frequented, meaning they are also less photographed, so would offer additional opportunities to produce never before seen images. Apparently some of these canyons do require hiking and more time, so they are not as accessible as Upper Antelope.
And don't forget to just stop, take the camera away from your eye and absorb the surroundings. As photographers we often get caught up in the scene and forget to just take a moment and enjoy what is around us. While we tell ourselves that we will have the photographs to remember it by, nothing compares to being there. More on this in a future post.
Additional tour companies to consider:
http://www.overlandcanyontours.com/
For more information on Navajo Nation Parks & Recreation visit http://www.navajonationparks.org/


