The first place I headed after landing in San Francisco was the Golden Gate Bridge. 1/200 @ f9, ISO 200.
I recently spent seven days in and around San Francisco, California, with the Fujifilm X-T1. The X-T1 is the fourth of the Fuji X cameras that I've had the chance to use, starting with the X-10 in 2012 and most recently the X-Pro1 during seven days in New York . Of course, my everyday carry camera continues to be the X100S.
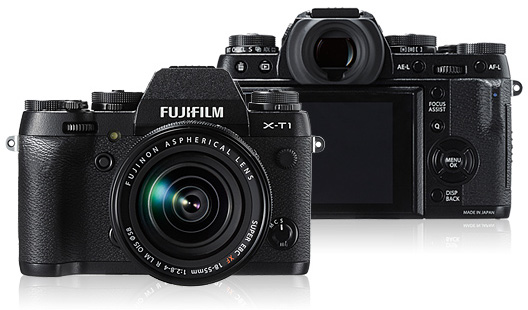
Fujifilm X-T1 mirrorless digital camera. Photo courtesy of Fujifilm.com
As with the X-Pro1 and my first experience with the X100S, I rented the X-T1 along with the 18-55mm kit lens and a spare battery from Borrowlenses.com. Before a review camera arrives, I download the manual, then read and watch other reviews or tutorials in order to familiarize myself with all the features. Then once the camera arrives I check to make sure the firmware has been updated and in this case while the camera was up-to-date, I did have to update the lens.

I never really felt as comfortable doing street photography with this camera as I have with previous Fuji X rangefinders such as the X-Pro1 and the X100S. 1/15 @ f6.4, ISO 200.
Right out of the box I liked Fuji's attention to detail and style. The camera felt nice in my hands and the shutter speed, exposure compensation, and ISO dials were solid and easily accessible on top of the camera. In fact, once I went through the electronic menus and set up my preferences, I did not have to return to them for most shooting situations. Fuji really has this down and with the Q menu feature, which is now standard, your most used menu items are only one-click away, and if not, then you can customize them.

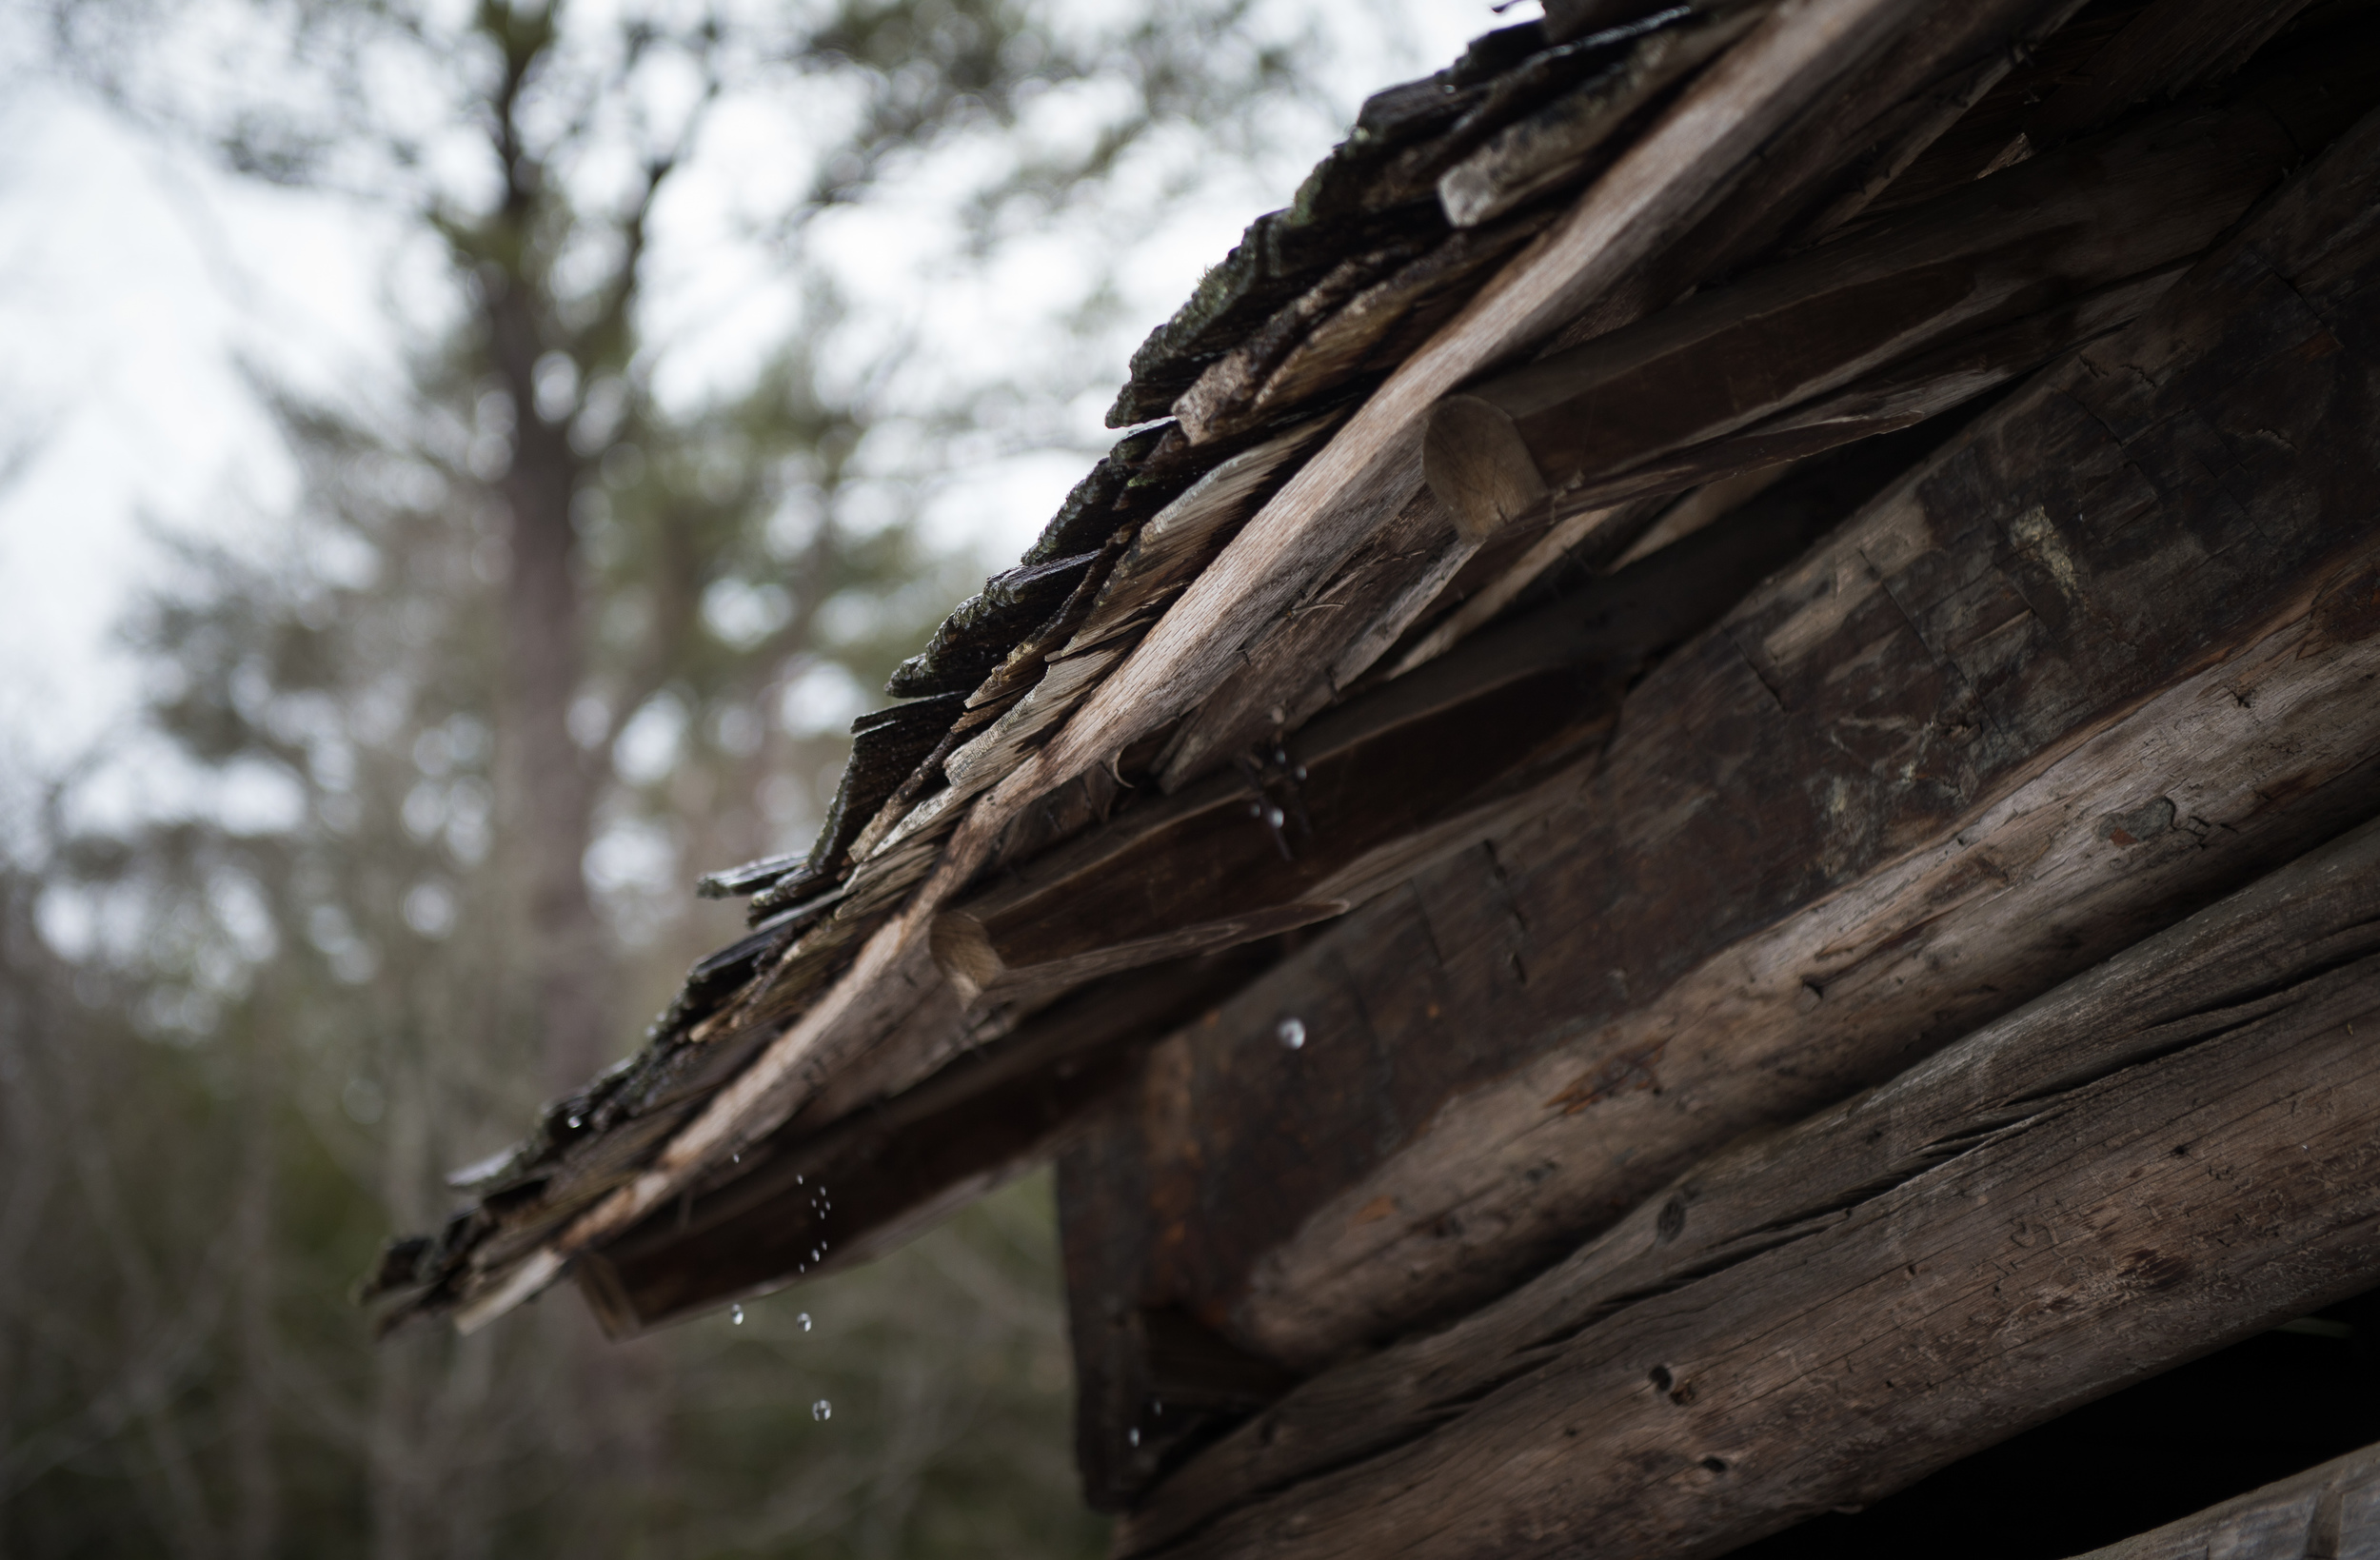
I found the 18-55mm lens very sharp at all focal lengths and appreciated the zoom, especially during this review period where I was covering a variety of scenes. 1/13 @ f4.5, ISO 200.
Three things I noticed right away that made this camera different from previous Fuji cameras I've reviewed. It is not a rangefinder, the SD card slot is separate from the battery chamber and there is a tiltable LCD screen. Two of these I really liked.
The rangefinder is what first attracted me to the Fuji cameras and it remains what I like best about my X100S. In the X100S and the X-Pro1 you have a choice between an Optical Viewfinder (OVF) and an Electronic Viewfinder (EVF), but with the X-T1 you only have the EVF. And while the EVF is good, using it all the time felt like I was missing something. a connection with my subjects. This was especially true when I was shooting in continuous focus mode and it never seemed to lock focus. When I took the photo and the preview would appear, the photo was sharp, but while framing shots the focus just never seemed to lock in, even with camera on a tripod.

Having a tiltable LCD screen meant that it was extremely easy to take this shot with the camera pointing straight up.
I never gave tiltable LCD screens a second thought. In fact, when reading rumors of an X-Pro2 it always mentioned a tiltable screen and I would roll my eyes. However after using the tiltable screen on the X-T1, I think I'm a convert and found myself using it often. It saved me from laying on my stomach when shooting macro or low angles and seemed to be a wonderful option when shooting straight up.
Lastly, having the card slot separate from the battery compartment seems insignificant, but there were definitely times when it comes in handy. Such as when the camera was mounted on a tripod (or has the tripod plate attached) it is nice to still be able to access the camera card. Maybe it is just me, but I always seem to release the battery when what I really want to do is eject the camera card, and this eliminates any chances of that. Although I think the real reason Fuji did this was to accommodate the vertical battery grip which I'm sure also adds balance to the camera, especially with longer lenses attached.

Fujifilm XF 18-55mm f 2.8-4 R LM OIS zoom lens. Photo courtesy of www.bhphotovideo.com
During the review, I used the Fujinon XF18-55mm f 2.8-4.0 zoom lens "kit lens." A "kit lens" normally denotes an inexpensive starter lens that comes with a camera, but I found that this lens performed very well. I noticed good contrast and sharpness throughout the zoom range and nothing felt "cheap" about it. One feature I did miss was having the f-stops printed on the lens barrel. I typically shoot in aperture priority mode, so knowing what f-stop I'm at is critical to controlling my exposure. When walking around with my camera, I'm always checking my camera settings so that as light or situations change, I can make adjustments before I'm ready to shoot. With this lens, I had to bring the camera up to my eye and look into the viewfinder. A new Fujinon XF 16-55mm f2.8 lens is now available and would have been my choice if street, or low light photography was my goal.
This camera does not have a built in ND filter like the X100S, so the slowest shutter speed I could get was 1/18 in this situation when I would have preferred something slower. 1/18 @ f22, ISO 200.
The 18-55mm lens has Optical Image Stabilization, which I left it on during the entire review period, so I don't have any examples of it turned off for comparison, however, looking at my photos now, even shots taken hand-held at fairly slow shutter speeds, they are sharp. A small lens shade is included, although I experienced considerable lens flare, even with the sun at 90 degrees. This is something I did not notice when using the XF 35 f 1.4 lens during my review of the X-Pro1.

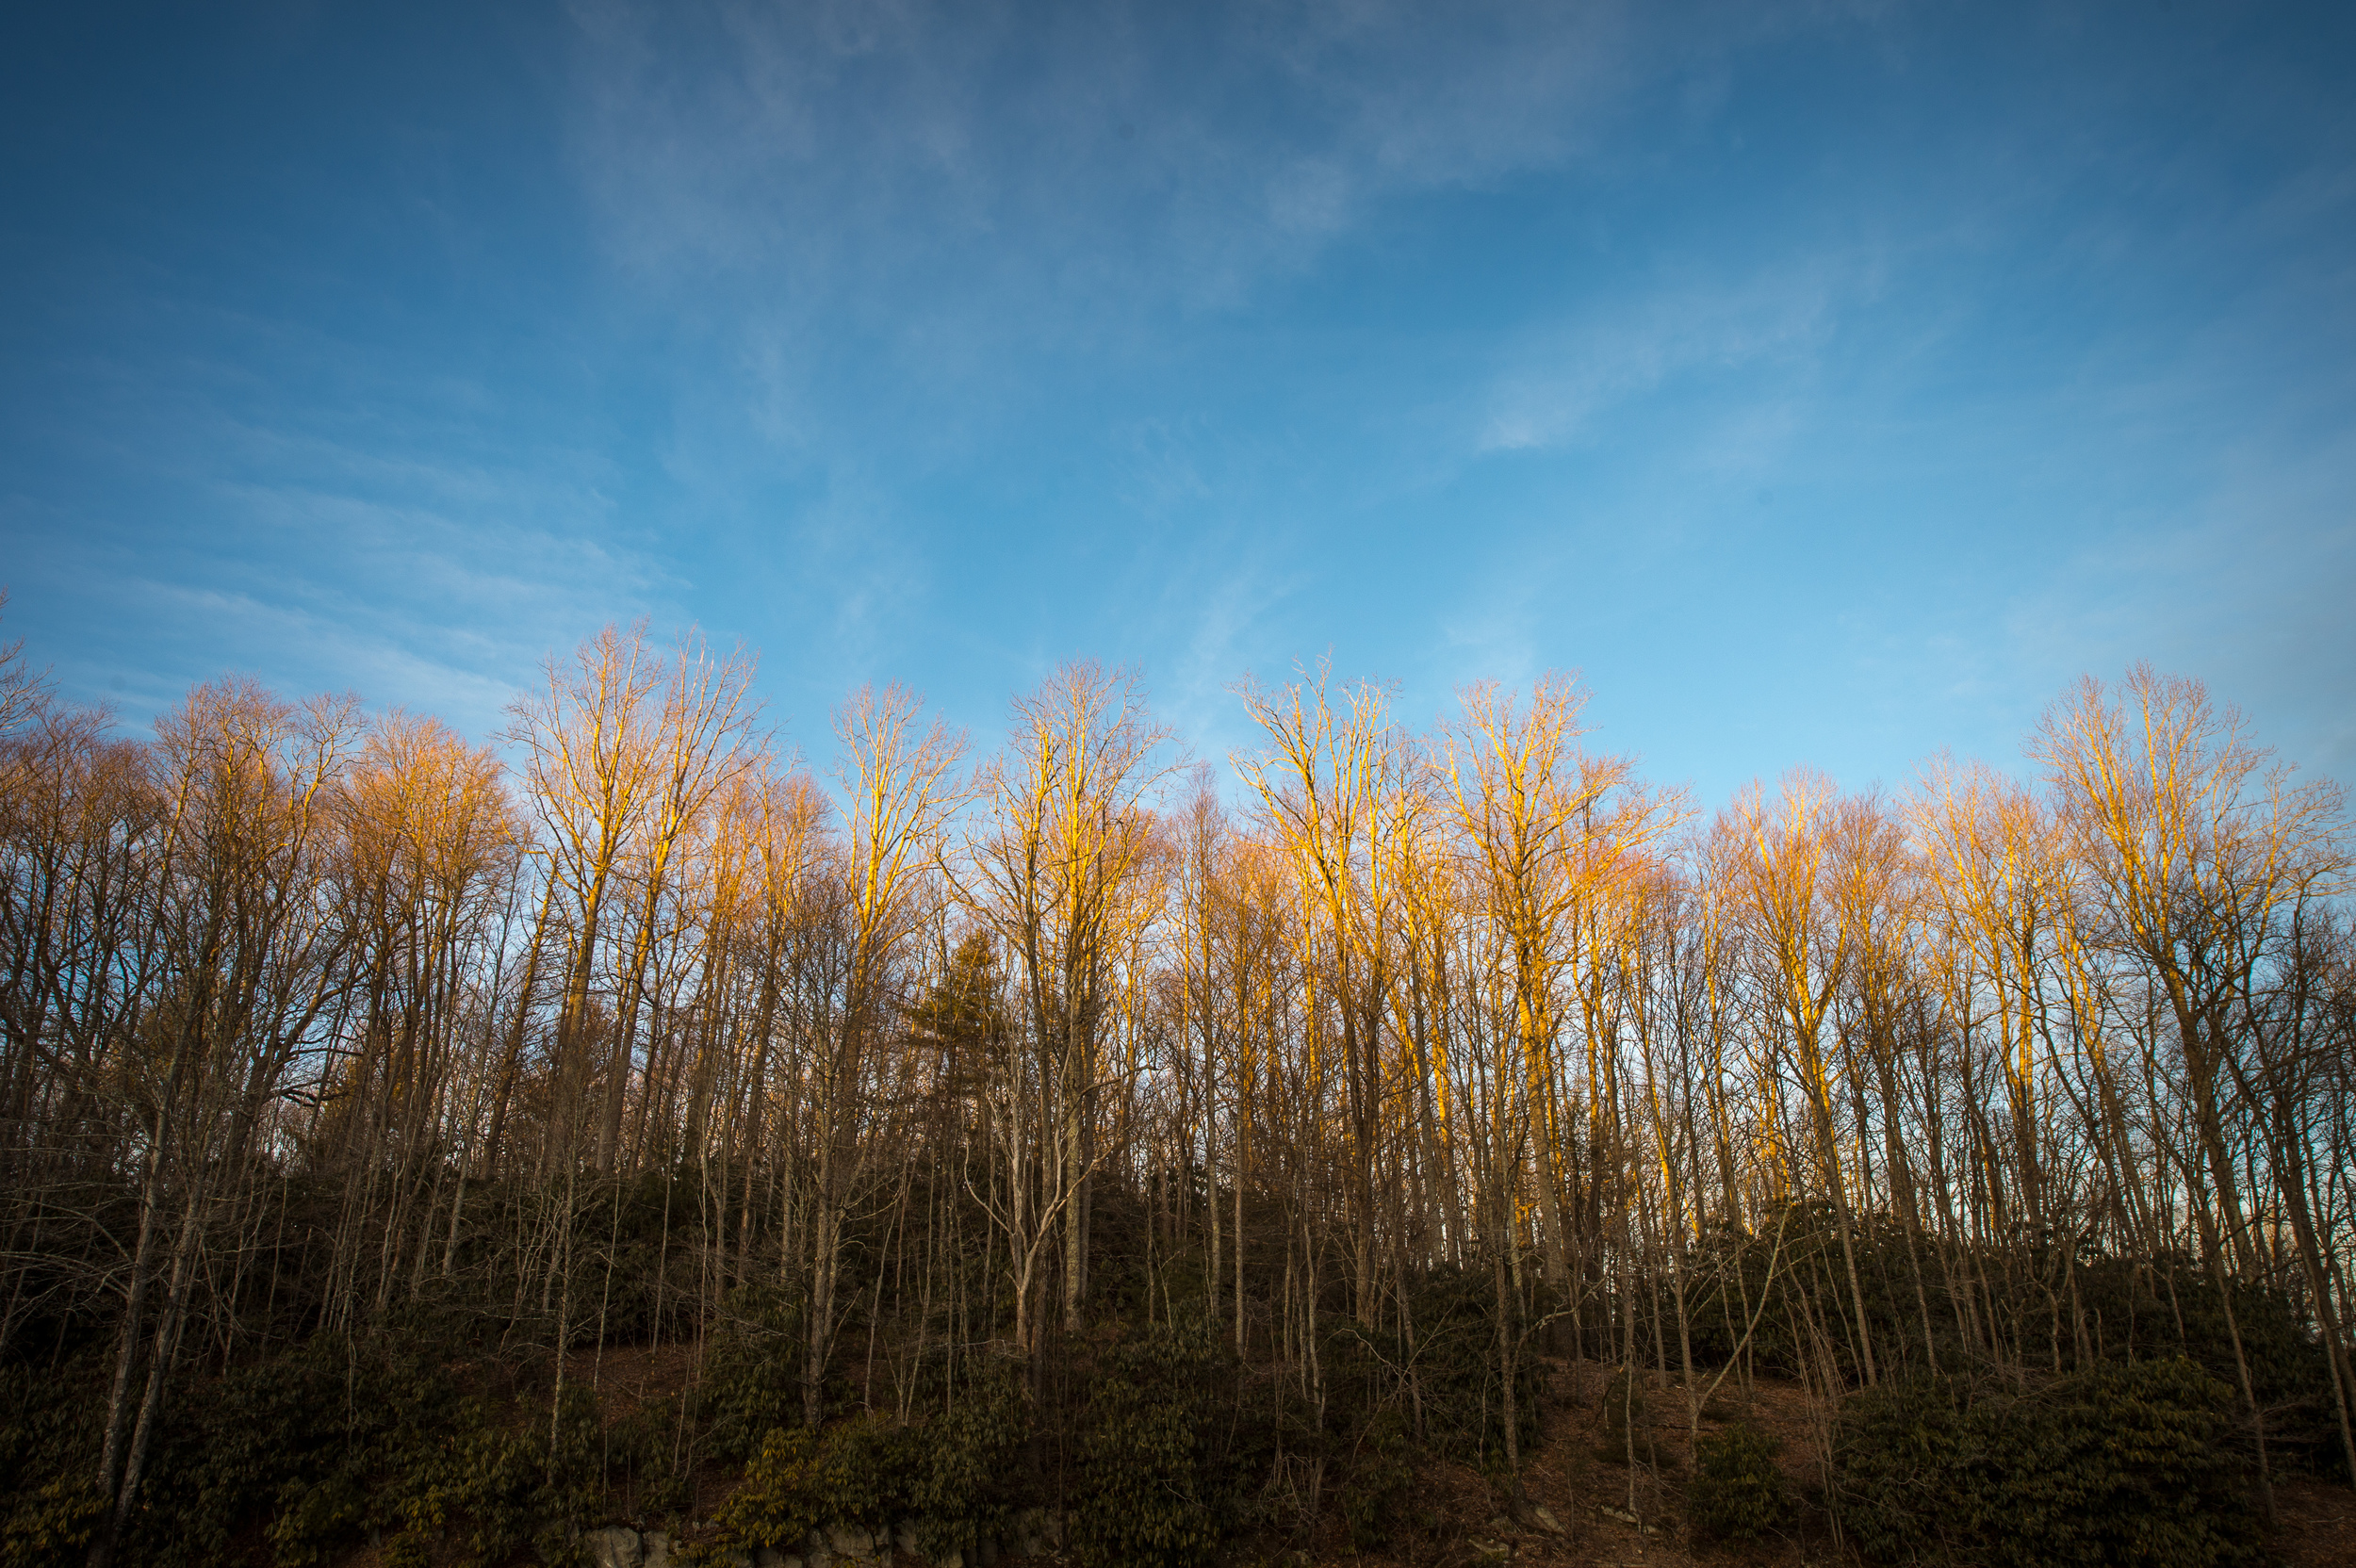
One thing about carrying a mirrorless camera, I am much more likely to notice shots like this during lunch in Sausalito. 1/140 @ f5, ISO 400.
I spent the majority of the seven days shooting landscape or outdoor scenes with the camera on a tripod which is very different than my previous reviews of the X-Pro1 and the X100S. So while that let me learn a few things about this camera, it really made me feel like I was missing what I really like about Fuji X cameras - street photography. The X100S and the X-Pro1 are naturals for street photography, but I just never got the same feel with this camera. For some reason, I also seemed to draw more attention to myself with this camera. The lens does stick out from the body which might be more intimidating, or I maybe I just didn't appear comfortable or casual while carrying it.
There is built-in WiFi that when paired with an IOS or Android device, lets you browse and transfer images or control the camera remotely. After some initial difficulty getting the camera to pair with my phone*, I found that it worked well. And it was useful to browse photos and transfer some for sharing on social media which I previously did using an Eyefi Mobi card. What I really would have found useful in this App, is to have the film simulation modes so I could process the photos without having to do it in-camera first.

Like with previous cameras, I set the X-T1 to shoot Raw + JPEG with the JPEG set to MONOCHROME + Ye filter. With the Firmware V3.00 update, you will be able to enable the classic chrome film simulation mode. 1/600 @ f7.1, ISO 400.
Final thoughts. This is another nice camera from Fuji and I would have no problem recommending it to someone as their primary camera, even to someone considering going pro. If, however, you already own a DSLR and are looking for a second camera to carry around every day or when working the streets, then I would stick with the X100S or the new X100T.
But you know what I really want is an update to the X-Pro1. An updated rangefinder with interchangeable lenses. Now that's what will get me to spend my money.
*I originally downloaded the wrong App, which wasn't very clear in the Play Store. And based on the one-star reviews, I don't think I was the only person making this mistake.