I may be late to the drone game, or more specifically late to actually owning a drone*, but it's not because I haven't wanted one. I've been reading about drones, talking with drone owners and wanting a drone from the beginning. I even came close to making the purchase on several occasions, but now I'm glad I waited.
And to be clear, I should say that I'm a part owner of a drone, in this case, a Solo 3DR, that I purchased along with my son. Part ownership is something that might consider as well.
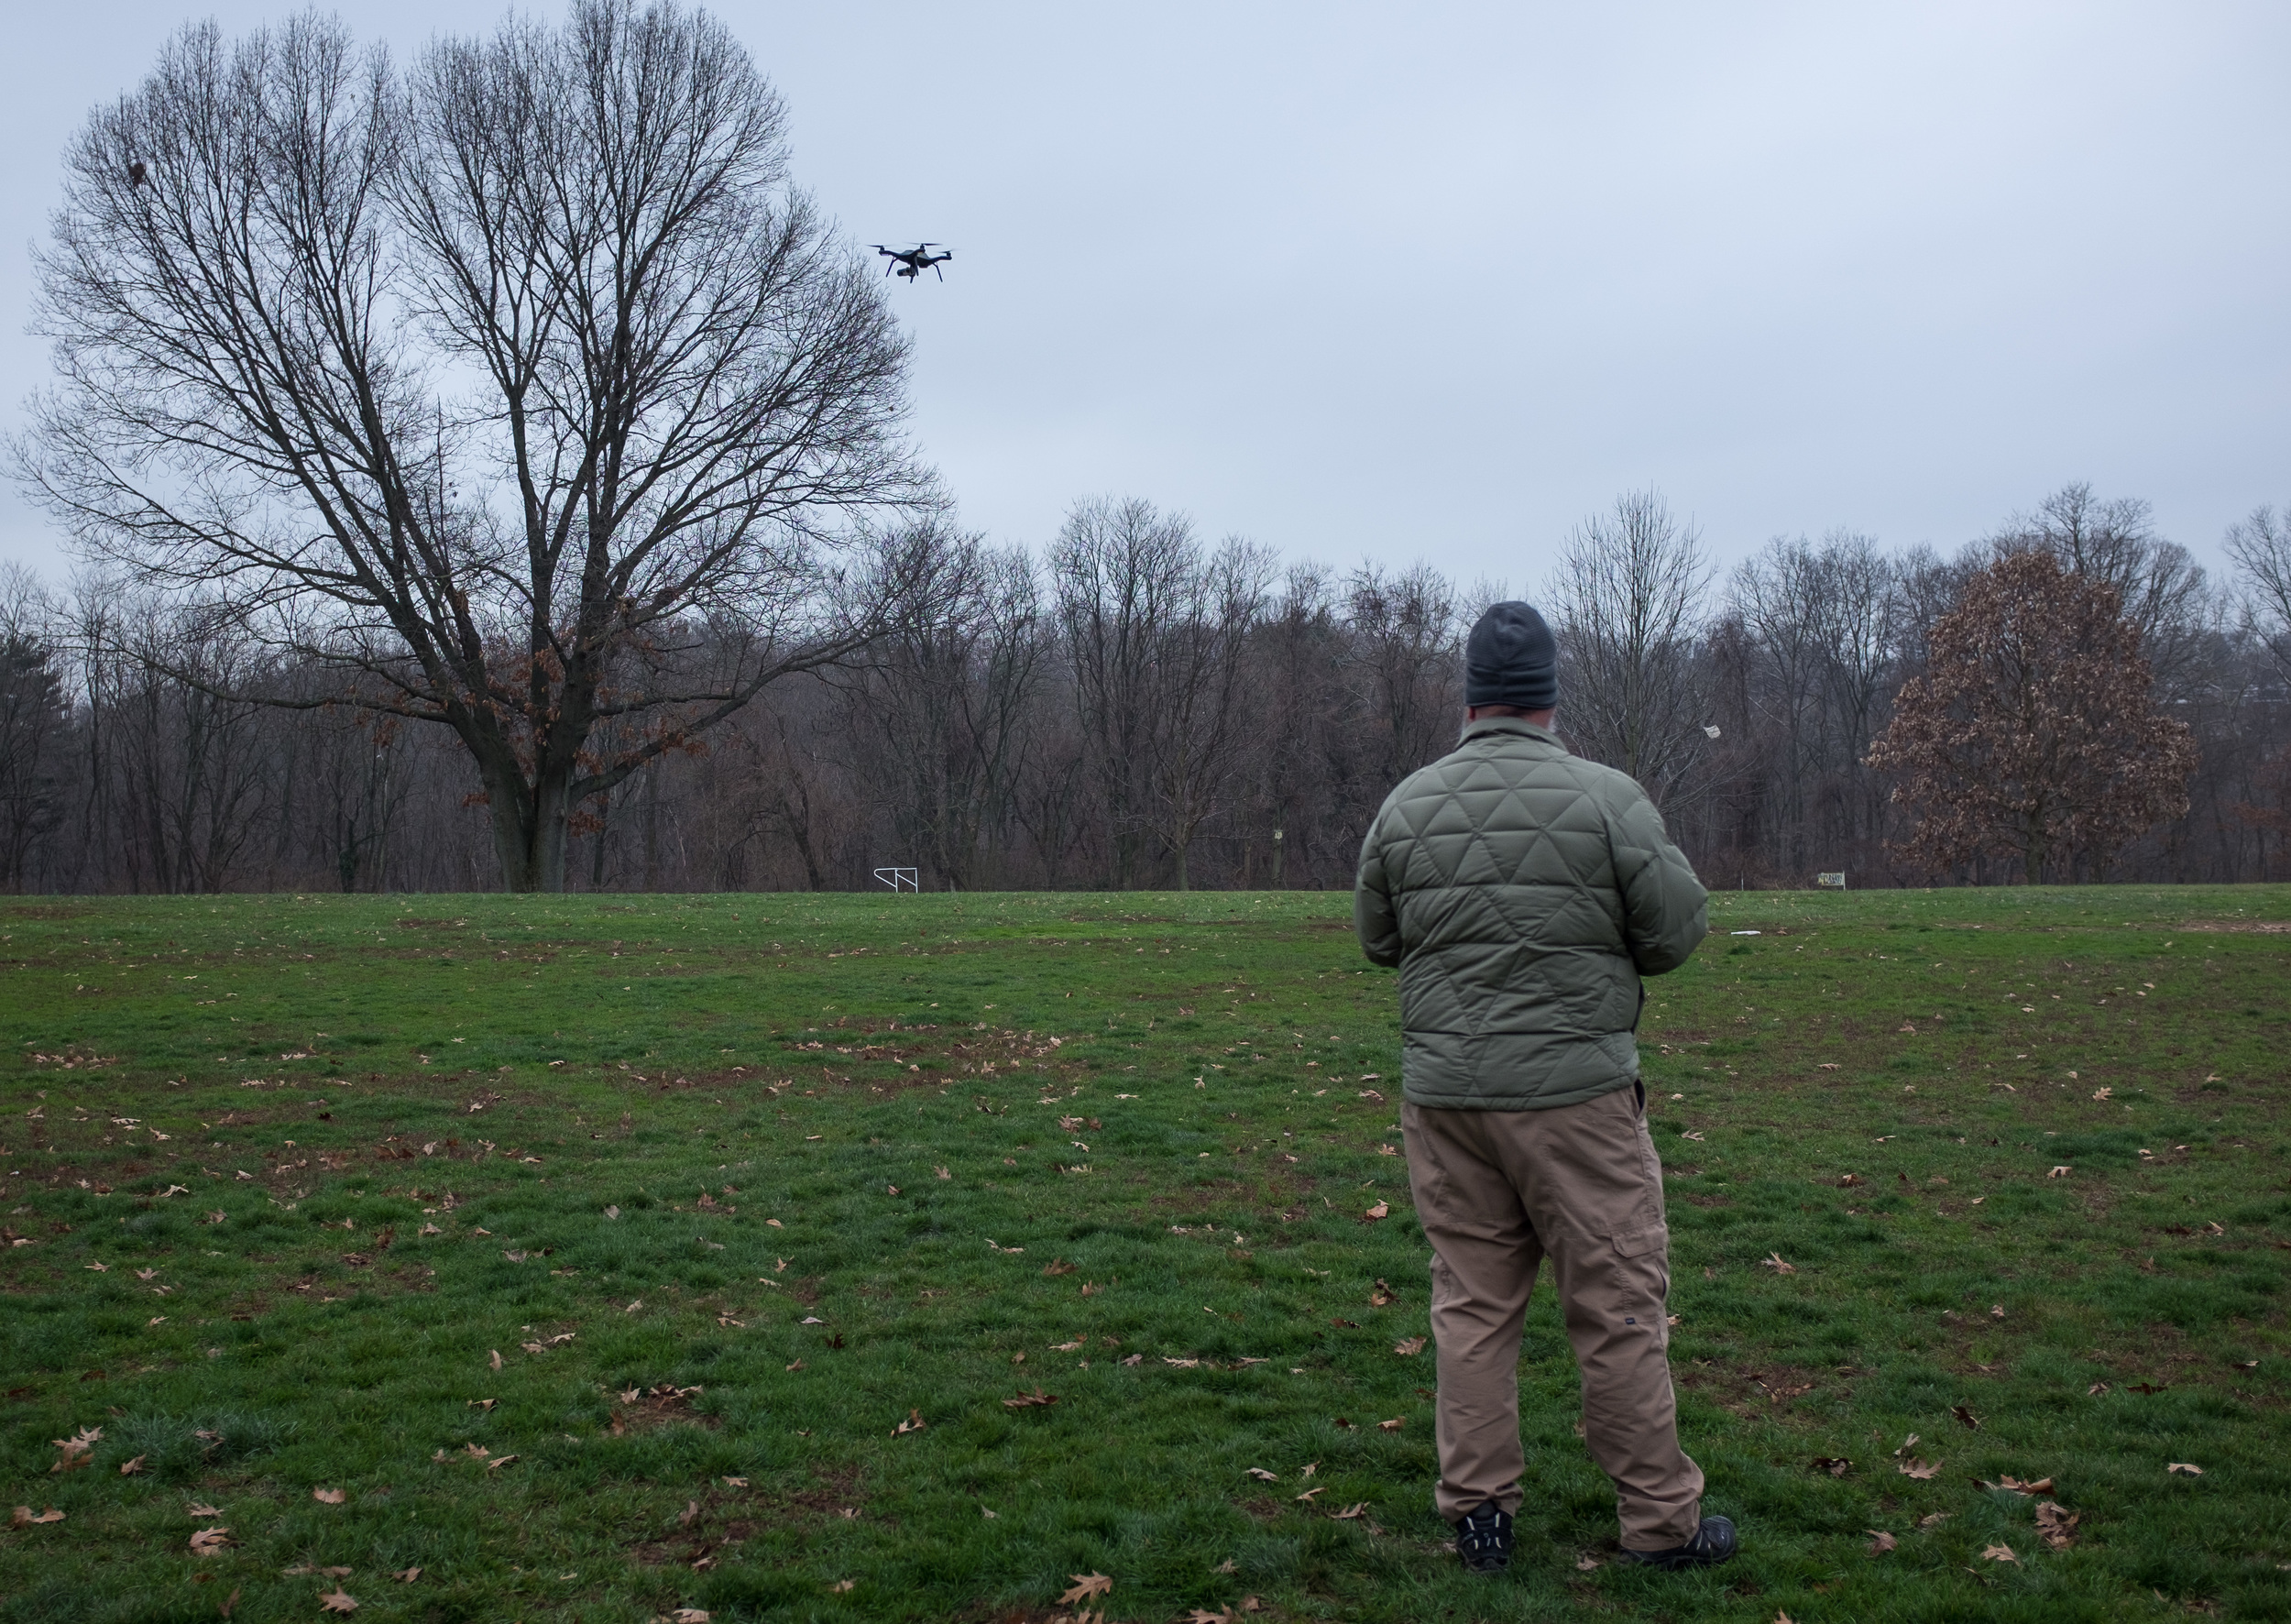
So what was it like flying it for the first time?
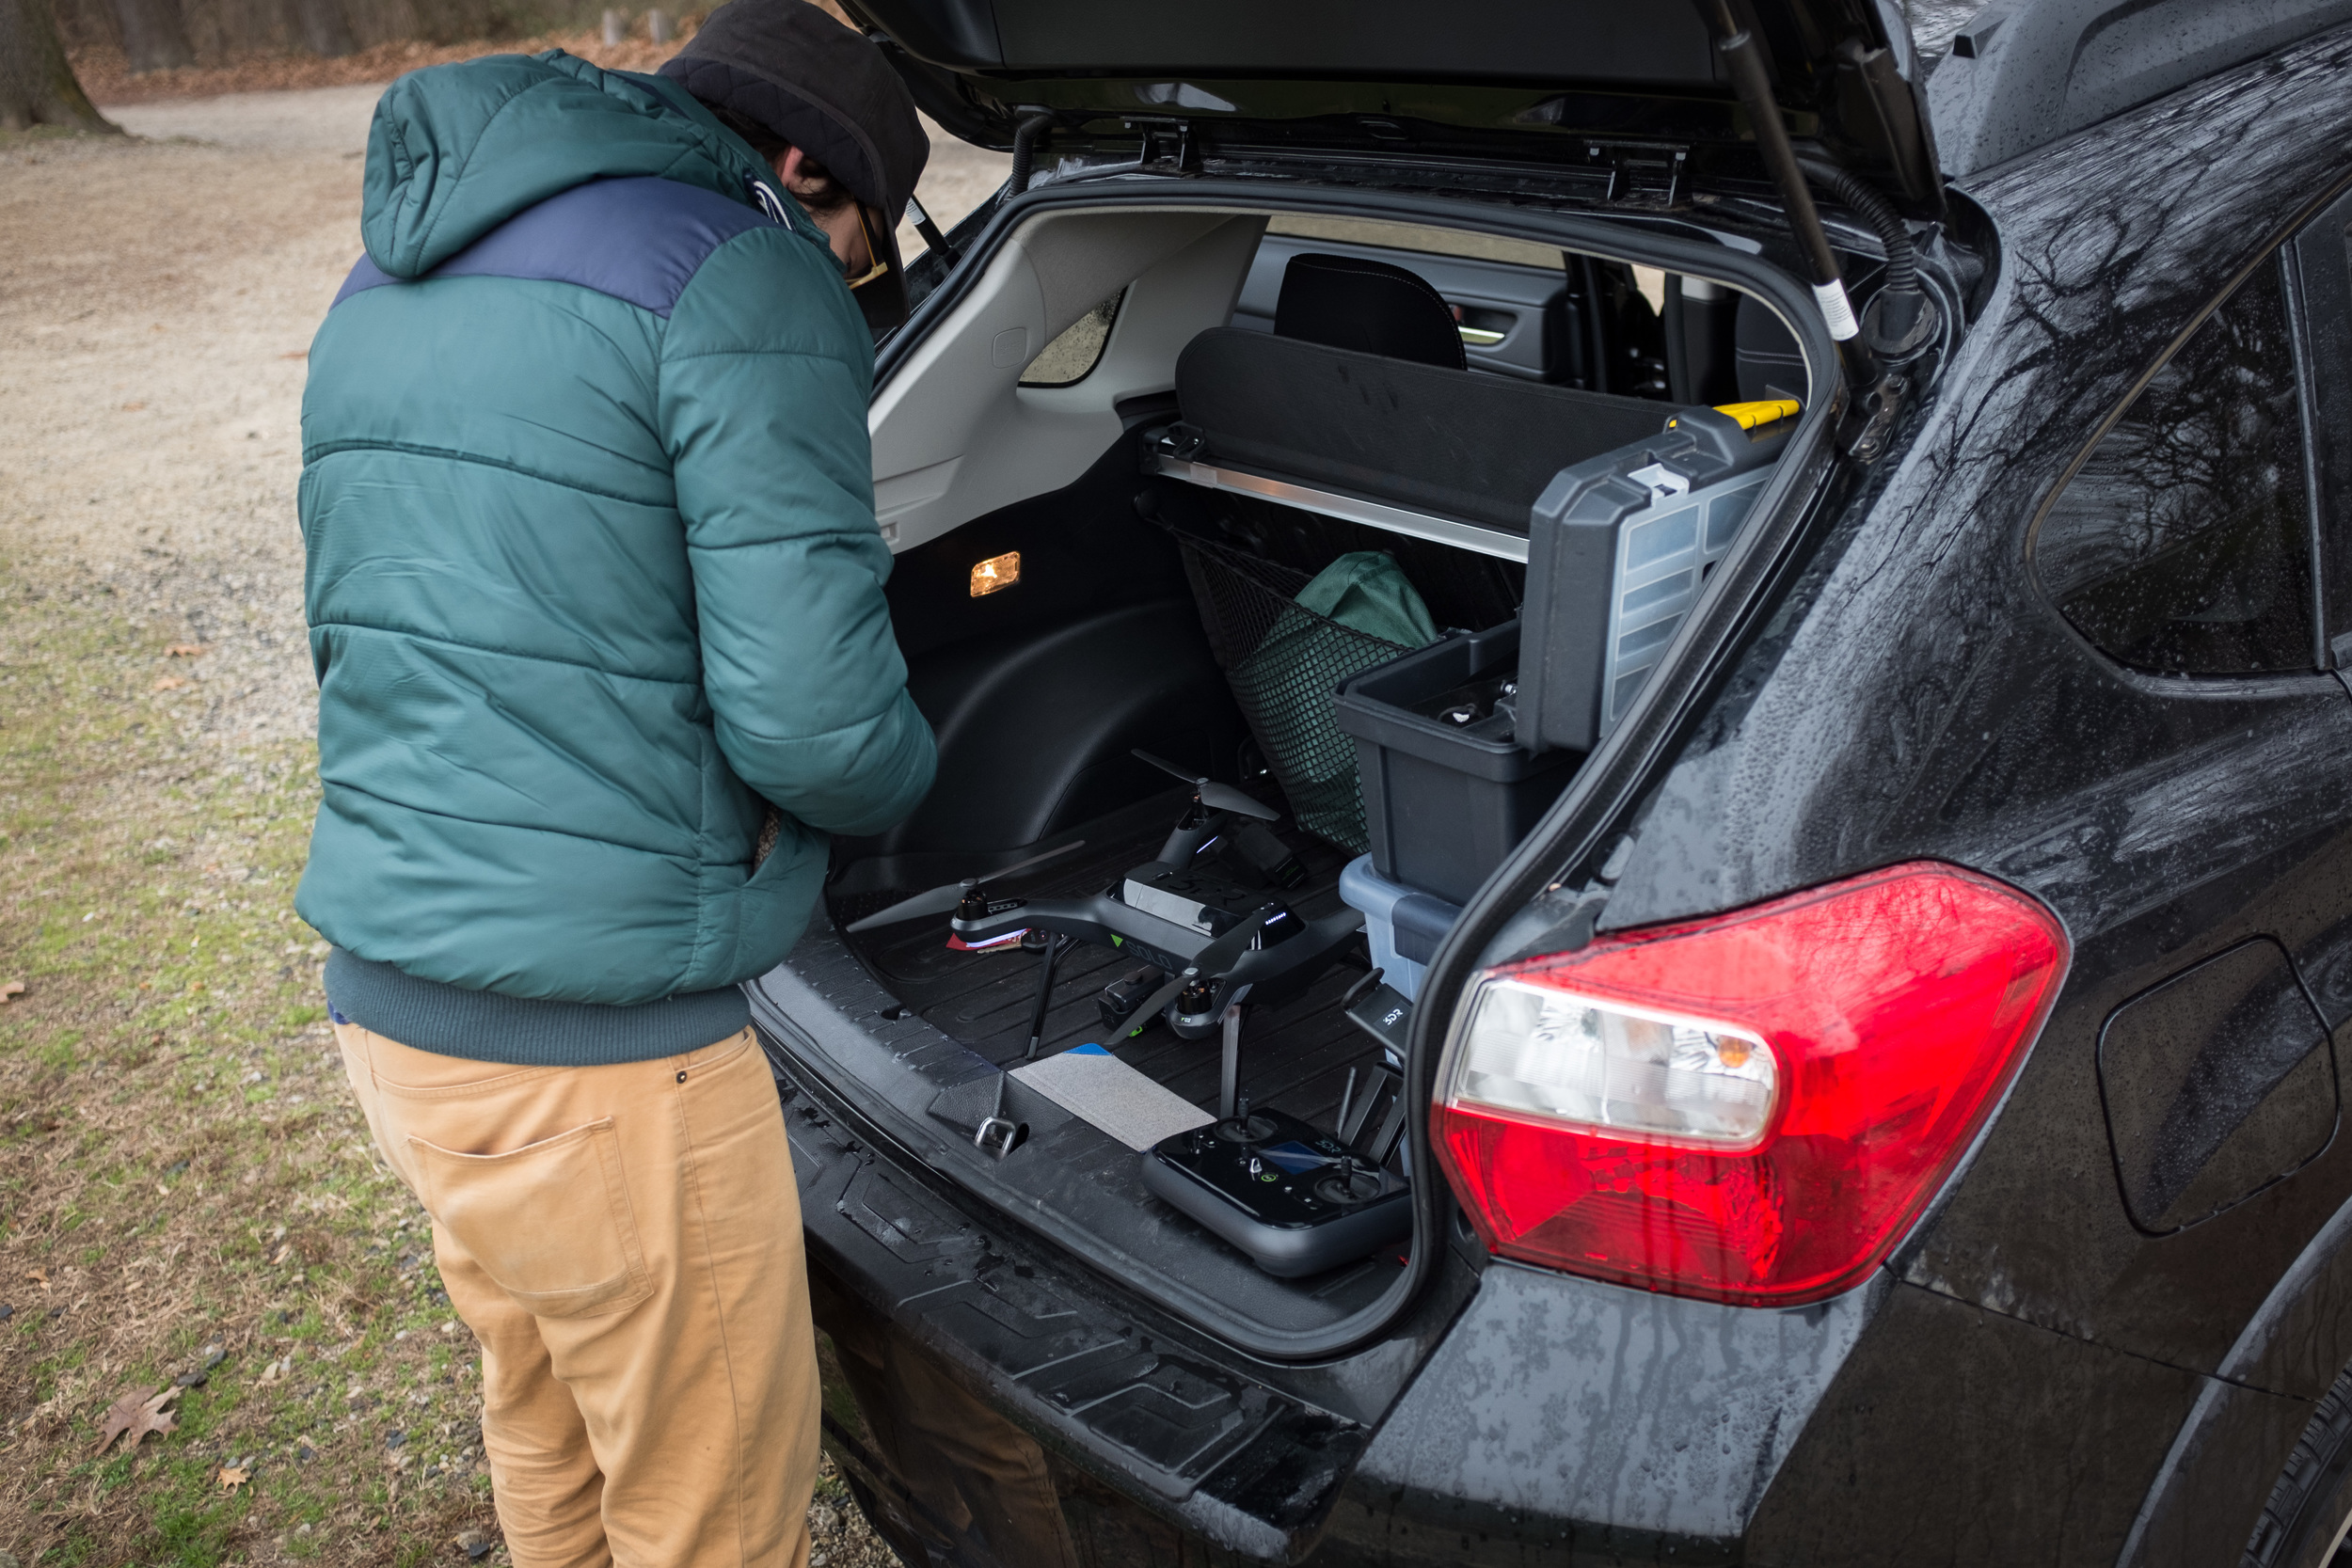
My son Patrick prepares the Solo 3DR prior to my first flight.
Prior to flying the 3DR, my sole "stick" time consisted of 10 minutes with a DJI Phantom. The 3DR was incredibly easy to fly, easier than I remembered from my brief DJI experience. From take off and landing to flying patterns, I went through two batteries before I knew it and during the entire time, I never felt like I wasn't in complete control. And even though the 3DR was set to "child mode" it was nimble and reacted immediately to my inputs.
Something that always concerned me when considering the purchase of a drone was the camera; Would it be obsolete before the drone itself. The 3DRs current 3-axis gimbal houses a GoPro** and since Solo worked directly with GoPro, it means you have in-flight access to the camera's controls allowing you to start and stop recording while you fly. Not only is this unique to the Solo, it greatly reduces the amount of footage you have to go through during the editing process. Additionally, the camera receives its power from the gimbal.
One of the features that really impressed me about the 3DR is that it is the only drone that can automatically control both the drone and camera position while in flight using their Smart Shot feature. Think of Smart Shots as presets that allow you to circle an object for a wrap-around shot (Orbit), go hands-free (Follow), put yourself in the center of the action for an aerial reveal (Selfie), or follow a virtual cable (Cable Cam), all to get a perfect shot. A soon to be released update will expand the Cable Cam Smart Shot allowing you to enter multiple points.
It's simple, fly to a point A, frame your shot, fly to point B and frame your shot, then hit play and the drone will fly from point A to point B exactly as you programmed it. And maybe the most impressive thing is, you can save a shot and repeat it. Think how useful that would be and how much production time it would save.
The 3DR was really easy to fly and using Smart Shots, even a novice like me can achieve professional cinematographic looks with very little experience. (Photo by Patrick Williams)
Bottom line, the 3DR with a gimbal and GoPro isn't the cheapest drone on the market, but if you are looking for a solidly-built, easy to fly drone that is capable of capturing amazing aerial footage, I would highly recommend it.
Watch footage taken at Cape Henlopen State Park and around the North Beach, Md., area taken by Patrick Williams.
* I'm using the term drone throughout this post, so if you prefer unmanned aerial vehicle or quadcopter or something else entirely, feel free to substitute those terms while reading.
** I'm currently using a GoPro White. To take advantage of the in-flight camera control, you will need a Hero 4 Black.